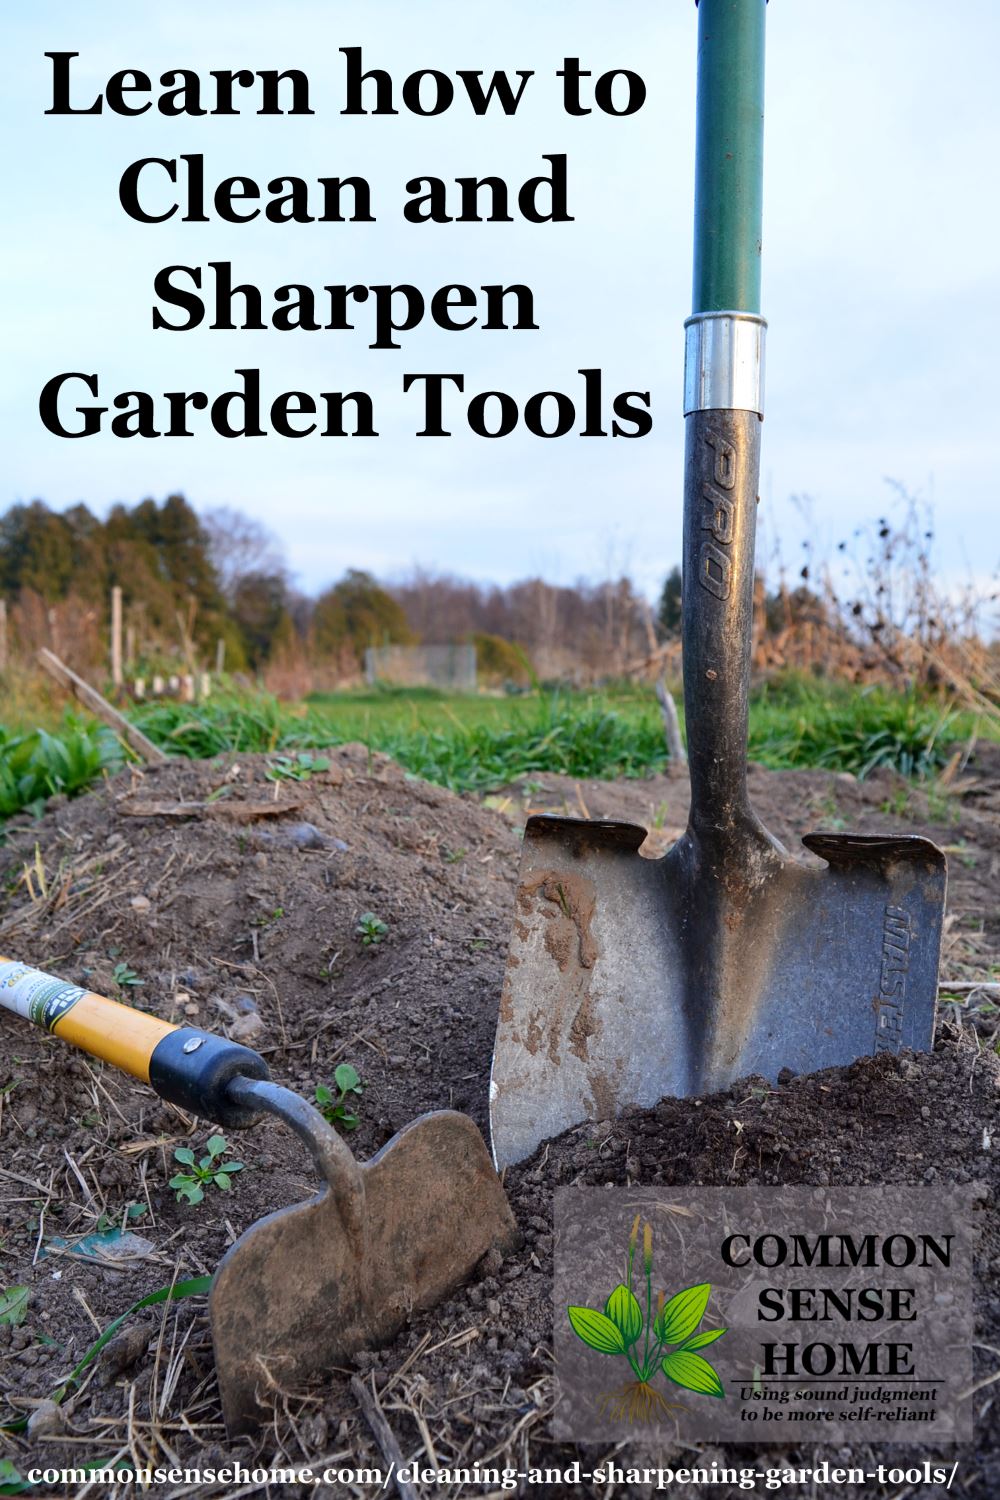
Cleaning and Sharpening Garden Tools
This post may contain affiliate links. Read my full disclosure here.
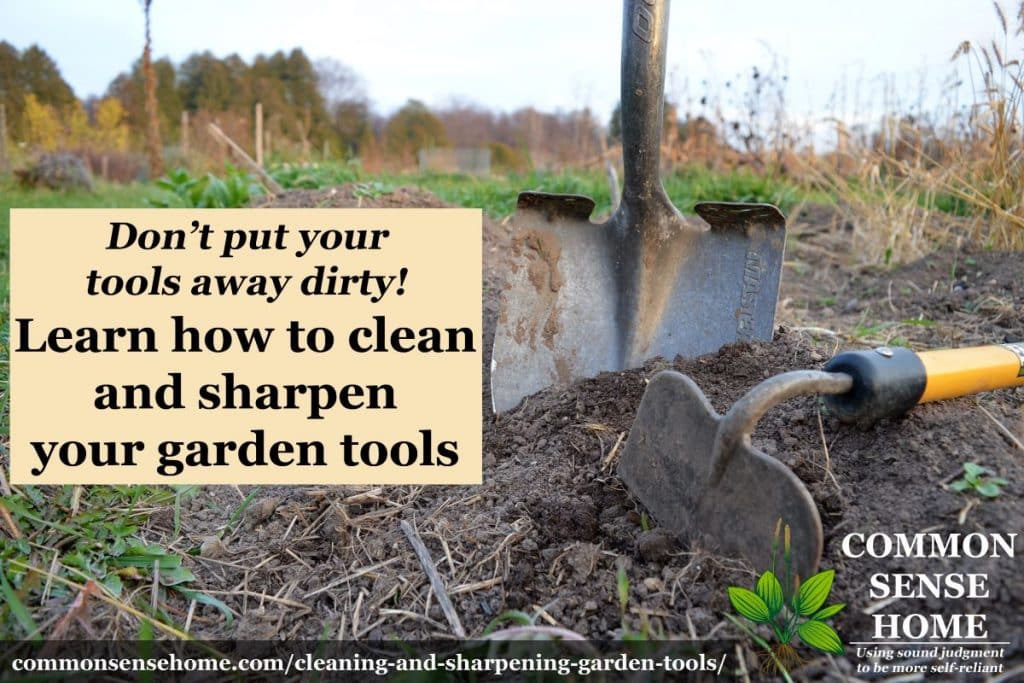
Do your garden tools look like this? Maybe with some extra mud stuck on the back?
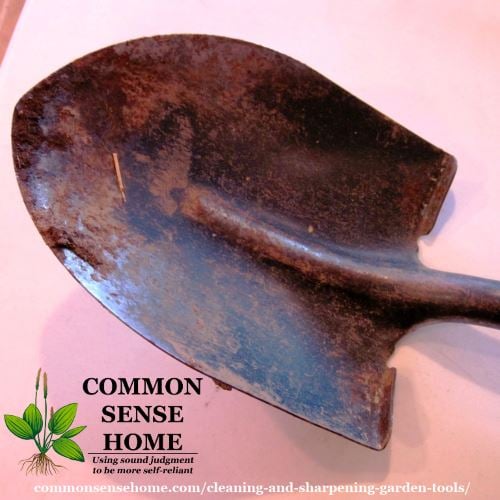
My tools take a beating, so I give them some TLC every so often. If you can clean them up before you put them away for the season, so much the better, but cleaning and sharpening garden tools is time well spent whenever you get it done.
Cleaning and Sharpening Garden Tools
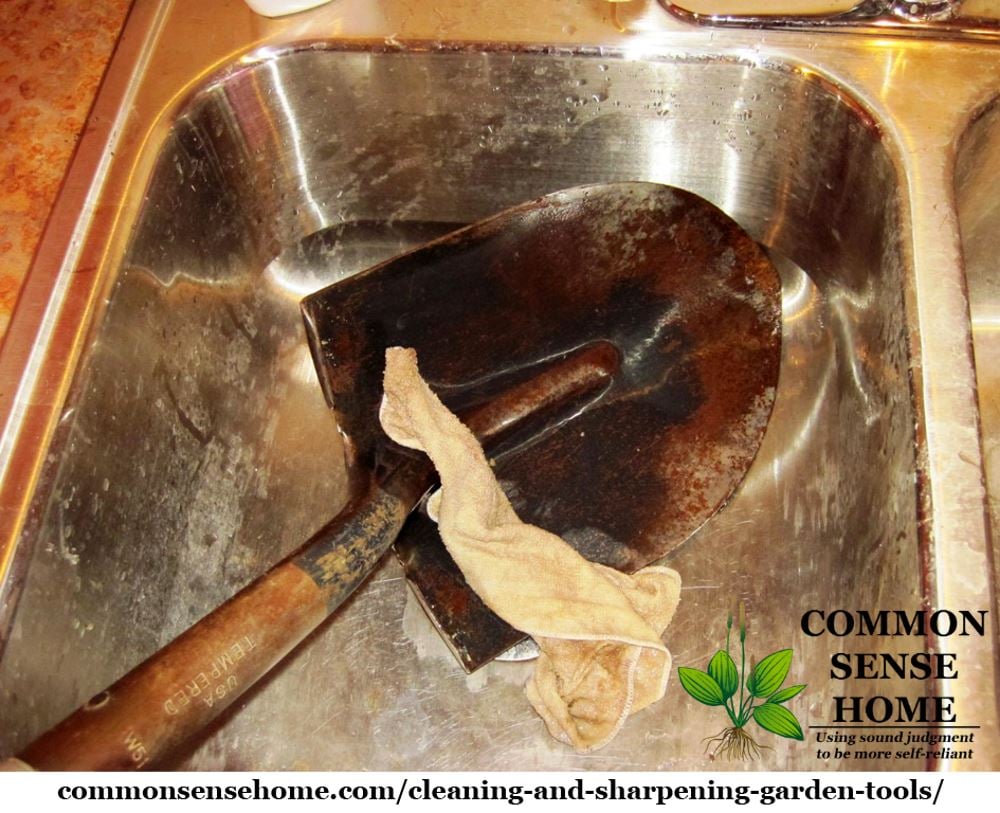
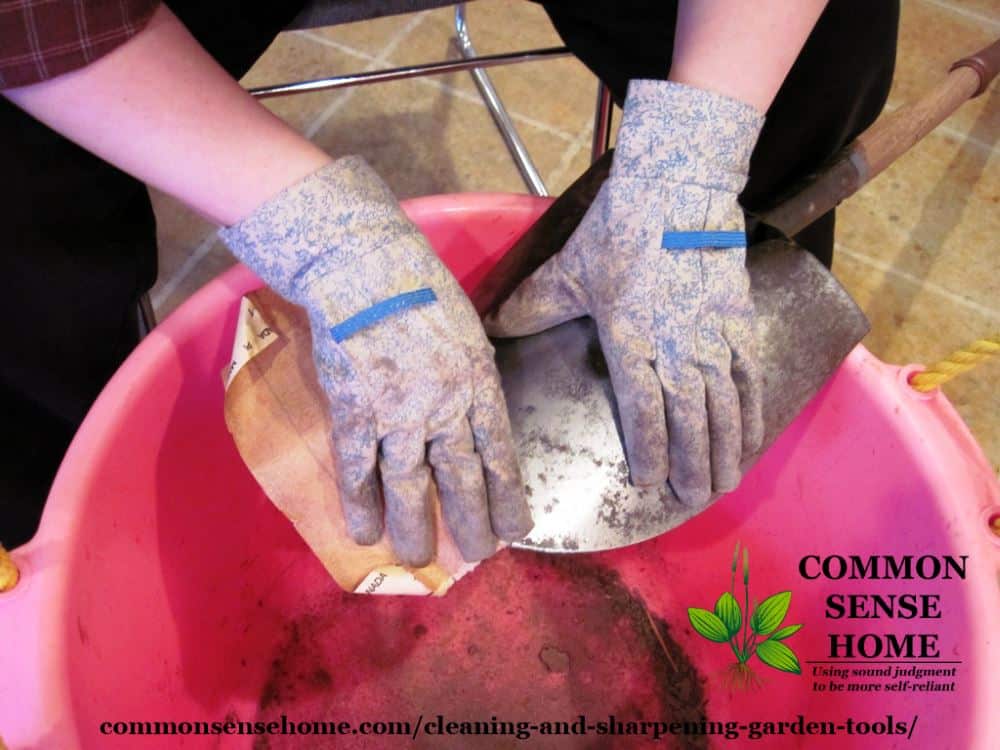
1. First, knock off all the excess mud with a scraper or wire brush. Then, give them a good scrub in a large bucket or utility sink. Plain water works just fine. or you can add a dash of oil based soap.
2. Once you’ve got the surface grime removed, dry thoroughly and buff off any rust with steel wool or sand paper. Don’t go any deeper than you need to – just aim for the rust. Rust is very bad for your tools. Try to preserve as much of the factory finish as possible. You probably want to do this outside or in an area that you don’t mind getting messy, and wear gloves, as it can be a little rough on the hands.
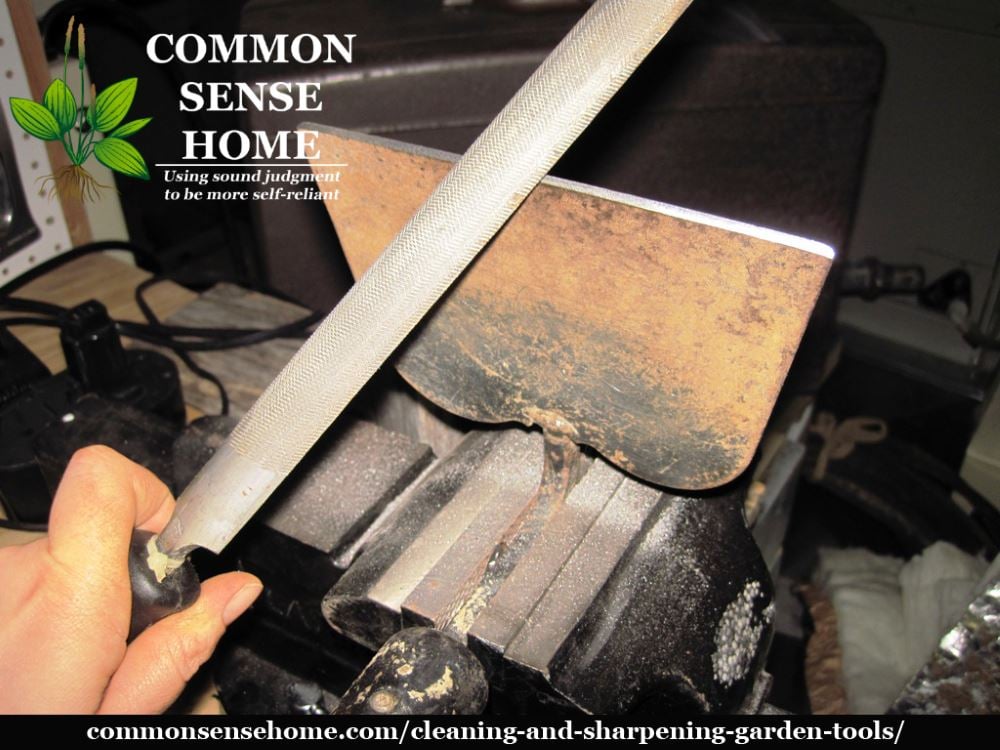
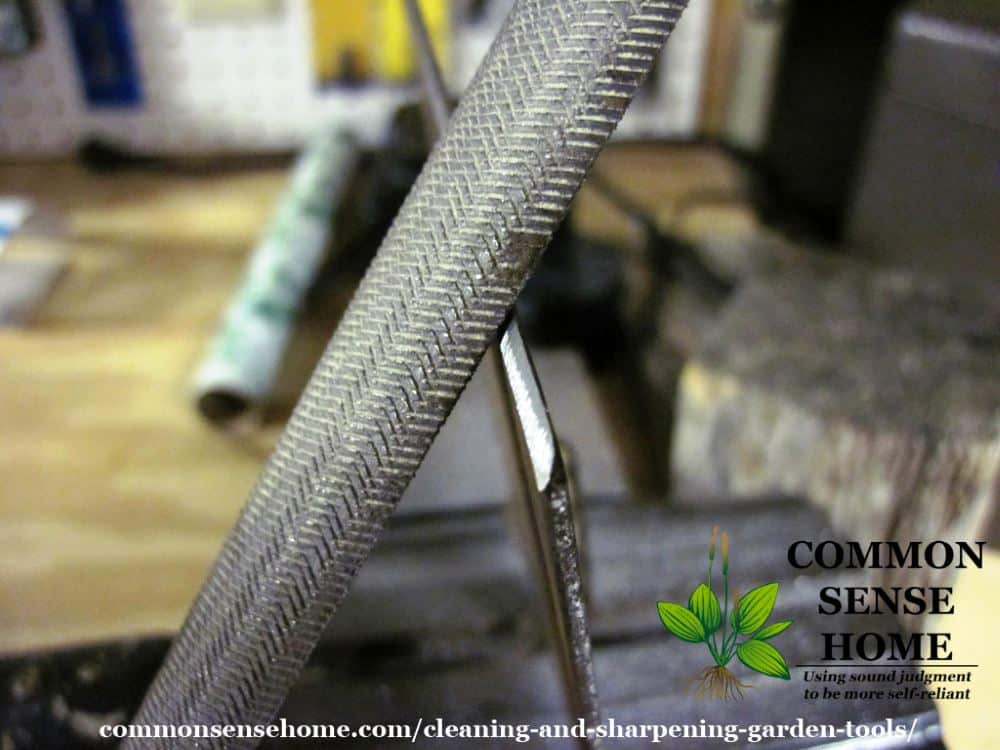
3. To sharpen, firmly clamp the tool in a vise. Using a metal file, bevel the edge of the shovel from back to front – follow the factory edge. Once you’ve created the bevel, lightly buff the opposite side to remove any burrs. The front of the shovel should be smooth, the back beveled.
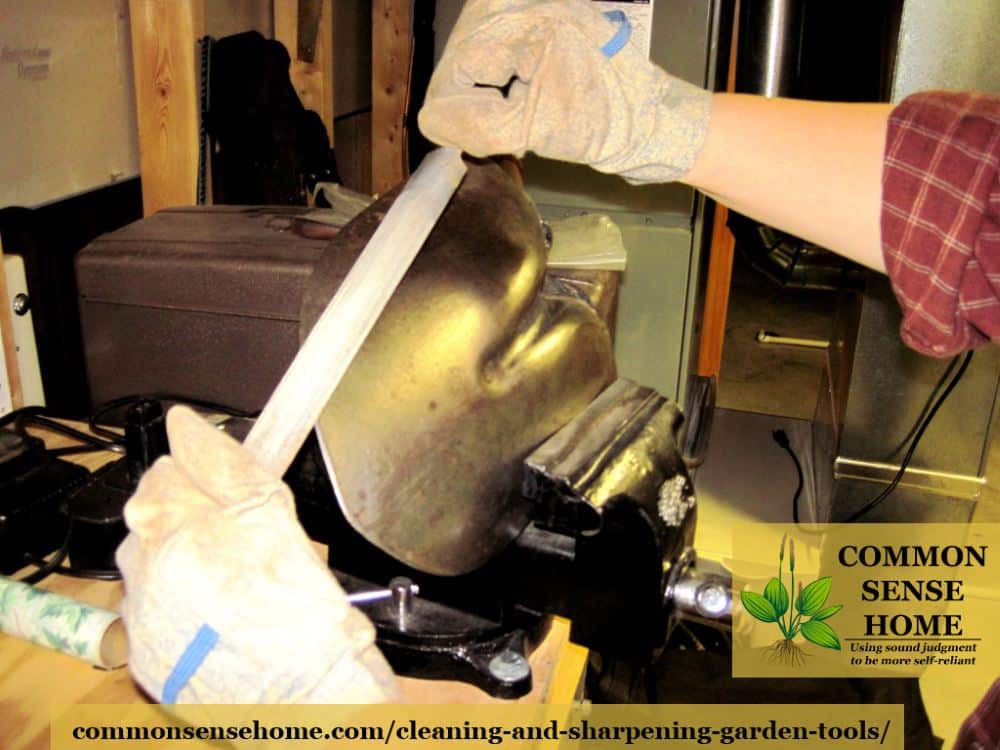
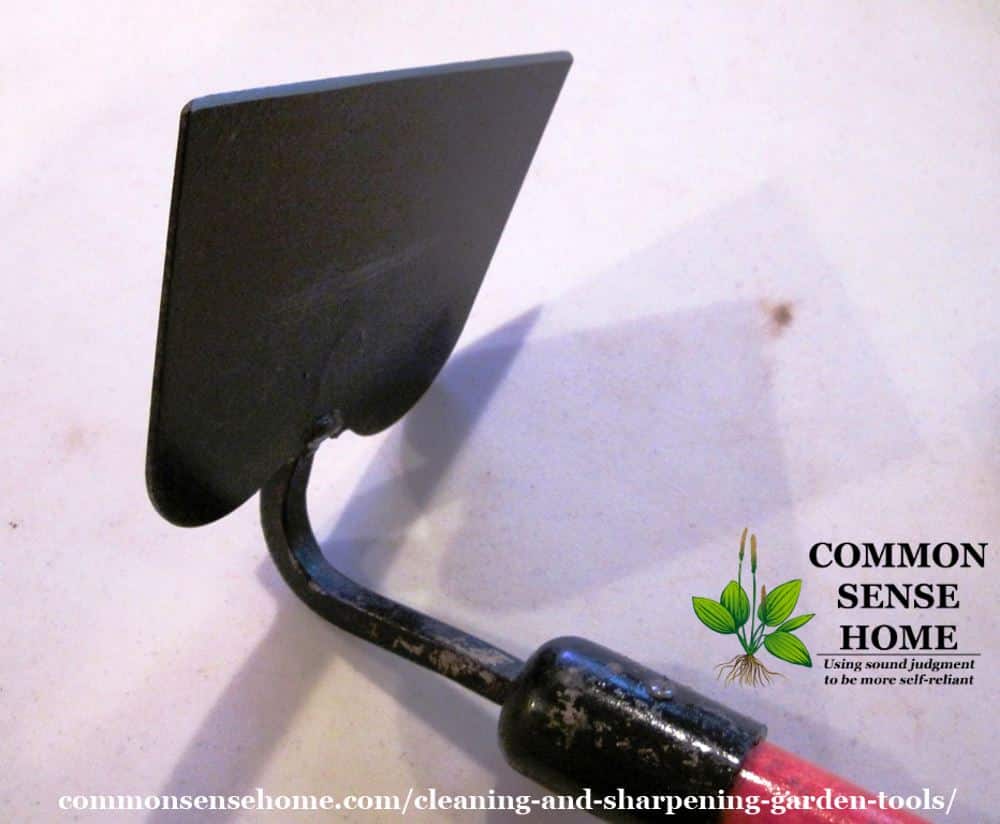
On a hoe, the side facing the handle should receive the bevel.
Would you like to save this?
Sharper tools are safer and make work easier, because you have to use less force to accomplish the same work.
4. Once you have your tools cleaned and sharpened, give the blades a good coat of mineral oil or WD-40 for protection. This will help prevent future rust. I like to give the handles a coat of mineral oil to keep them from drying out and splitting.
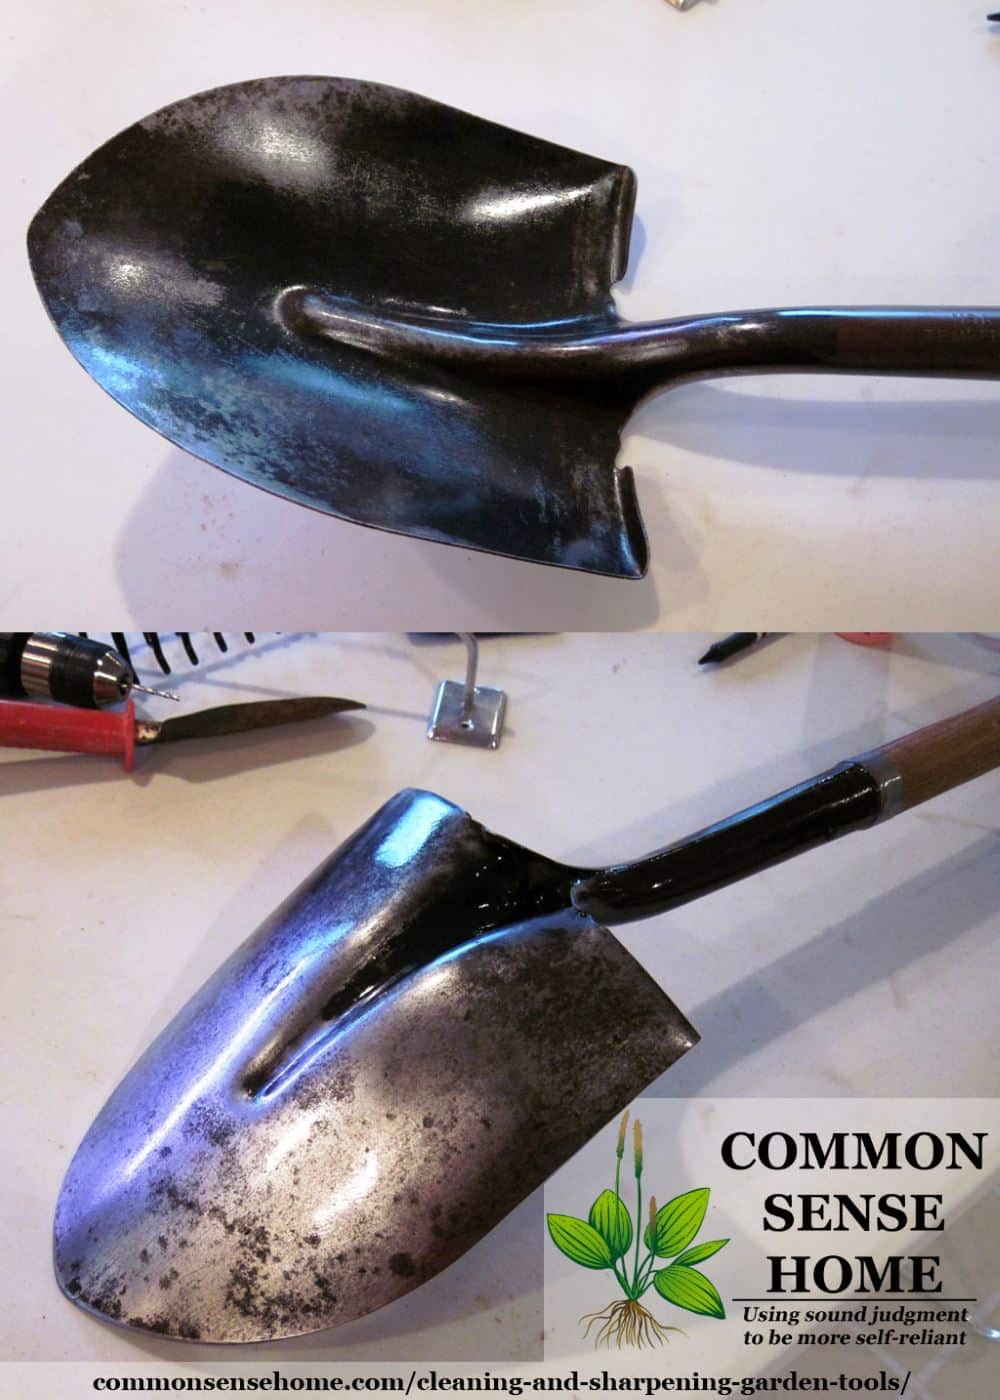
Those look a lot nicer than what I started with, no?
If you need a little more explanation, you can watch these nice folks do a demonstration.
Once cleaned, your tools are ready for storage or hitting the garden.
Are you a sharpener, or do your tools end up stuck in a corner until you need them again? Is there another gardening chore that you could use some tips on? Leave a comment and let me know.
Other gardening articles on the site you may find useful:
- Build Your Own Simple Seed Starting Shelves
- New to Gardening – Start Here – 10 Tips for Beginning Gardeners
- The Best Garden Tools Help Make Gardening Easier


Originally published in 2011, updated in 2016.
Tell me why I need to do this? Just kidding, I have been using my shovel and other gardening tools without crossing my mind on sharpening them. I just do a little maintenance like removing dirt and then place them on a storage or in my shop. I will try what you have written here since this has opened my mind on something new. Great Posts! keep it up Laurie!
We usually move our tools into storage when winter hit after cleaning off soil, and during mud season, a quick scrape with a flat rock or a brief soak and swish a bucket of water. Sometimes if I am in a rush and the soil is dry, a firm swipe with my gloved hand has to suffice. Despite the extremely corrosive tendencies of our acidic soil, this seems to keep rust at bay. Until last year that was it, and my husband has been sharpening tools since his step-dad hired him to work at the family tool repair shop when he was a kid, so sharpening happens more frequently, and without much prompting. Last year I noticed that the handles were looking dry, so I cleaned them and gave them a couple of rub-downs with old olive oil, which I was told will soak completely into the wood and be be a little more protective. I’m wondering how this compares with mineral oil, and if a coat of wax would be even more protective? The mild weather kept us gardening until tonight, so as soon as we get a sunny day, they get their winter spa treatment.
Food oils like olive oil will go rancid over time, whereas mineral oil will not. Olive does tend to be more shelf stable than most. I would never recommend standard vegetable oil. I prefer oil over wax, as the wax will tend to flake and peel over time, whereas the oil penetrates and hydrates.
I save quart oil containers and after about 5 have enough excess to add to the sand.
That way it is clean unused oil.
I recall a hint from a great gardener who used to be on TV here. He recommended keeping a leak proof container filled with absorbent material, ( this could be garden sand). Into this pour your left over sump oil or beg some from local garage. After using your tool/s, wipe them clean and just stand them in the container. They never rust this way and you are keeping them in a safe place.
I’ve seen that tip recommended in a number of spots over the years, but I’m a little hesitant to coat the tools that I use to work the ground I grow my food in with spent motor oil.
I really agree with you on this one Laurie, sounded smart for cleaning at first, but when you really think about it especially when using tools around plants that bear fruit you eat & used motor oil, you than think no. Instead replace the motor oil especially contaminated motor oil with mineral or cooking oil into the sand, I’ve also notice if you can use clay dirt with the mineral oil, que no.
Spent cooking oil may get a little musty, but at least it’s biodegradable.
Yeah maybe just mineral oil, cutting board oil.
Thank you for posting this! I was just thinking the other day that I never maintain my tools like I should. I always mean to, but somehow it never happens. I am trying to be better this year.
Here’s another tip to make tool maintenance easier… I put a plastic tote (with a lid) outside my garden shed. I fill it with sand them keep dumping my drain oil into the sand. When I am done with a tool, I stab it into the sand a few times. This cleans the tool and adds a protective coating of oil. Replace the lid when not in use…
Good comment I was fixn’ to say the same thing! 🙂 *five years later lol
I’m lovin this idea!
I use vinegar to clear away the rust. I just rotate my tools through a bucket of strong vinegar and spray with WD40.
I love your idea so I’ll be changing what I do – thanks
Great post! I have never done this and definitely need to. I’m adding it to my to do list.
Amy
With a little care, good tools can last a lifetime. It's a hassle, but worth the time.
Nice blog!
I love old tools and things that have been cared for this way; so much better than new stuff. Sadly, I tend to fall short of my aspirations on this stuff…. thanks for reminding me!
Wellllll…. you don't absolutely have to do this, but your tools will last a lot longer and work a lot better if you do. I've been gardening since I was knee high to a grasshopper, and I still learn something new every year.
Thanks for stopping by.
I had no idea I needed to do this. Can you tell I havent been gardening long?
Great post!
Laurie – am stil tweaking mine. But seem to be at a stalemate with it for now. Just seems to be no time to just sit down and get my blog to exactly where I really want it to be. It's been a try this, try that,remove this, add that and I'm still working in that mode when I can. Just too much "life" to deal with right now to give the attention I would like to give, let alone all the posts I have sitting in limbo!!!! Need to talk with my son who is my web host for some advice and tips.
You put me to shame girl! Every year I intend to do this….BUT you know what my Dad use to say about good intentions!
Love your new look!
Thanks, Pamela. Still tweaking a bit, but I think this is more of the "feel" that I wanted.
WHOA……..Love your new look Laurie!!!!!!! And, a great post.