Skip to content
Browse Topics
Expand
Food Storage
Gardening
Preparedness
Home Remedies
Foraging
Recipes
Homesteading
About
Shop
Expand
Bread Making Book
Gear
Search
Subscribe
Toggle Menu
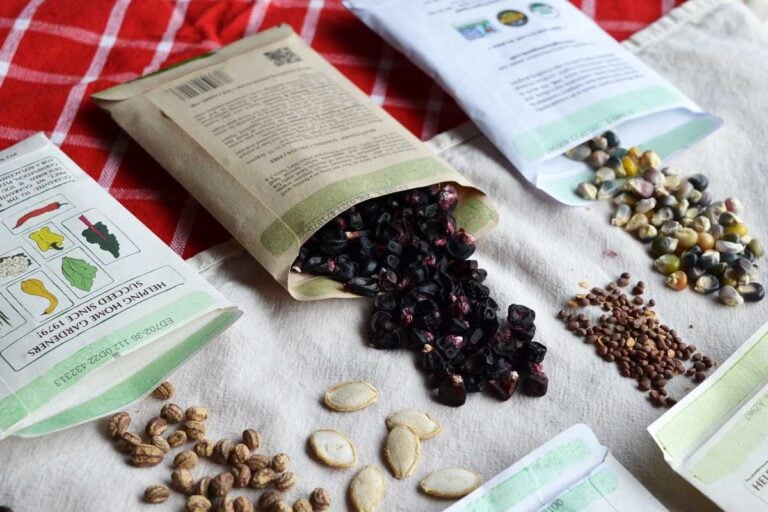
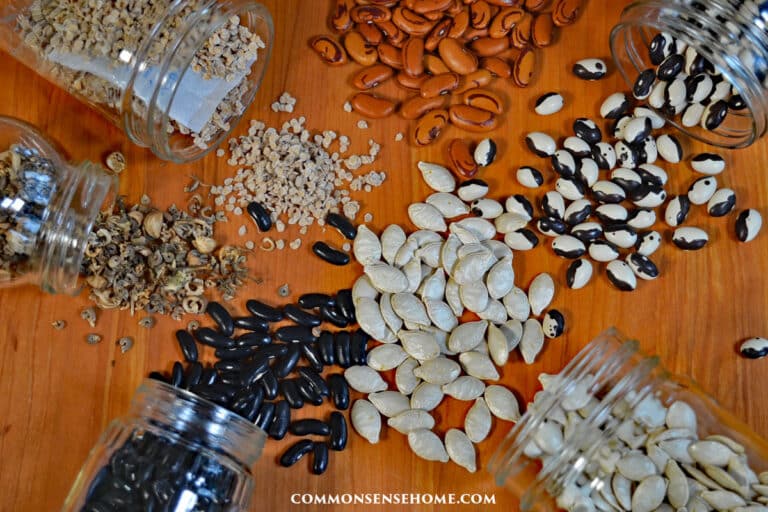
seeds
Best Heirloom Seeds – Recommended by Home Gardeners
What are Heirloom Seeds? (And Why it Matters)
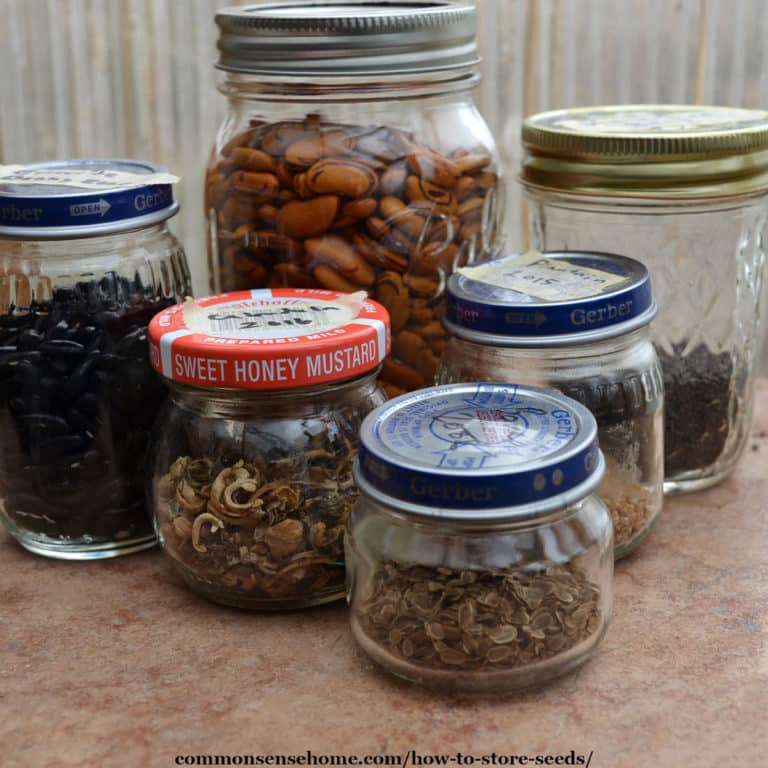
How to Store Seeds (for Next Year or Long Term)
Starting Seeds Indoors – Includes Troubleshooting Tips
Browse Topics
Toggle child menu
Expand
Food Storage
Gardening
Preparedness
Home Remedies
Foraging
Recipes
Homesteading
About
Shop
Toggle child menu
Expand
Bread Making Book
Gear
Search
Toggle Menu Close
Search for:
Search