Skip to content
Browse Topics
Expand
Food Storage
Gardening
Preparedness
Home Remedies
Foraging
Recipes
Homesteading
About
Shop
Expand
Bread Making Book
Gear
Search
Subscribe
Toggle Menu
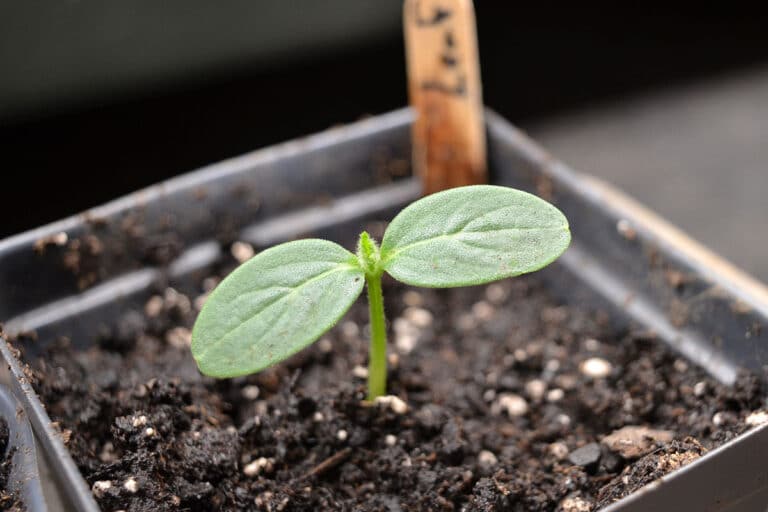
seed starting
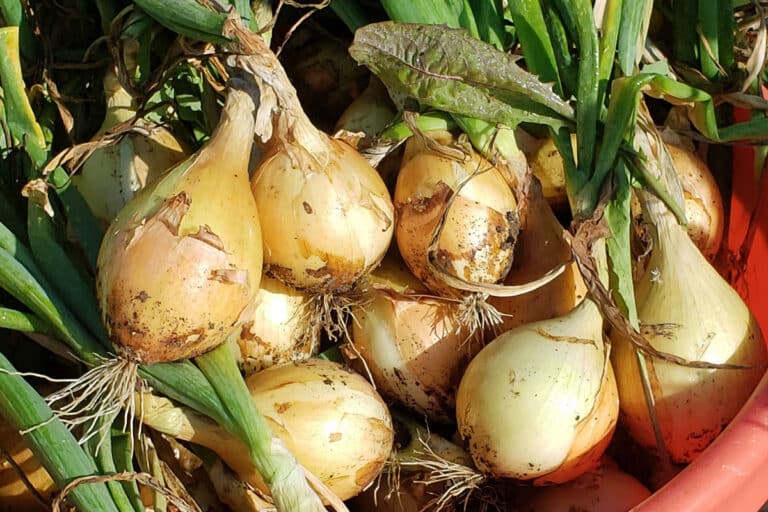
Growing Onions from Seed: A Complete Beginner’s Guide
When Should I Start Seeds? Indoor and Outdoor Charts
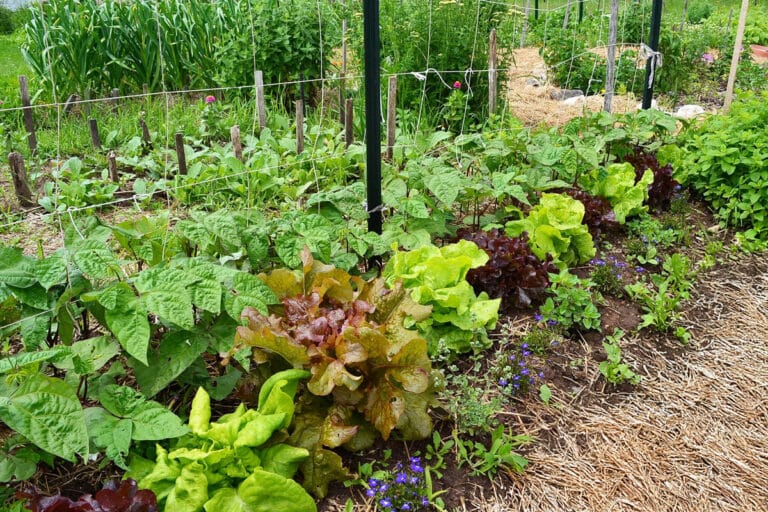
How to Start a Garden (Because Homegrown Food is the Best!)
Garden Planner & Gardening Journal Templates (Printable)
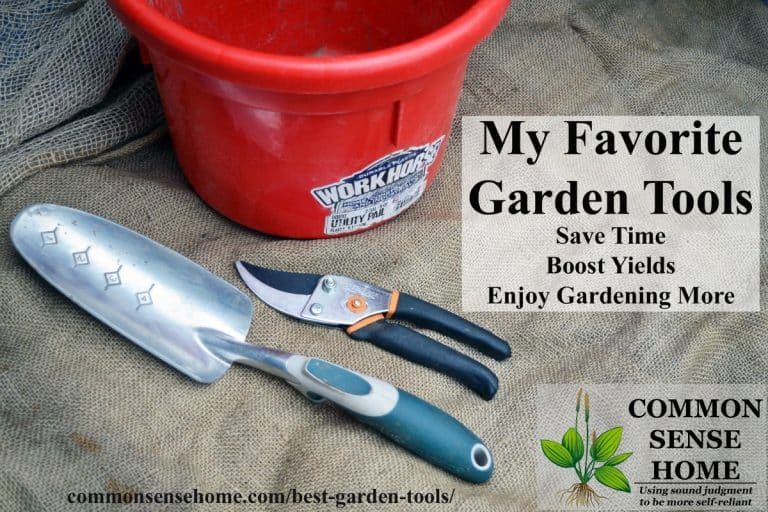
The Best Garden Tools Help Make Gardening Easier
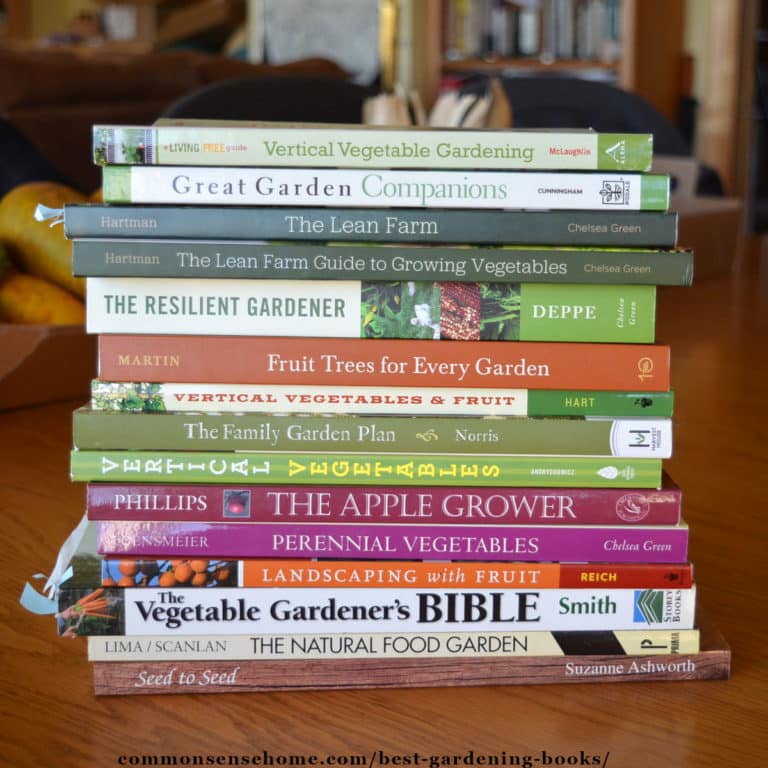
Best Gardening Books – Grow More Food, Get More Creative
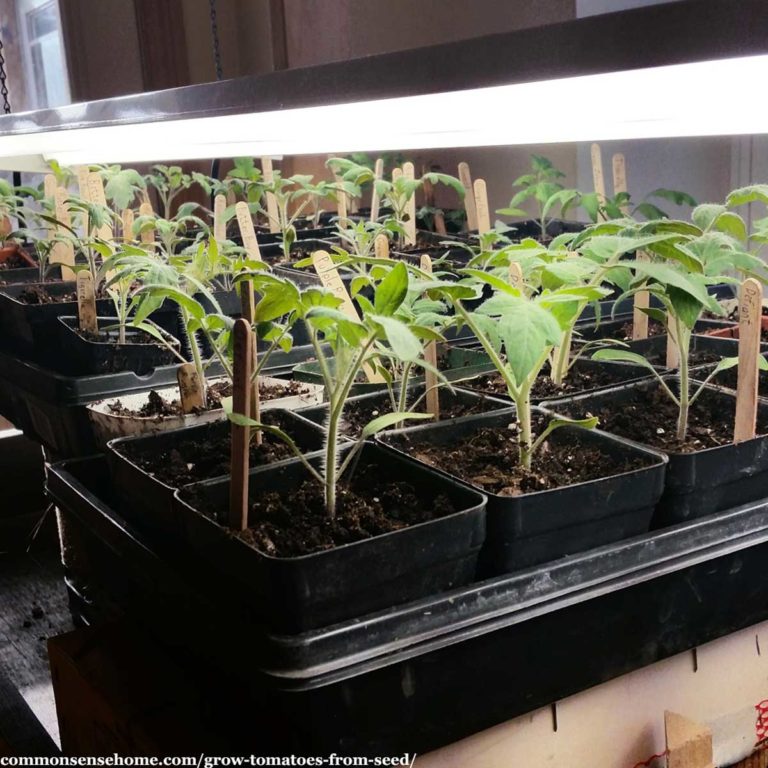
Grow Tomatoes from Seed – Save Money, Get More Varieties
Starting Seeds Indoors – Includes Troubleshooting Tips
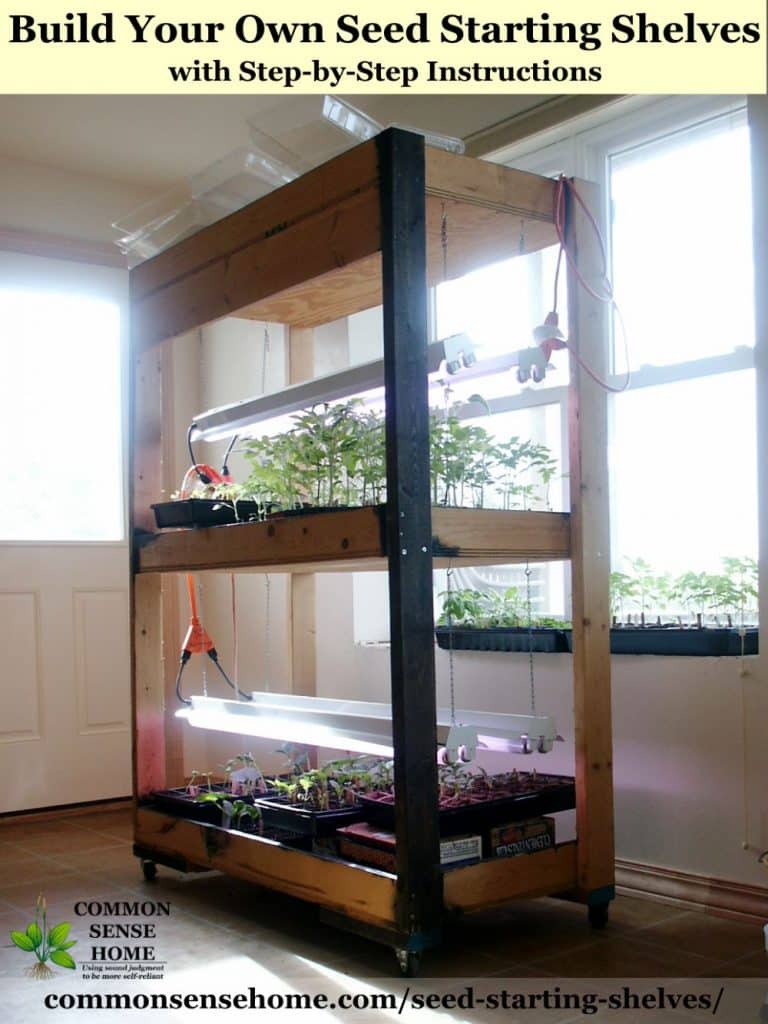
Build Your Own Simple Seed Starting Shelves
Browse Topics
Toggle child menu
Expand
Food Storage
Gardening
Preparedness
Home Remedies
Foraging
Recipes
Homesteading
About
Shop
Toggle child menu
Expand
Bread Making Book
Gear
Search
Toggle Menu Close
Search for:
Search