Skip to content
Browse Topics
Expand
Food Storage
Gardening
Preparedness
Home Remedies
Foraging
Recipes
Homesteading
About
Shop
Expand
Bread Making Book
Gear
Search
Subscribe
Toggle Menu
root vegetables
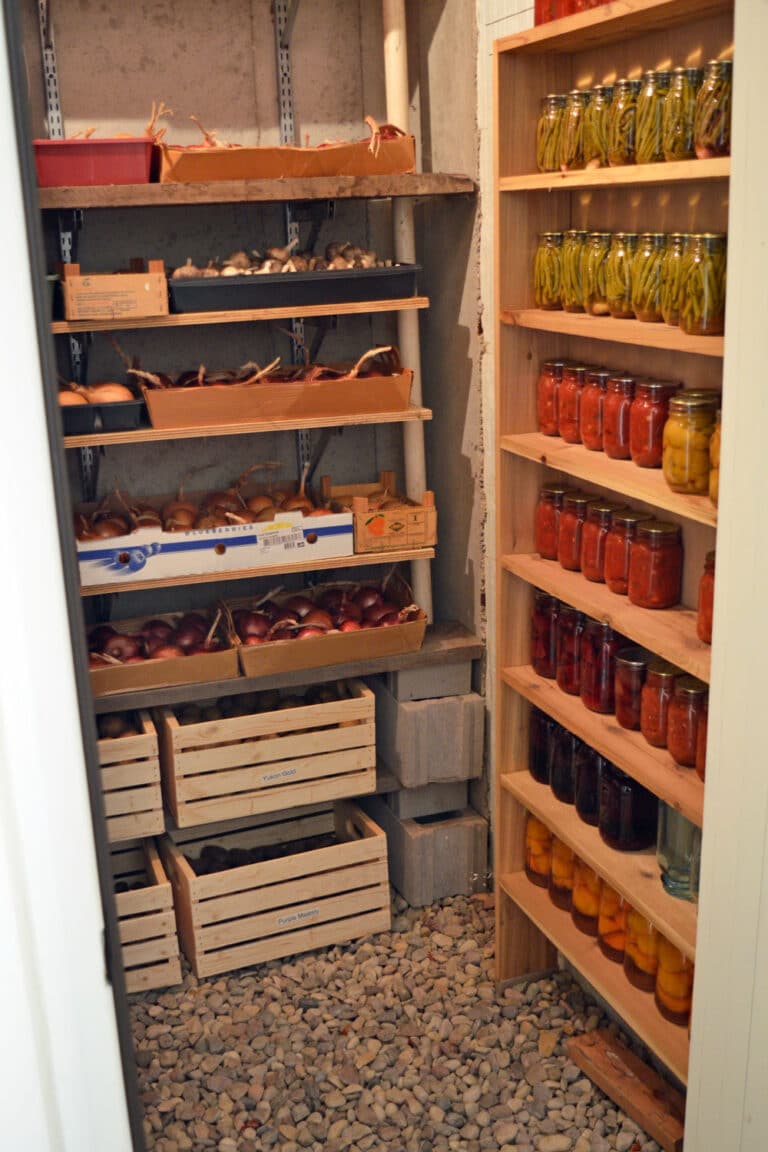
Root Cellars 101 – How to Build & Use One Successfully
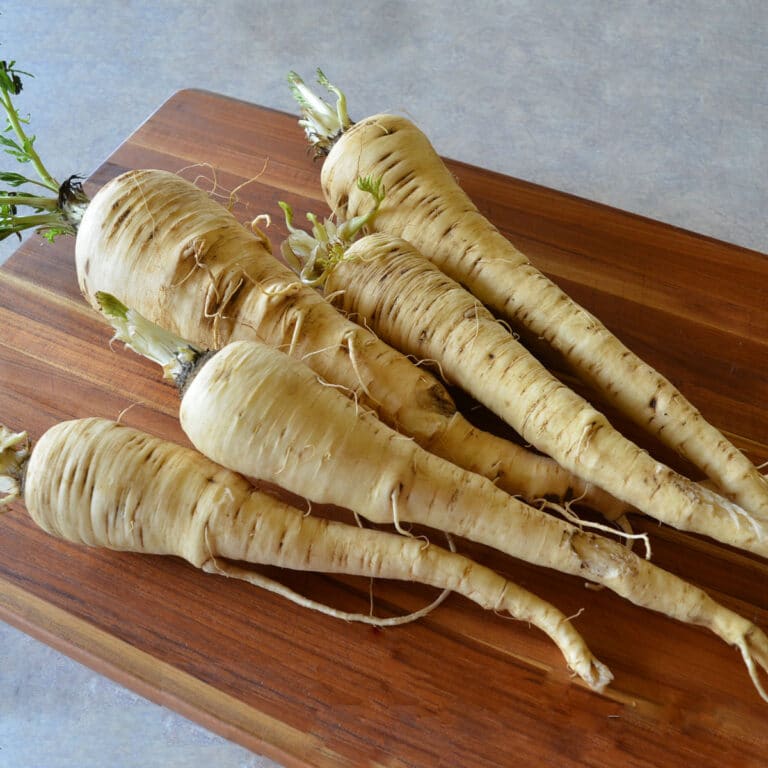
Parsnips – Growing, Harvesting, Use & Cautions
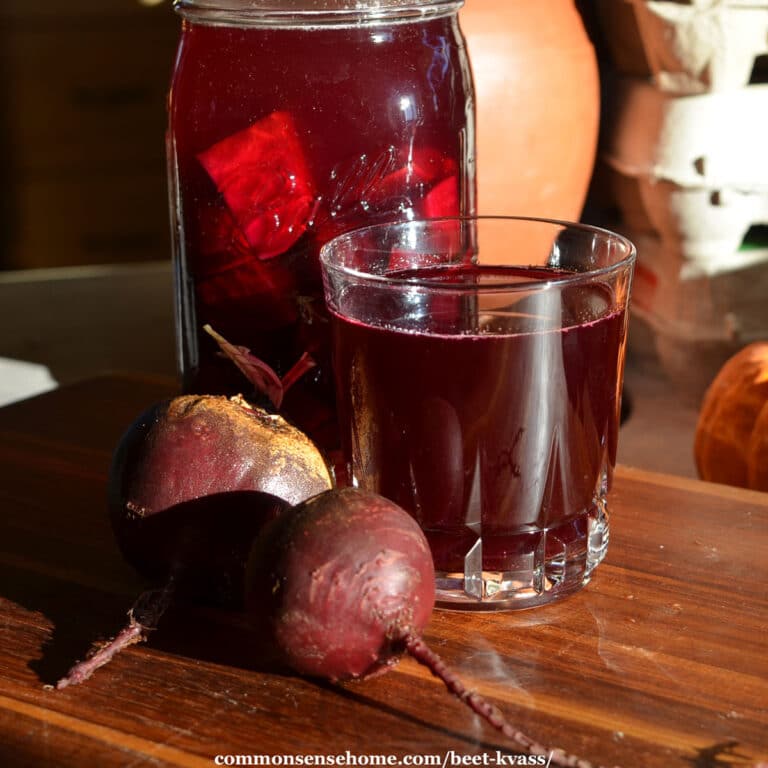
How to Make Beet Kvass (Probiotic Beverage)
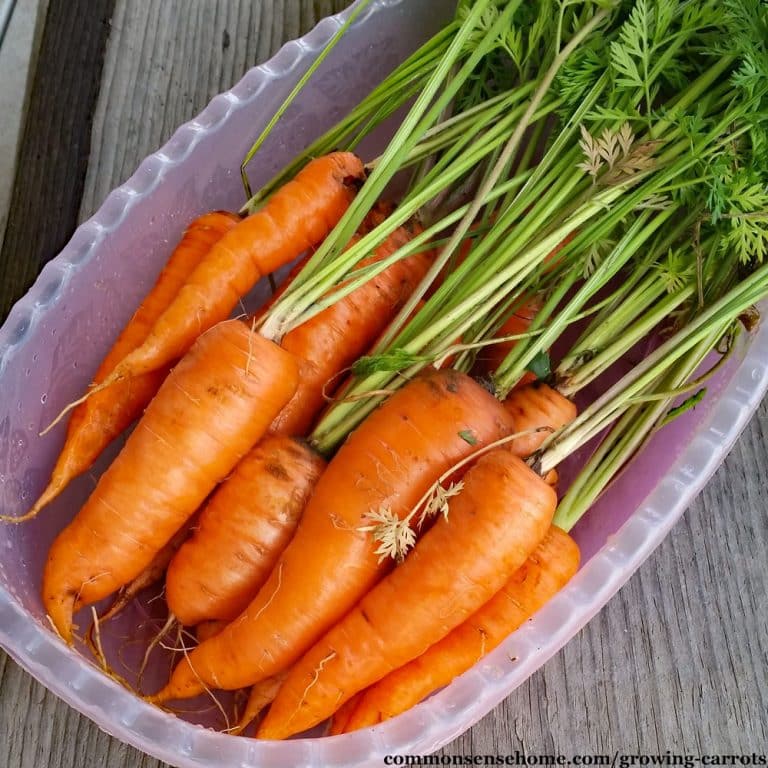
Growing Carrots – From Planting to Harvest
Browse Topics
Toggle child menu
Expand
Food Storage
Gardening
Preparedness
Home Remedies
Foraging
Recipes
Homesteading
About
Shop
Toggle child menu
Expand
Bread Making Book
Gear
Search
Toggle Menu Close
Search for:
Search