Skip to content
Browse Topics
Expand
Food Storage
Gardening
Preparedness
Home Remedies
Foraging
Recipes
Homesteading
About
Shop
Expand
Bread Making Book
Gear
Search
Subscribe
Toggle Menu
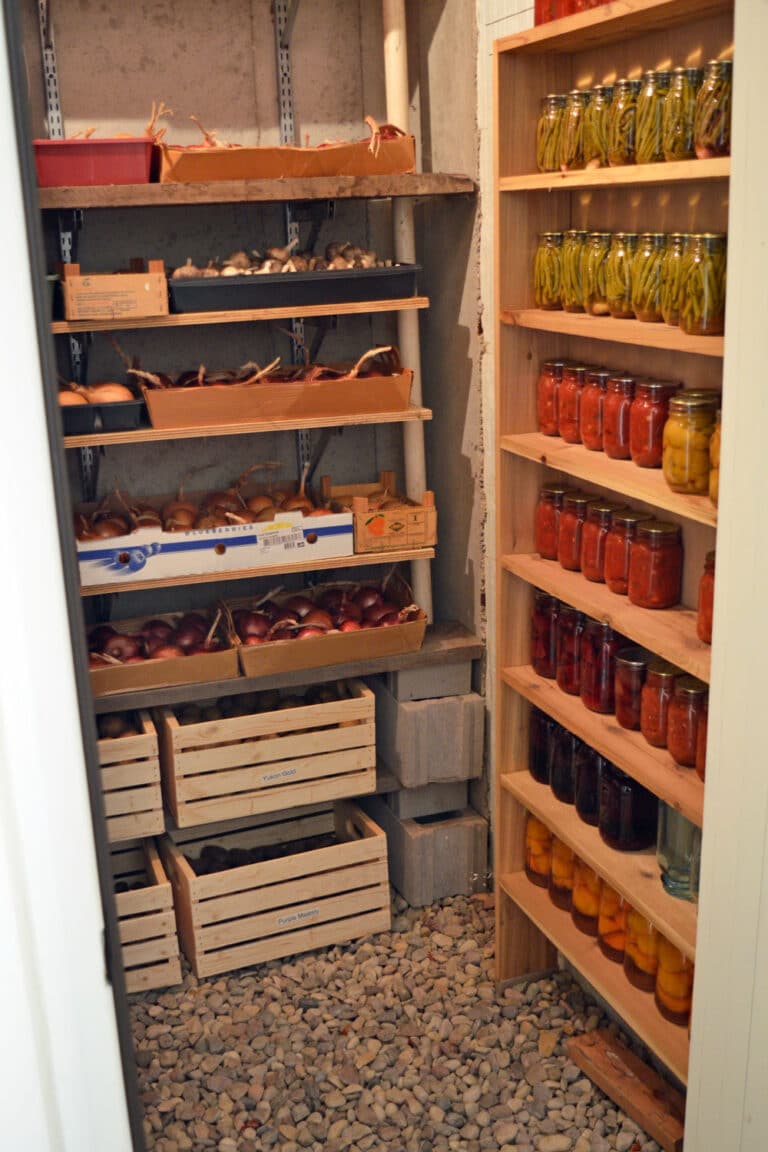
root cellar
Above Ground Root Cellars & Other No-Dig Food Storage
Root Cellars 101 – How to Build & Use One Successfully
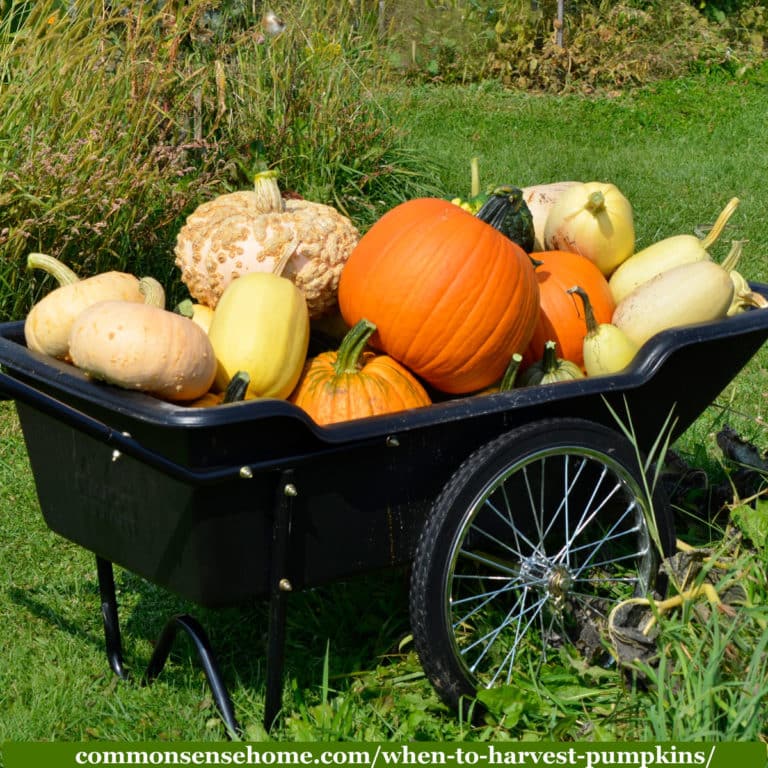
When to Harvest Pumpkins (and the Best Ways to Store Them)
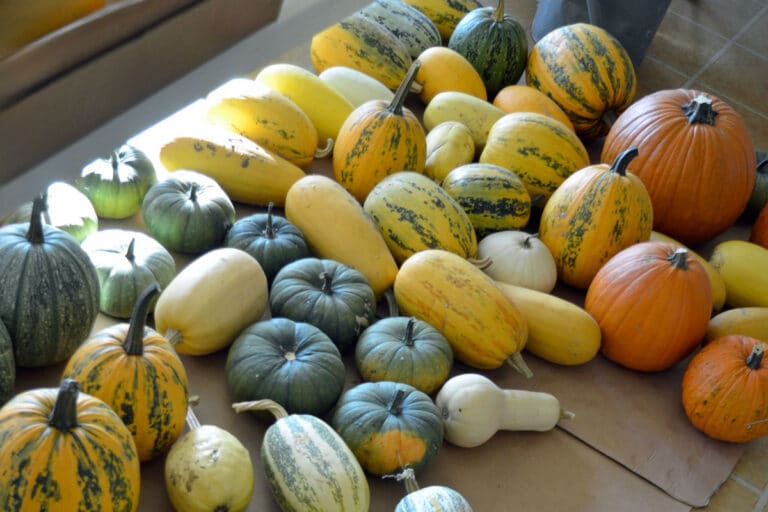
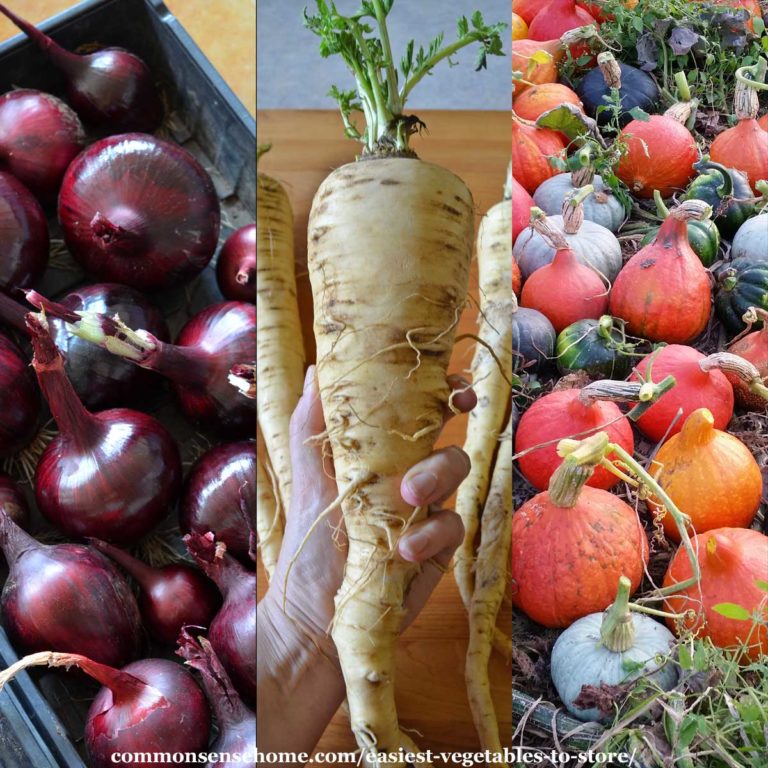
The 5 Easiest Vegetables to Store (Perfect for Home Gardens)
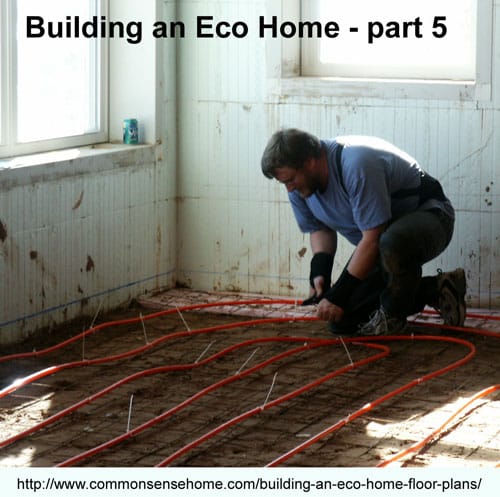
Building an Eco Home – part 5 of 8 – Floor Plans
Browse Topics
Toggle child menu
Expand
Food Storage
Gardening
Preparedness
Home Remedies
Foraging
Recipes
Homesteading
About
Shop
Toggle child menu
Expand
Bread Making Book
Gear
Search
Toggle Menu Close
Search for:
Search