Skip to content
Browse Topics
Expand
Food Storage
Gardening
Preparedness
Home Remedies
Foraging
Recipes
Homesteading
About
Shop
Expand
Bread Making Book
Gear
Search
Subscribe
Toggle Menu
preserving
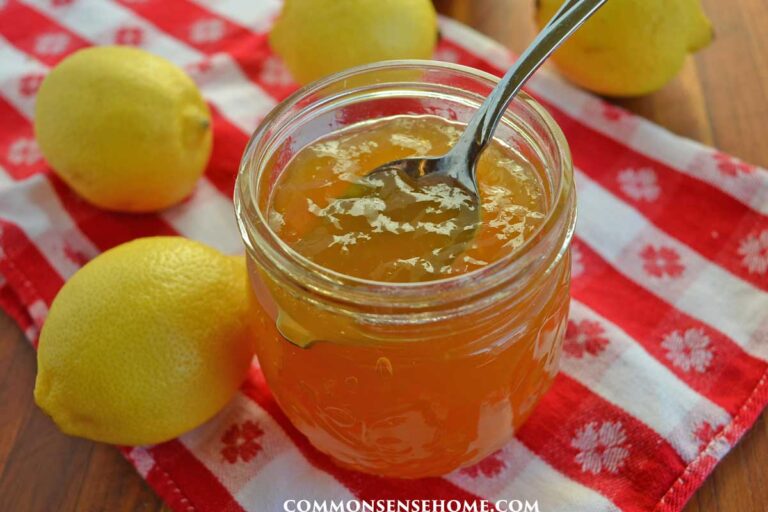
Lemon Ground Cherry Jelly – Classic and Low Sugar Recipes
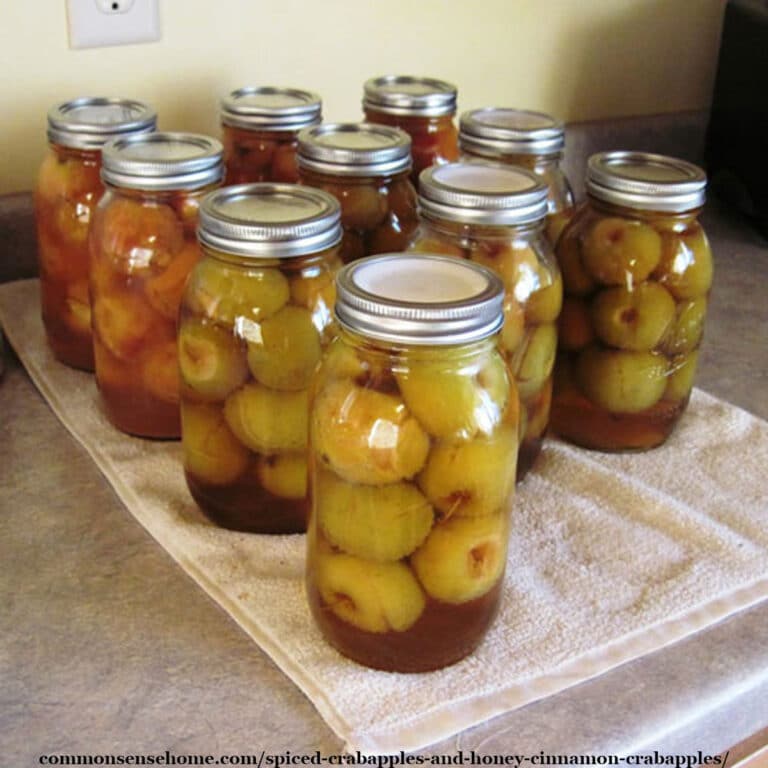
Spiced Crabapples and Honey Cinnamon Crabapples
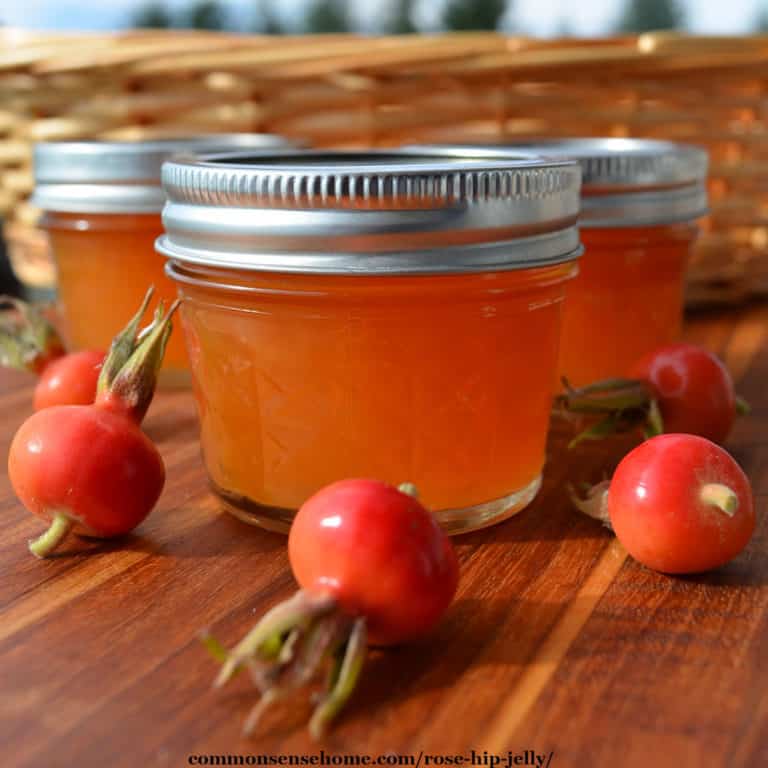
Rose Hip Jelly from Wild or Garden Roses (Low Sugar)
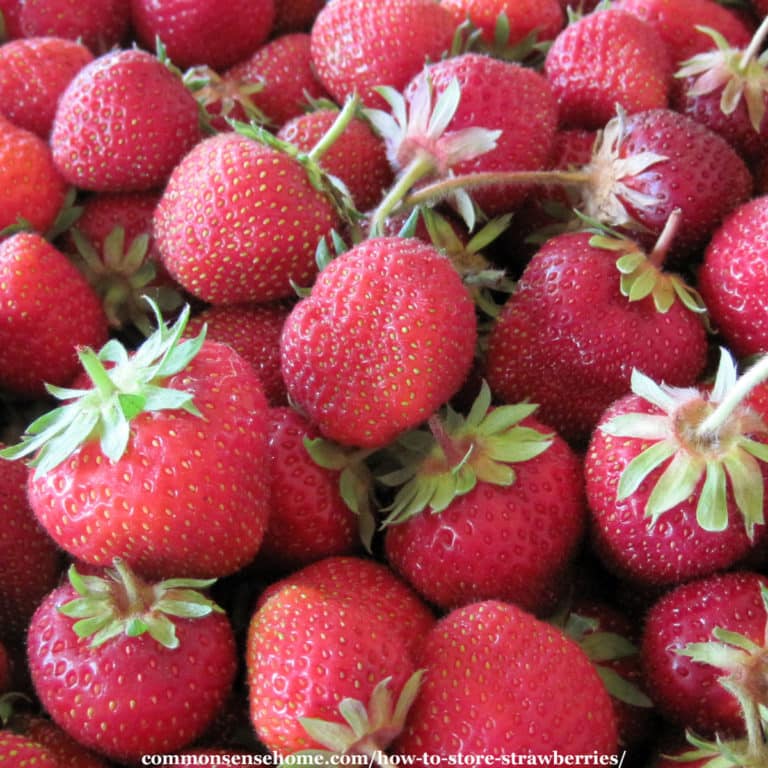
How to Store Strawberries 12 Ways
The Natural Canning Resource Book – Can Safely, Adapt Recipes
Browse Topics
Toggle child menu
Expand
Food Storage
Gardening
Preparedness
Home Remedies
Foraging
Recipes
Homesteading
About
Shop
Toggle child menu
Expand
Bread Making Book
Gear
Search
Toggle Menu Close
Search for:
Search