Skip to content
Browse Topics
Expand
Food Storage
Gardening
Preparedness
Home Remedies
Foraging
Recipes
Homesteading
About
Shop
Expand
Bread Making Book
Gear
Search
Subscribe
Toggle Menu
potatoes
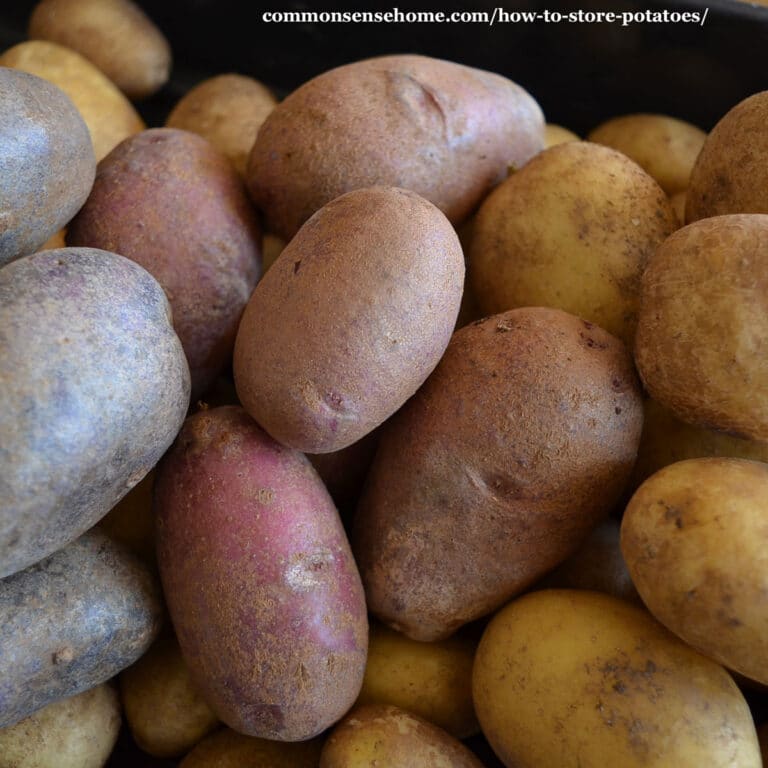
How to Store Potatoes Long Term
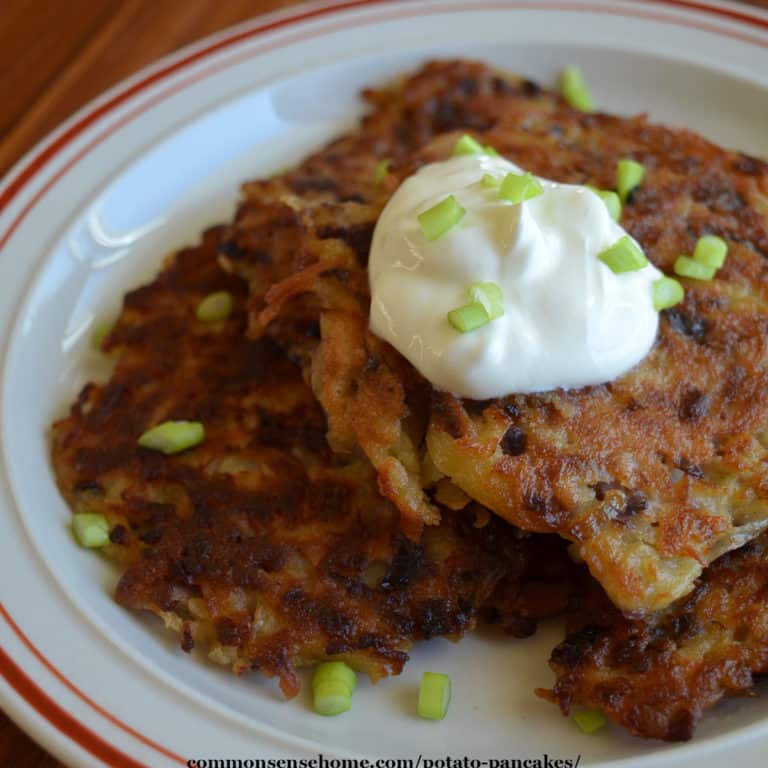
Potato Pancakes (Almost) Like Grandma Used to Make
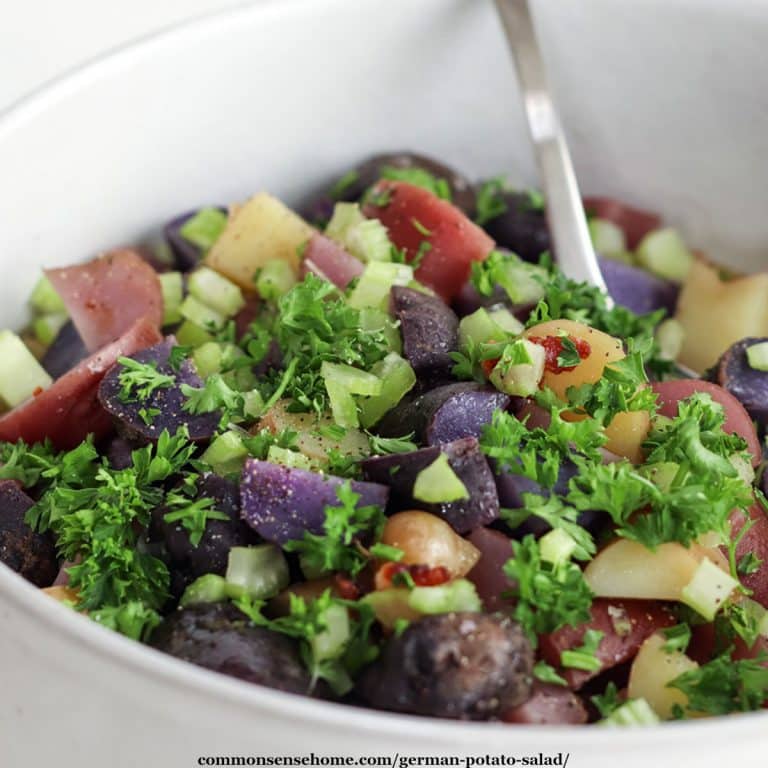
Easy German Potato Salad (Plus 5 Tips to Pick the Best Potatoes)
Potato Towers – Best Varieties to Grow and Other Tips for Success
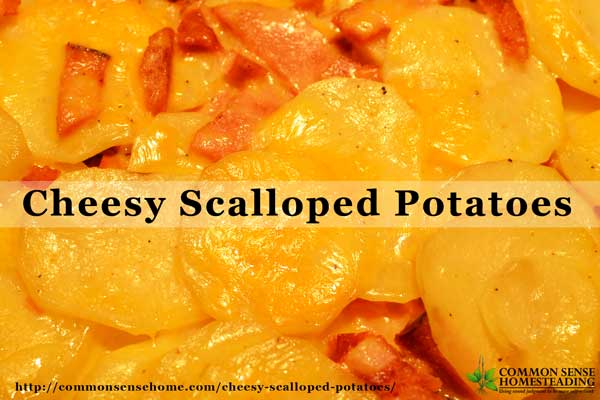
Cheesy Scalloped Potatoes – A Homestyle Family Favorite
Browse Topics
Toggle child menu
Expand
Food Storage
Gardening
Preparedness
Home Remedies
Foraging
Recipes
Homesteading
About
Shop
Toggle child menu
Expand
Bread Making Book
Gear
Search
Toggle Menu Close
Search for:
Search