Skip to content
Browse Topics
Expand
Food Storage
Gardening
Preparedness
Home Remedies
Foraging
Recipes
Homesteading
About
Shop
Expand
Bread Making Book
Gear
Search
Subscribe
Toggle Menu
Local Food
Easy Horseradish Sauce Recipe with Fresh Horseradish Root
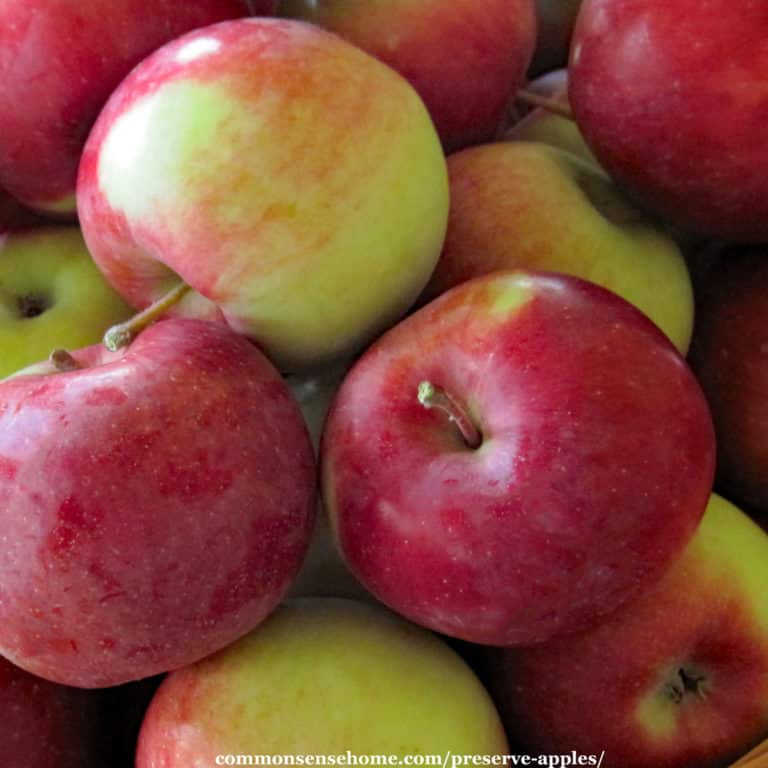
Preserve Apples for Year Round Use 17 Easy and Creative Ways
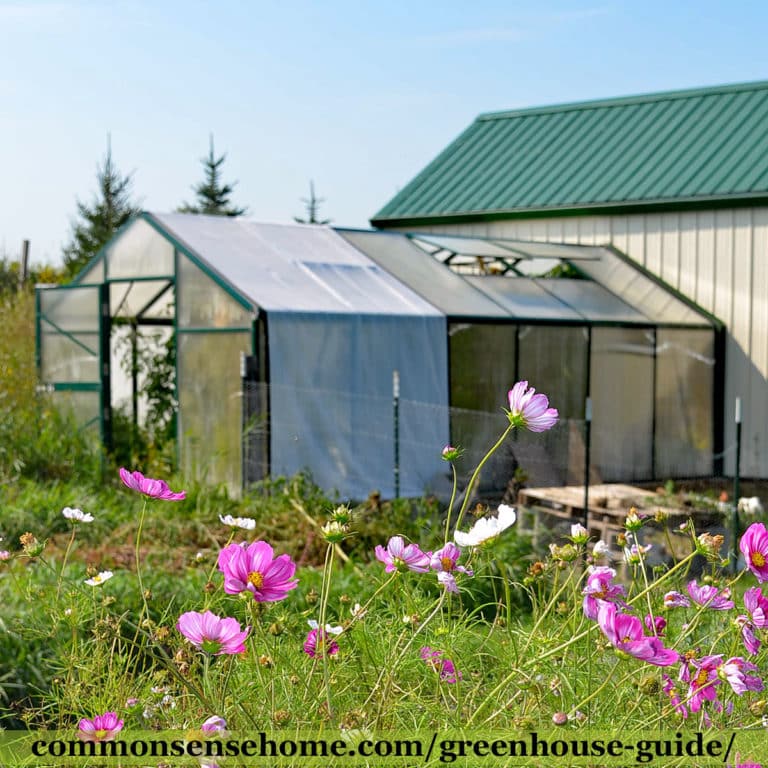
Greenhouse Guide – What You Need to Know Before You Build
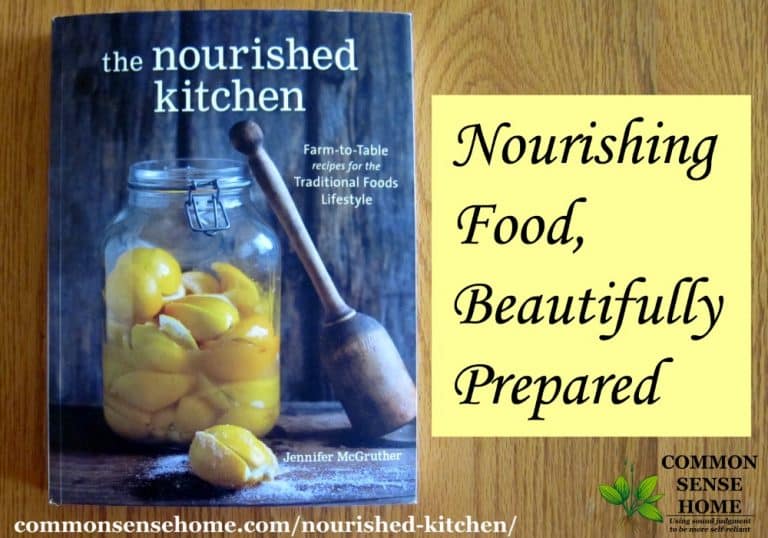
The Nourished Kitchen Cookbook Review
Browse Topics
Toggle child menu
Expand
Food Storage
Gardening
Preparedness
Home Remedies
Foraging
Recipes
Homesteading
About
Shop
Toggle child menu
Expand
Bread Making Book
Gear
Search
Toggle Menu Close
Search for:
Search