Skip to content
Browse Topics
Expand
Food Storage
Gardening
Preparedness
Home Remedies
Foraging
Recipes
Homesteading
About
Shop
Expand
Bread Making Book
Gear
Search
Subscribe
Toggle Menu
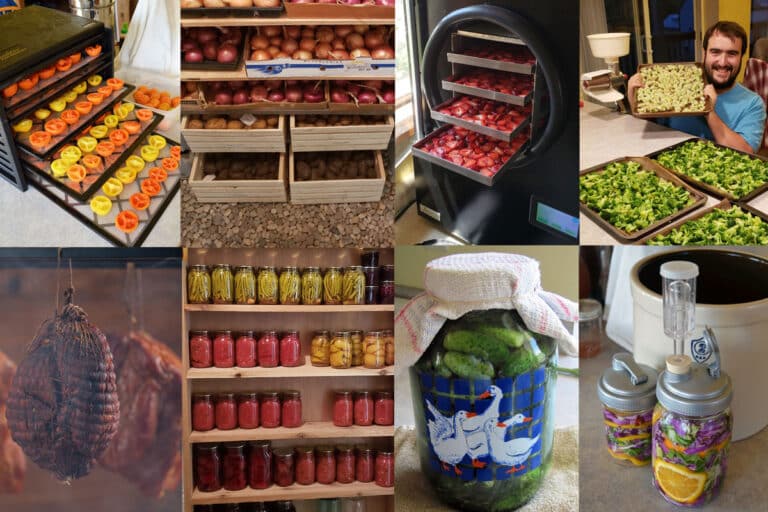
home food preservation
Food Preservation Methods – 11 Ways to Preserve Food at Home
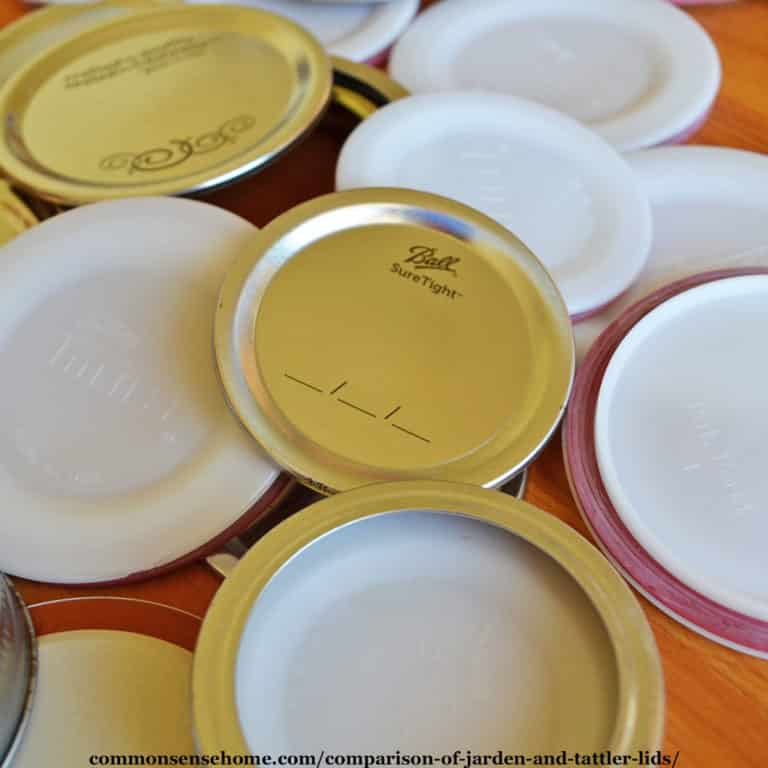
Comparison of Metal Lids and Tattler Lids (Reusable Lids)
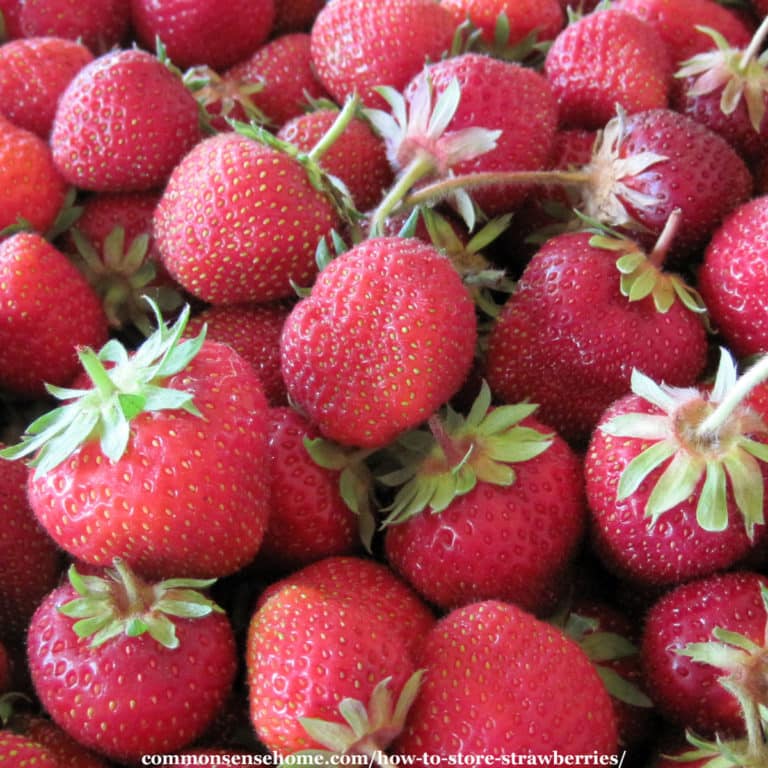
How to Store Strawberries 12 Ways
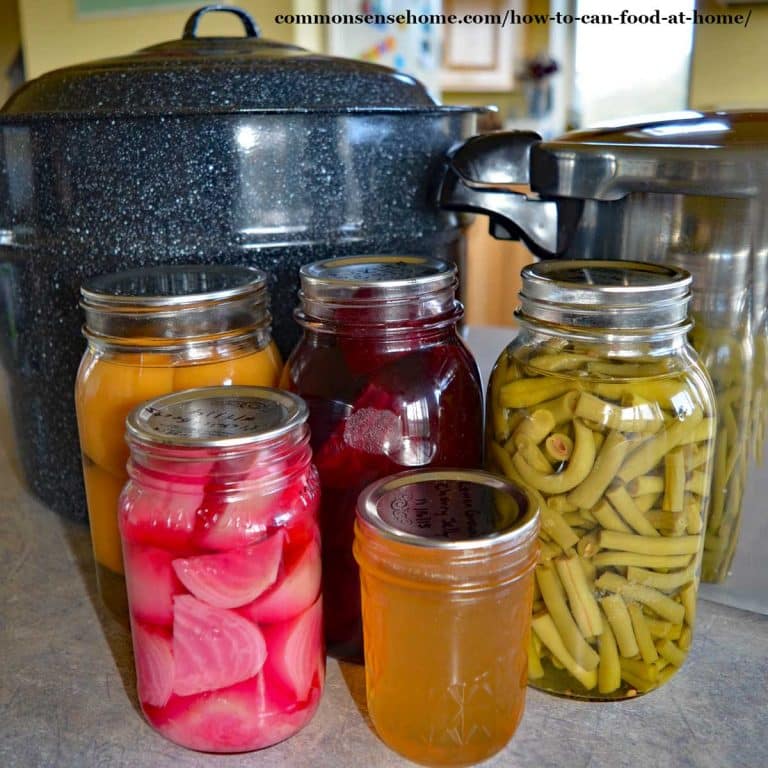
How to Can Food at Home – Quick Guide to Safe Home Canning
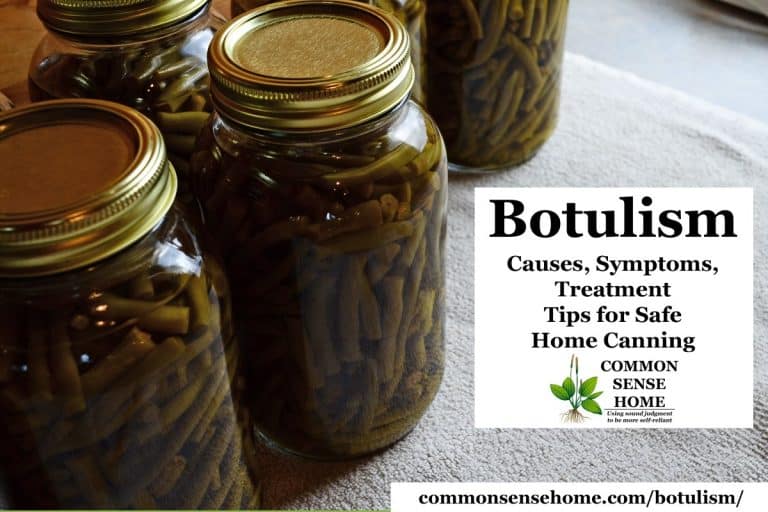
Botulism – Tips for Safe Home Canning
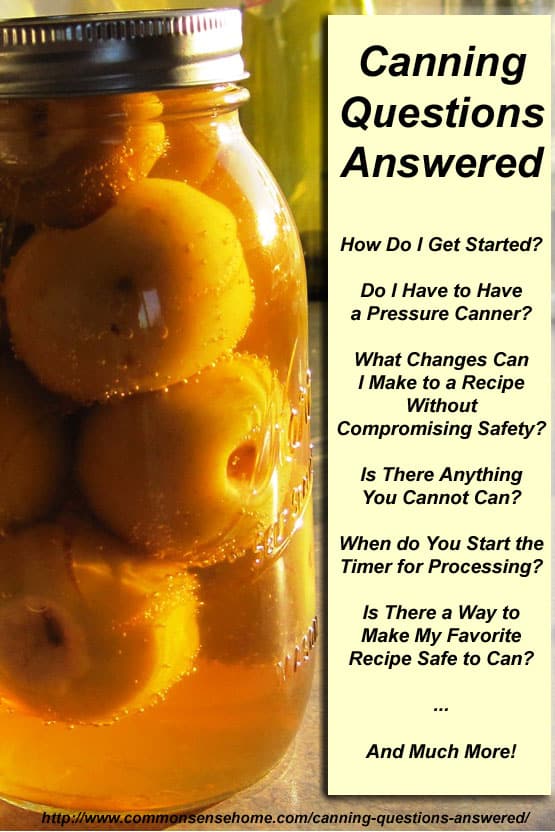
Canning Questions Answered – A Great Canning Resource
Browse Topics
Toggle child menu
Expand
Food Storage
Gardening
Preparedness
Home Remedies
Foraging
Recipes
Homesteading
About
Shop
Toggle child menu
Expand
Bread Making Book
Gear
Search
Toggle Menu Close
Search for:
Search