Skip to content
Browse Topics
Expand
Food Storage
Gardening
Preparedness
Home Remedies
Foraging
Recipes
Homesteading
About
Shop
Expand
Bread Making Book
Gear
Search
Subscribe
Toggle Menu
freezing
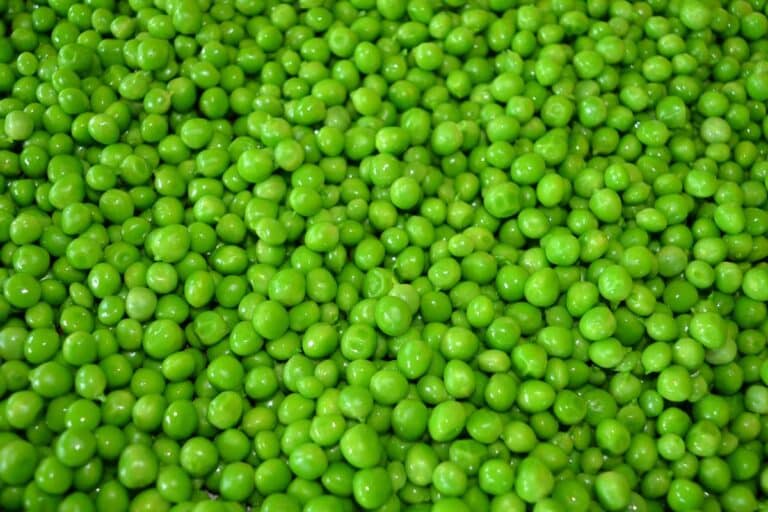
How to Freeze Peas from the Garden
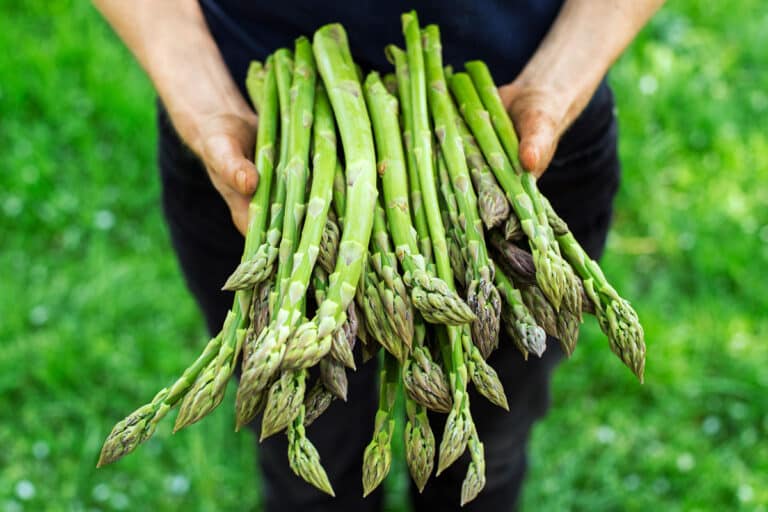
How to Freeze Asparagus – Step by Step
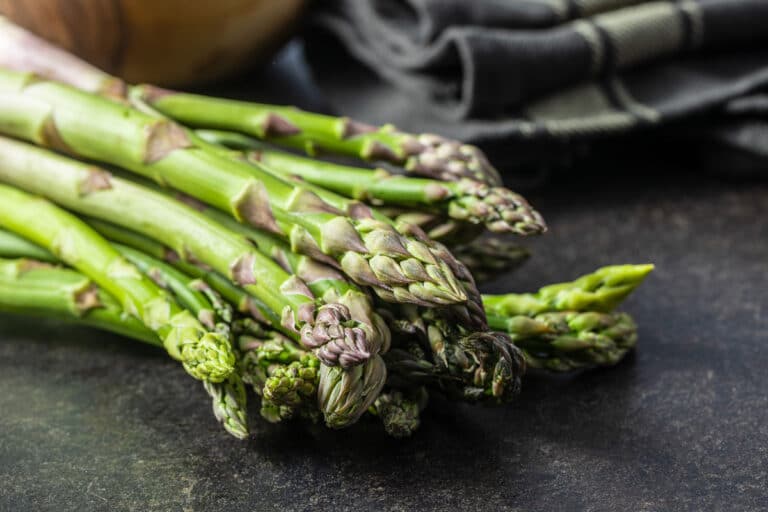
How to Store Asparagus in the Refrigerator & Long Term
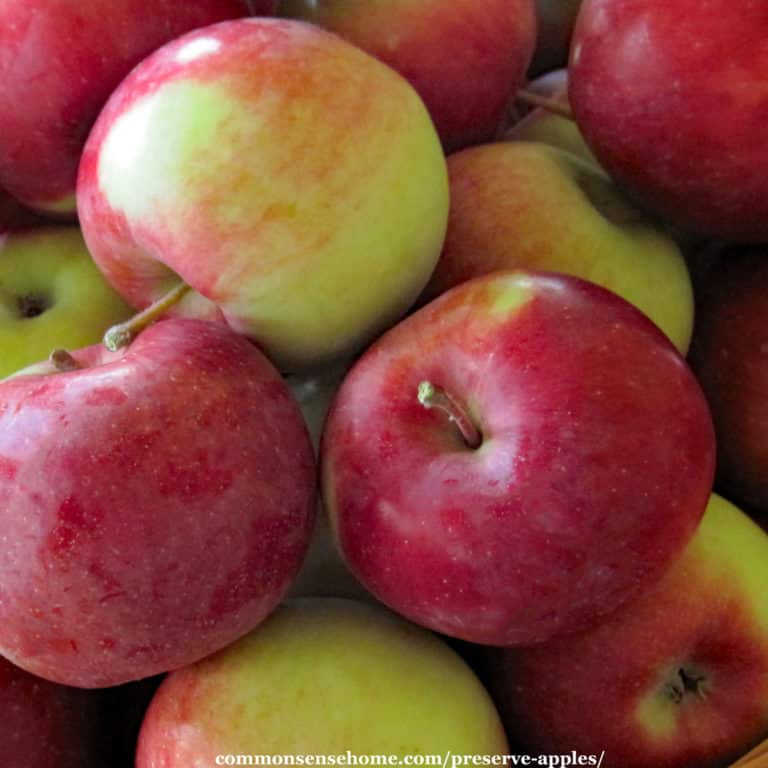
Preserve Apples for Year Round Use 17 Easy and Creative Ways
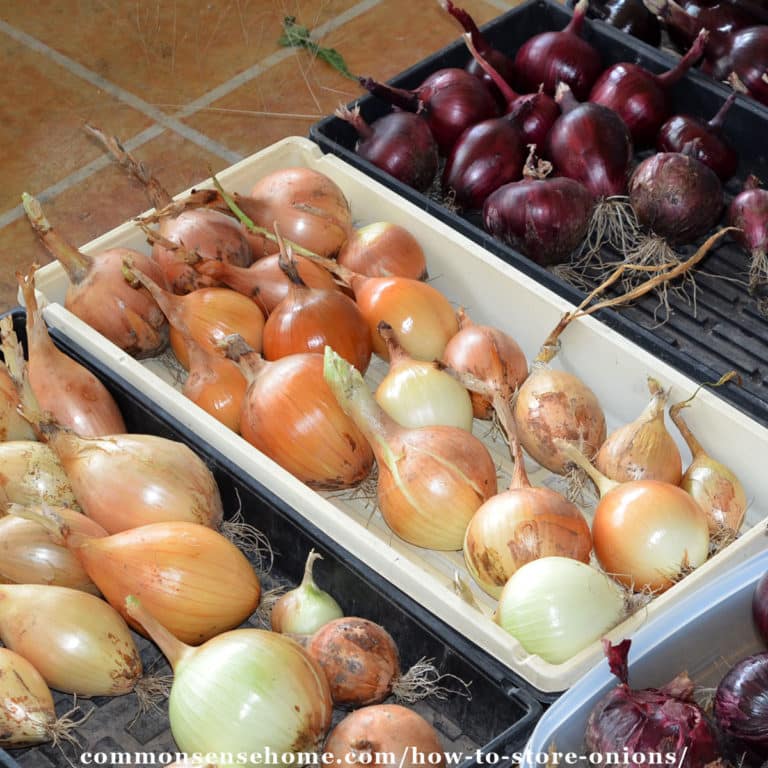
How to Store Onions So They Last
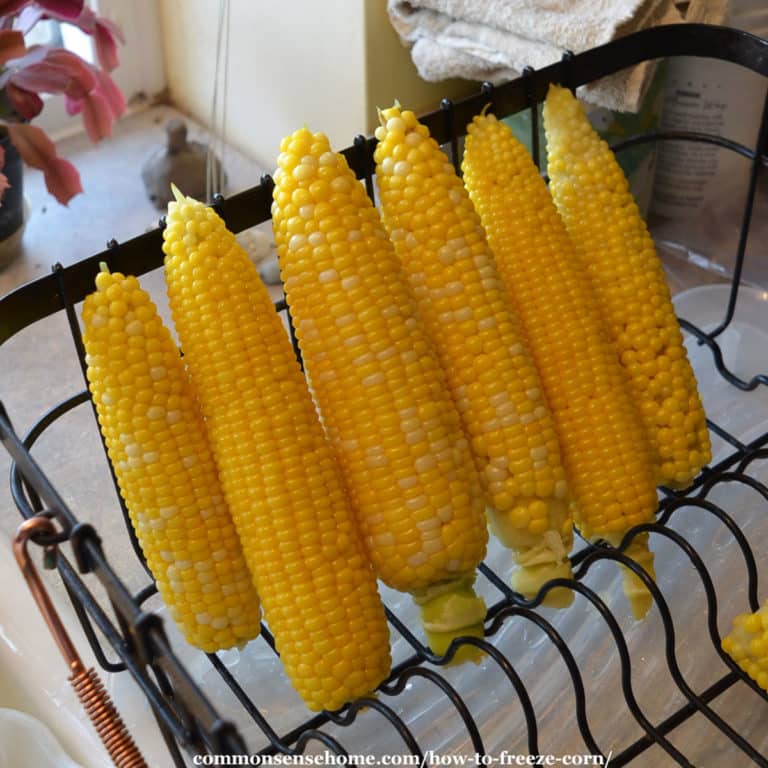
How to Freeze Corn (on the Cob or Off)
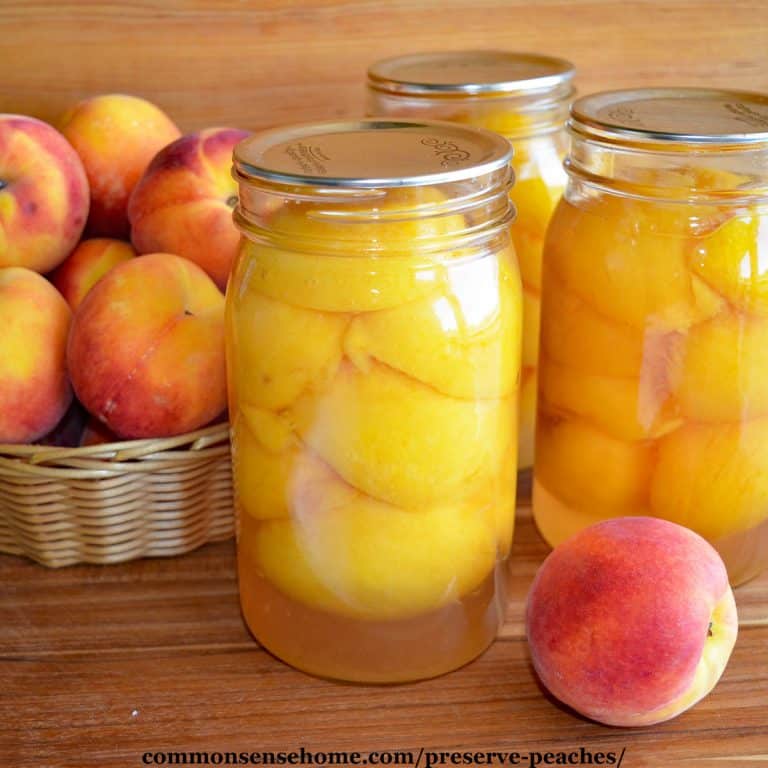
Preserve Peaches 5 Ways, Plus the Easy Way to Peel Peaches
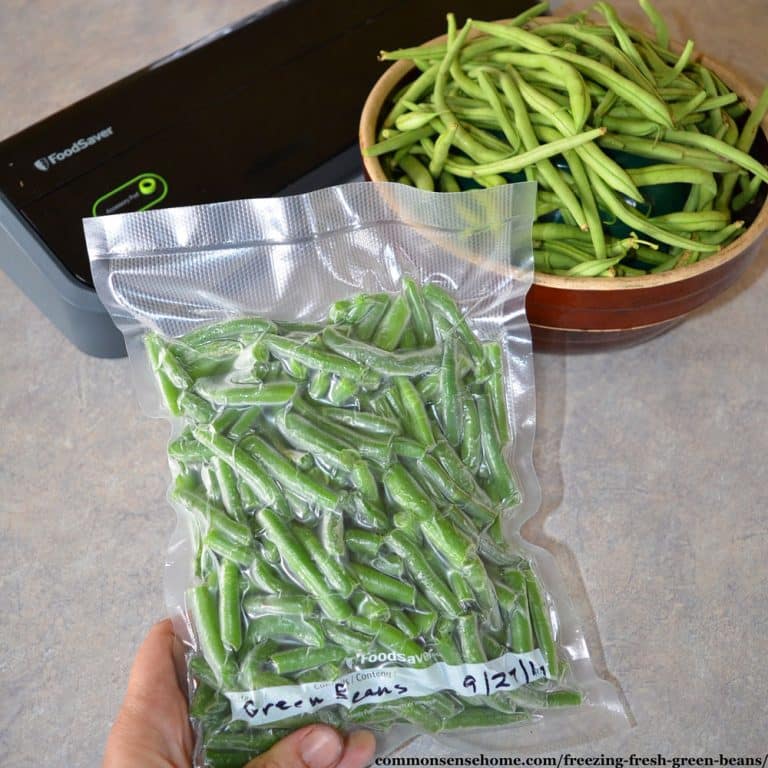
Freezing Fresh Green Beans With or Without Blanching, Step by Step Instructions
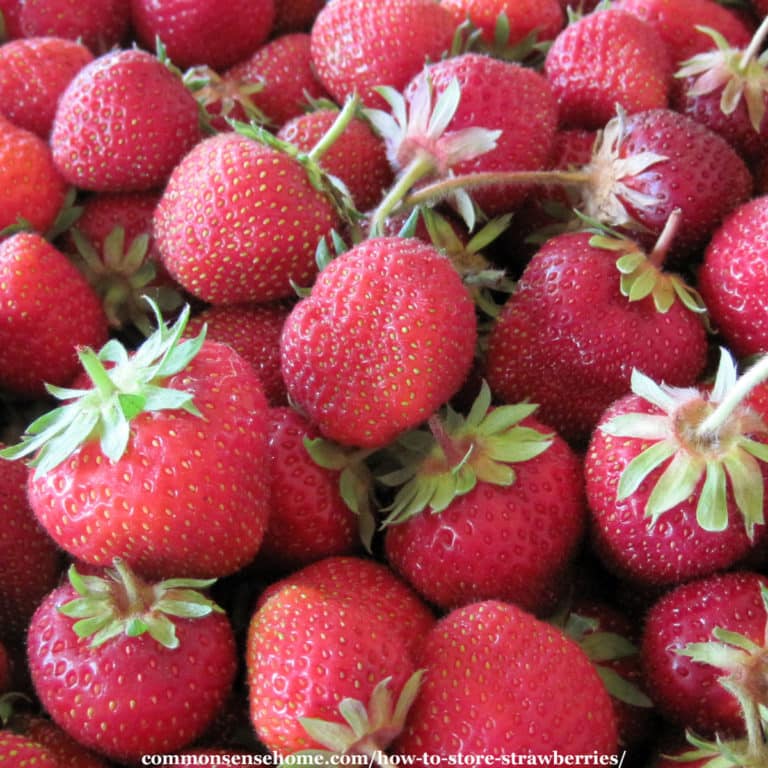
How to Store Strawberries 12 Ways
Browse Topics
Toggle child menu
Expand
Food Storage
Gardening
Preparedness
Home Remedies
Foraging
Recipes
Homesteading
About
Shop
Toggle child menu
Expand
Bread Making Book
Gear
Search
Toggle Menu Close
Search for:
Search