Skip to content
Browse Topics
Expand
Food Storage
Gardening
Preparedness
Home Remedies
Foraging
Recipes
Homesteading
About
Shop
Expand
Bread Making Book
Gear
Search
Subscribe
Toggle Menu
Food Storage
Above Ground Root Cellars & Other No-Dig Food Storage
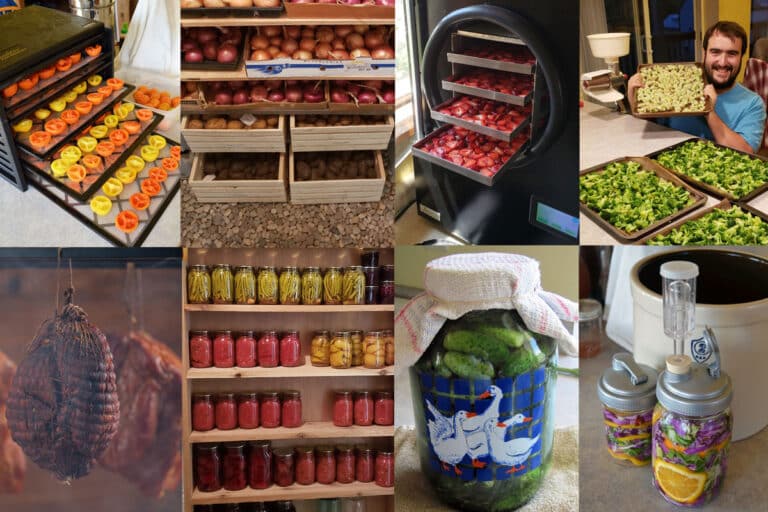
Food Preservation Methods – 11 Ways to Preserve Food at Home
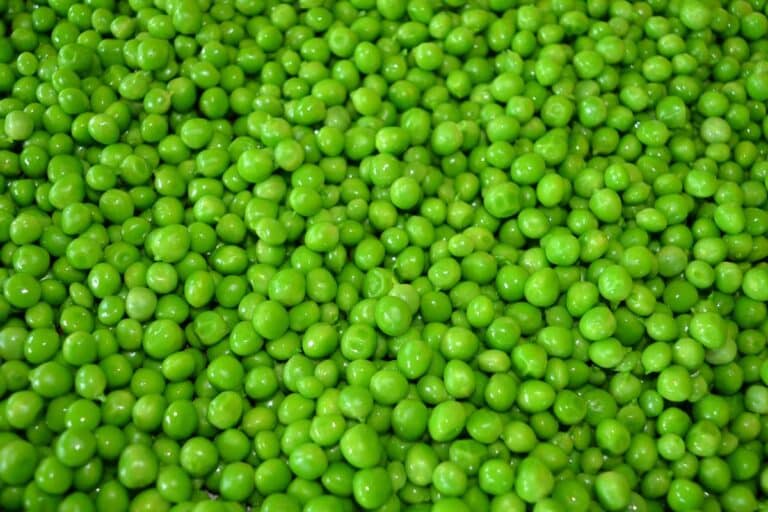
How to Freeze Peas from the Garden
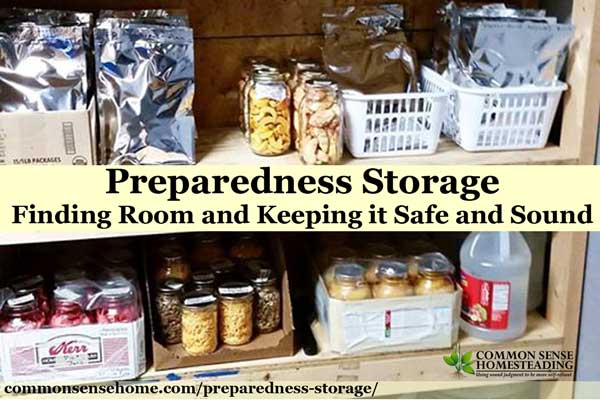
Preparedness Storage – Finding Room and Keeping it Safe and Sound
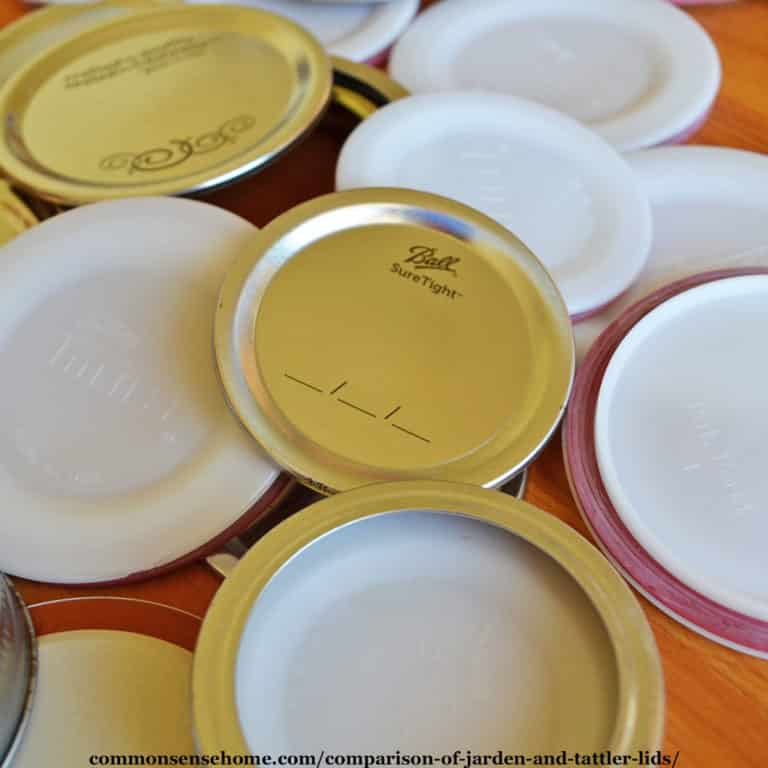
Comparison of Metal Lids and Tattler Lids (Reusable Lids)
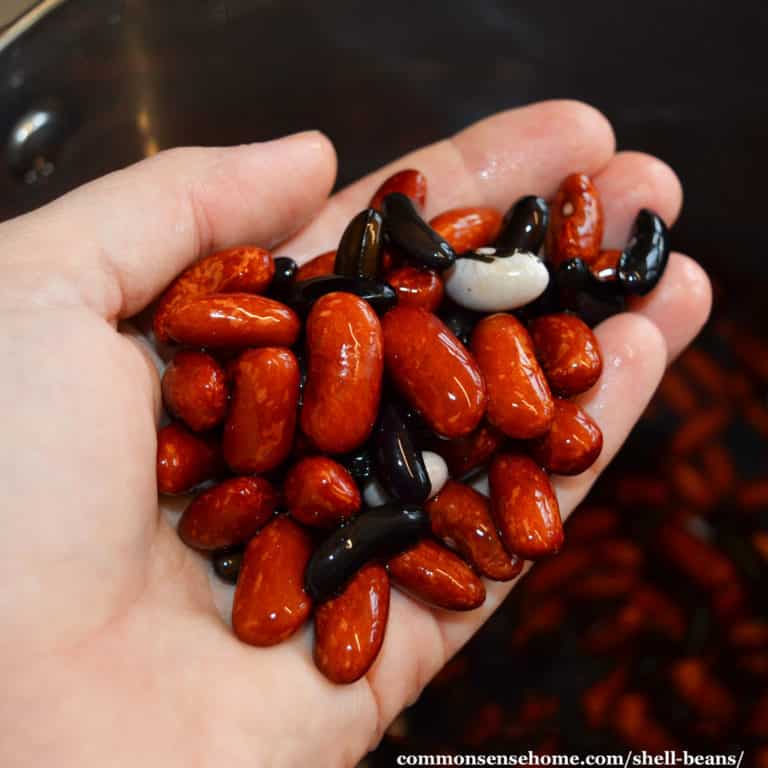
What are Shell Beans? (Growing Tips, Usage, Storage)
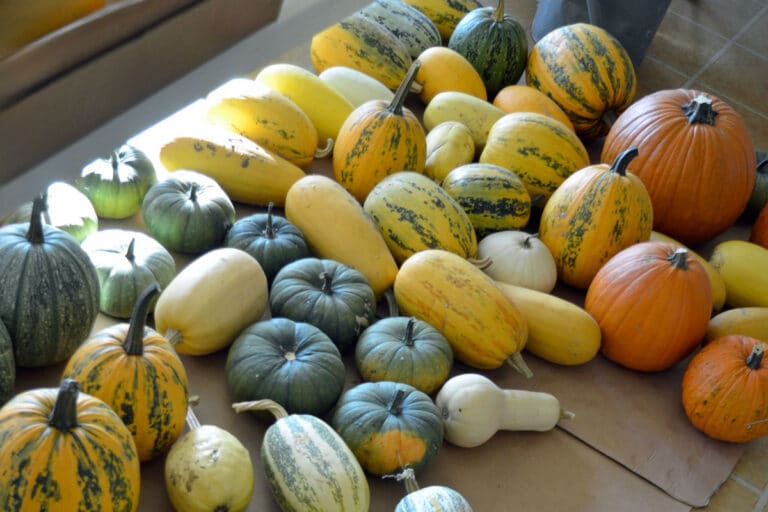
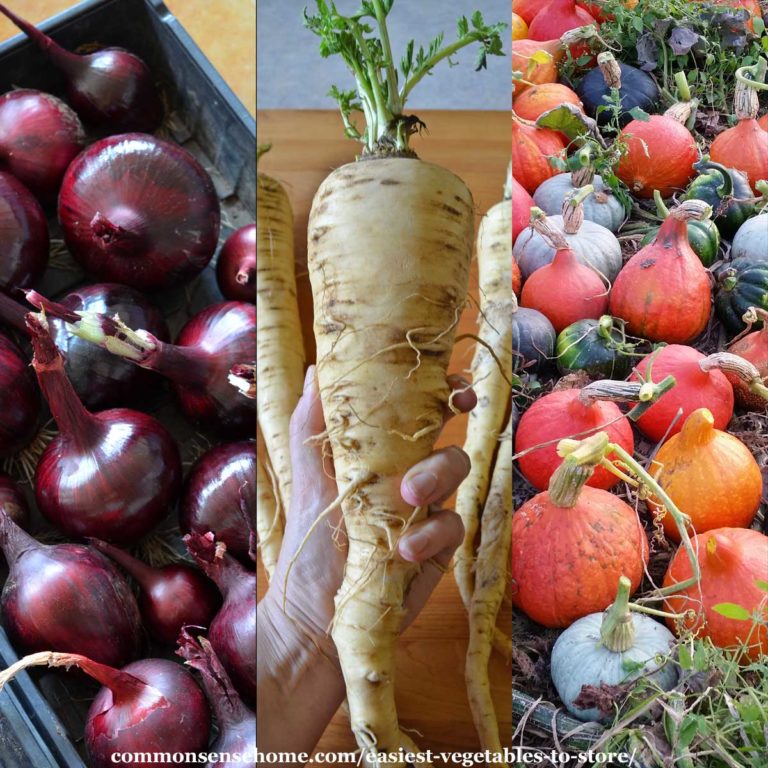
The 5 Easiest Vegetables to Store (Perfect for Home Gardens)
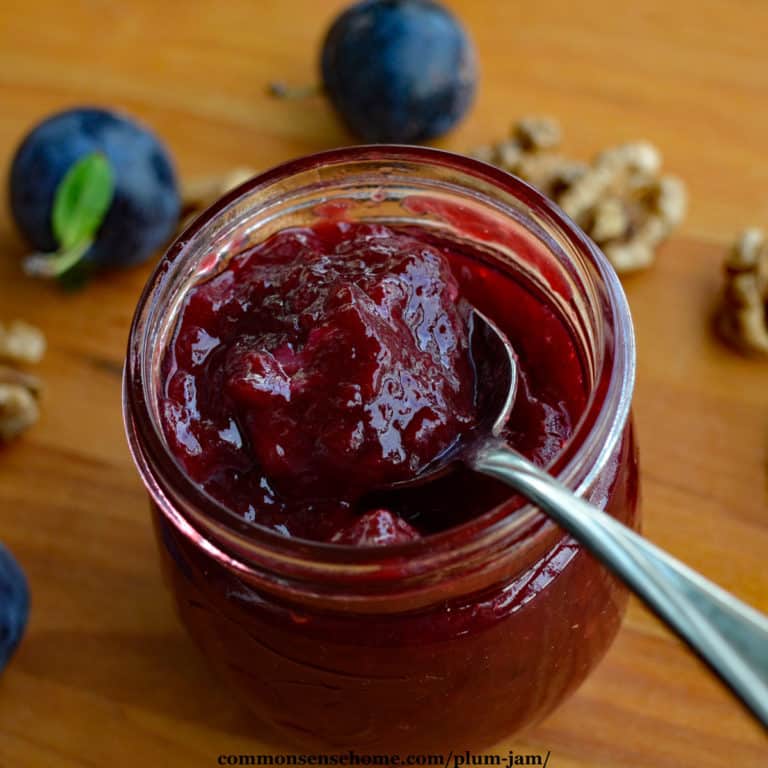
Plum Preserves – Honey Sweetened, No Commercial Pectin
Plum Jam with Walnuts and Rum – Small Batch, Low Sugar
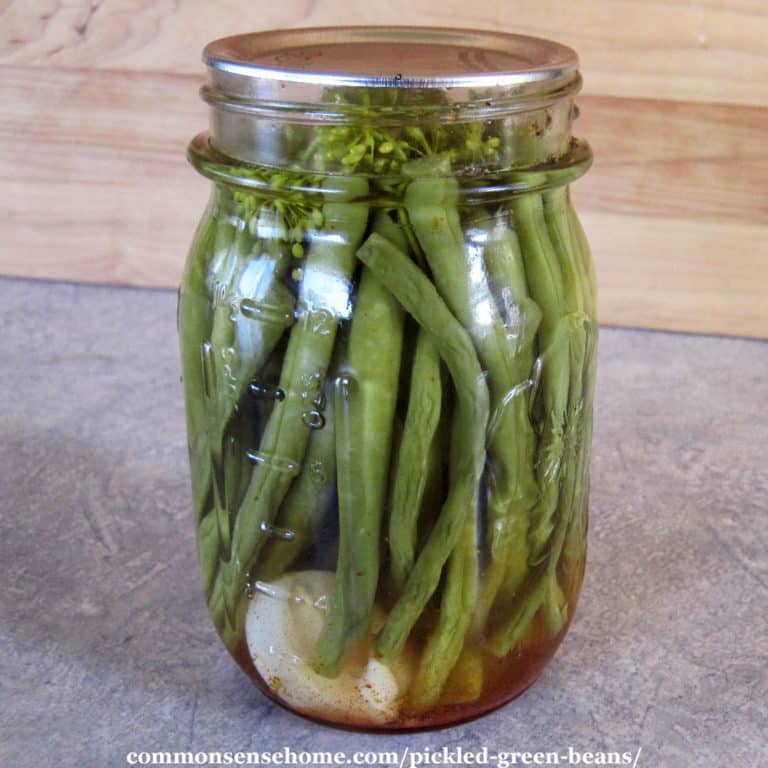
Pickled Green Beans – Quick and Easy Canning Recipe
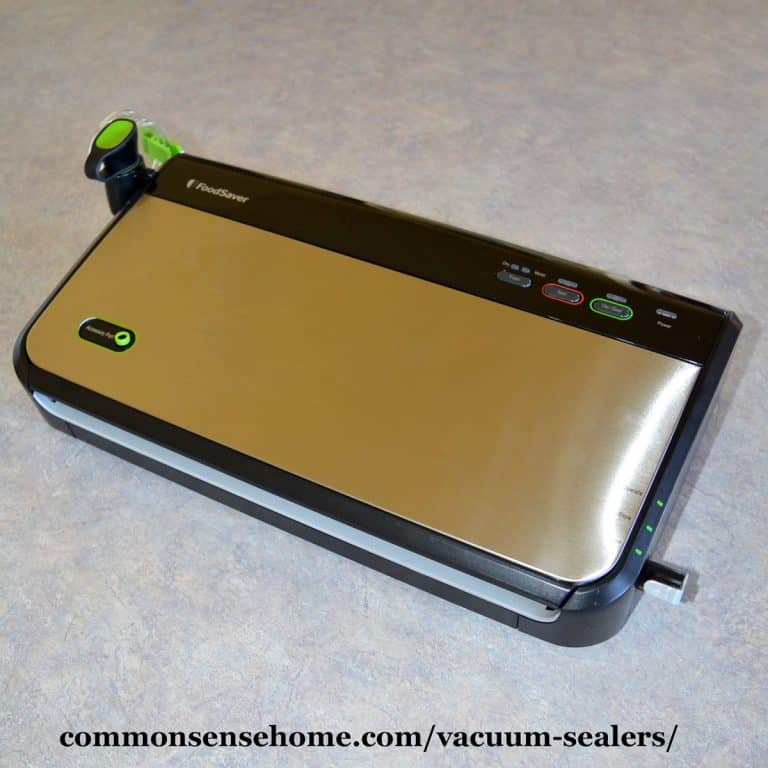
Vacuum Sealers – What You Need to Know Before You Buy
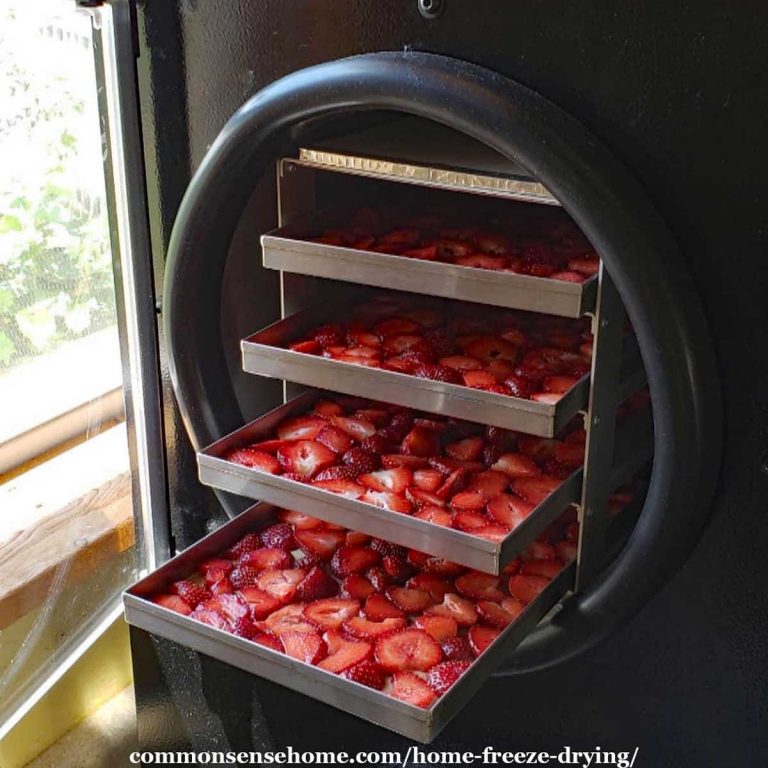
Home Freeze Drying – Read this Before You Buy a Freeze Dryer
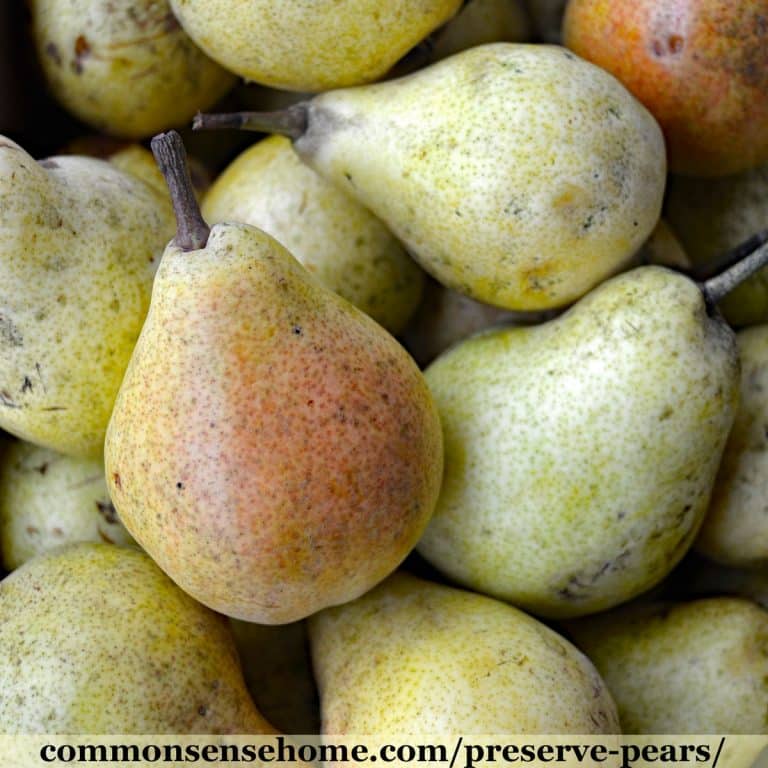
9 Ways to Preserve Pears, Plus Tips to Prevent Browning
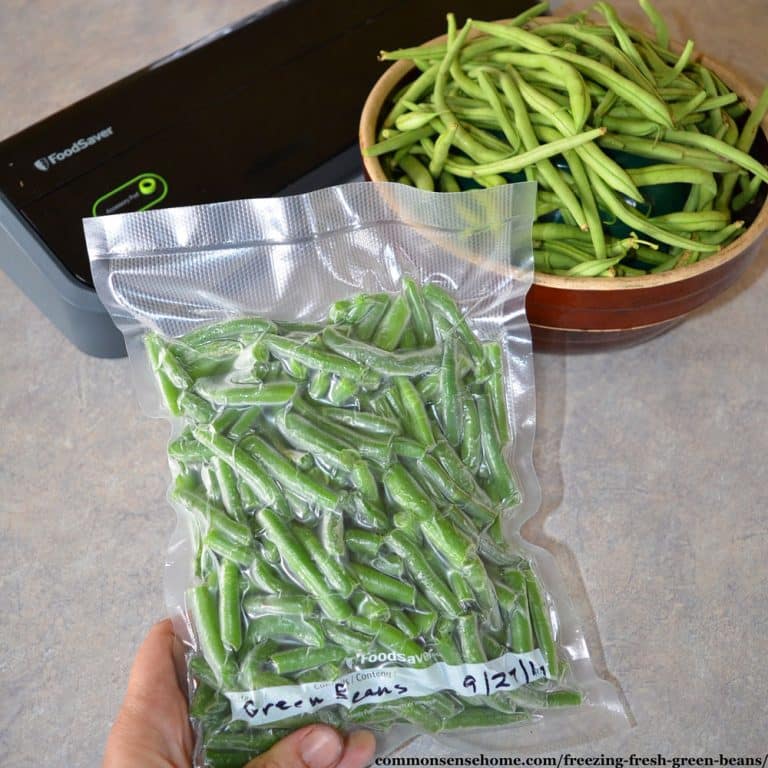
Freezing Fresh Green Beans With or Without Blanching, Step by Step Instructions
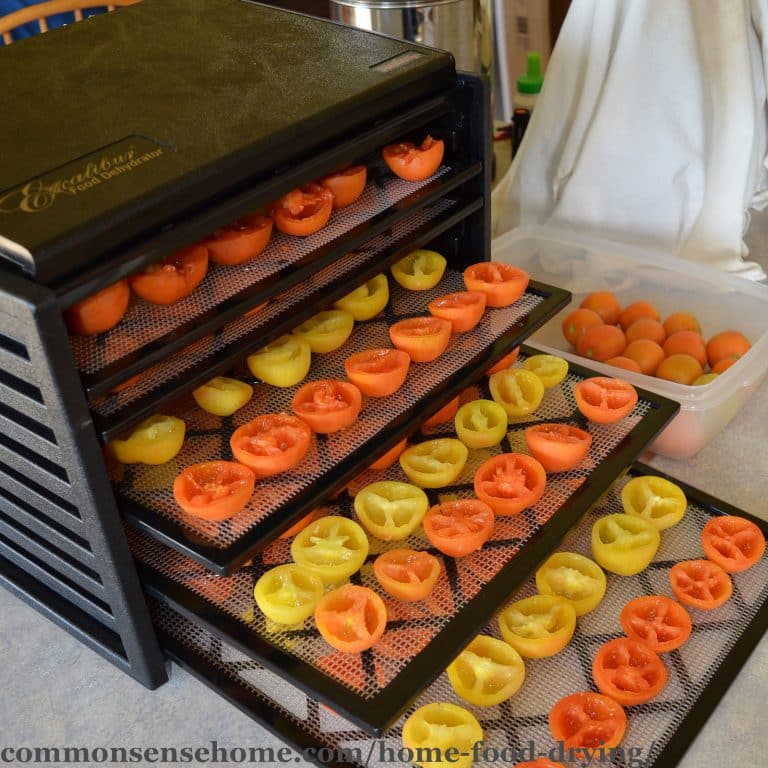
Home Food Drying – 6 Things You Need to Know
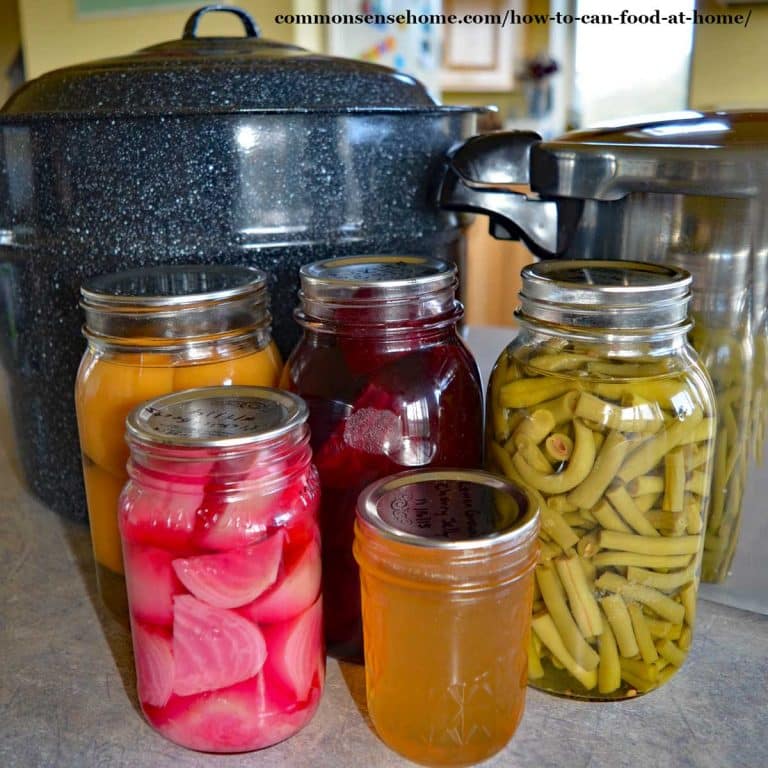
How to Can Food at Home – Quick Guide to Safe Home Canning
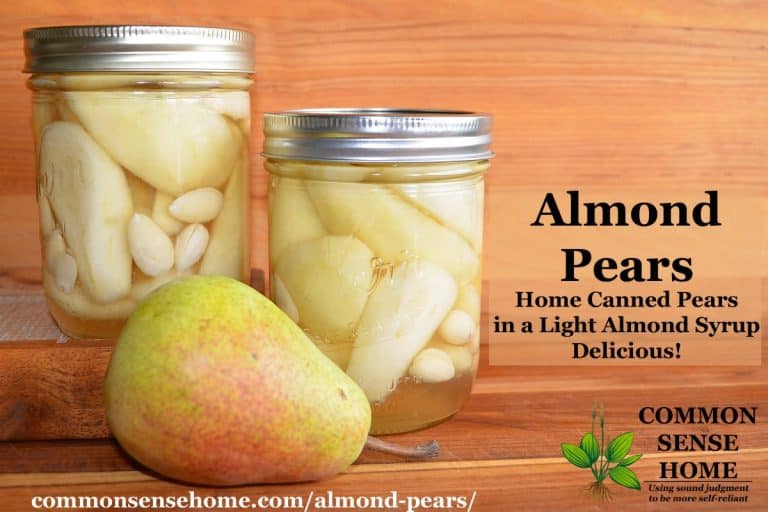
Almond Pears – Home Canned Pears with a Light Almond Syrup
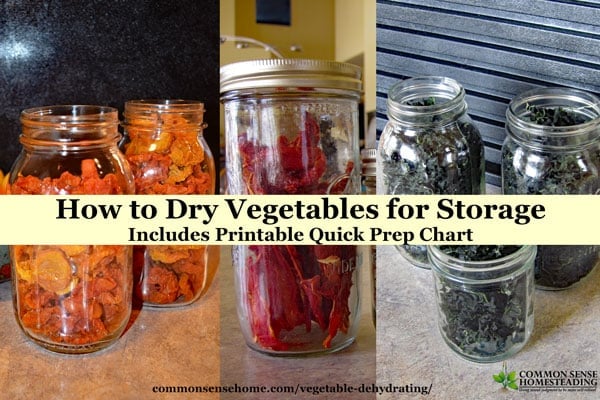
Vegetable Dehydrating – How to Dry Vegetables for Storage
Dehydrator Versus Freeze Dryer – What’s the Difference?
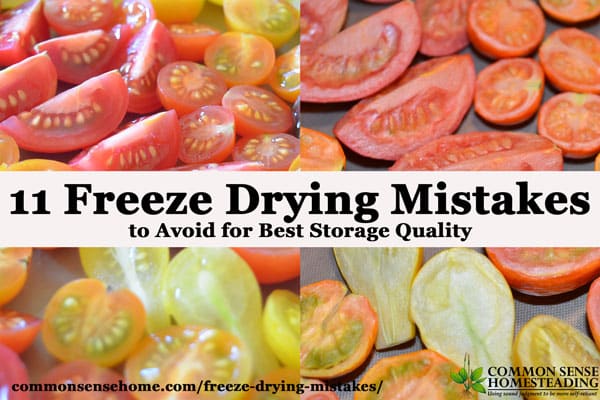
11 Freeze Drying Mistakes to Avoid for Best Storage Quality
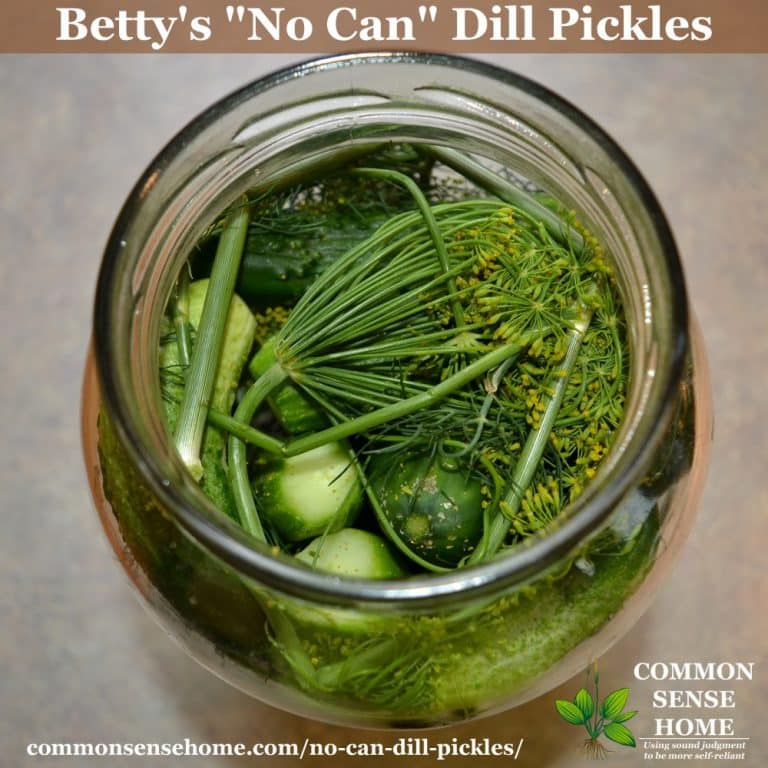
No Can Dill Pickles – Just Stick Them in a Jar!
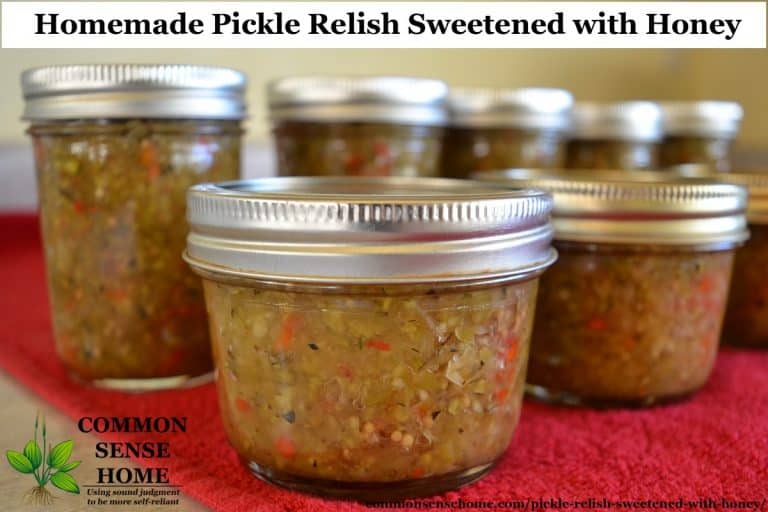
Homemade Pickle Relish Sweetened with Honey
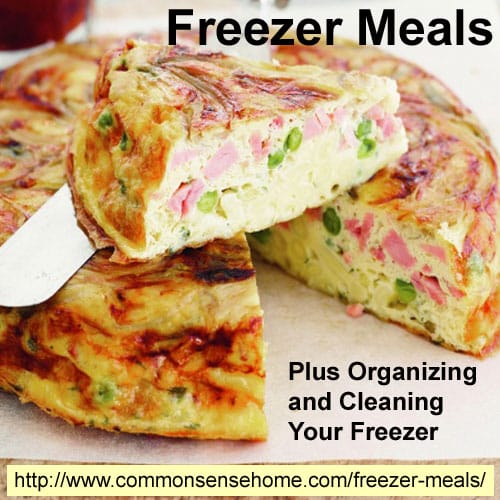
Freezer Meals Plus Organizing and Cleaning Your Freezer
Browse Topics
Toggle child menu
Expand
Food Storage
Gardening
Preparedness
Home Remedies
Foraging
Recipes
Homesteading
About
Shop
Toggle child menu
Expand
Bread Making Book
Gear
Search
Toggle Menu Close
Search for:
Search