Skip to content
Browse Topics
Expand
Food Storage
Gardening
Preparedness
Home Remedies
Foraging
Recipes
Homesteading
About
Shop
Expand
Bread Making Book
Gear
Search
Subscribe
Toggle Menu
drying
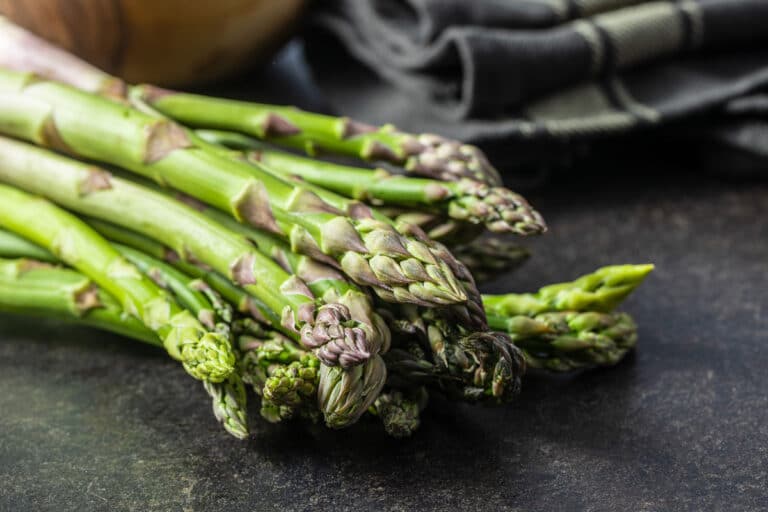
How to Store Asparagus in the Refrigerator & Long Term
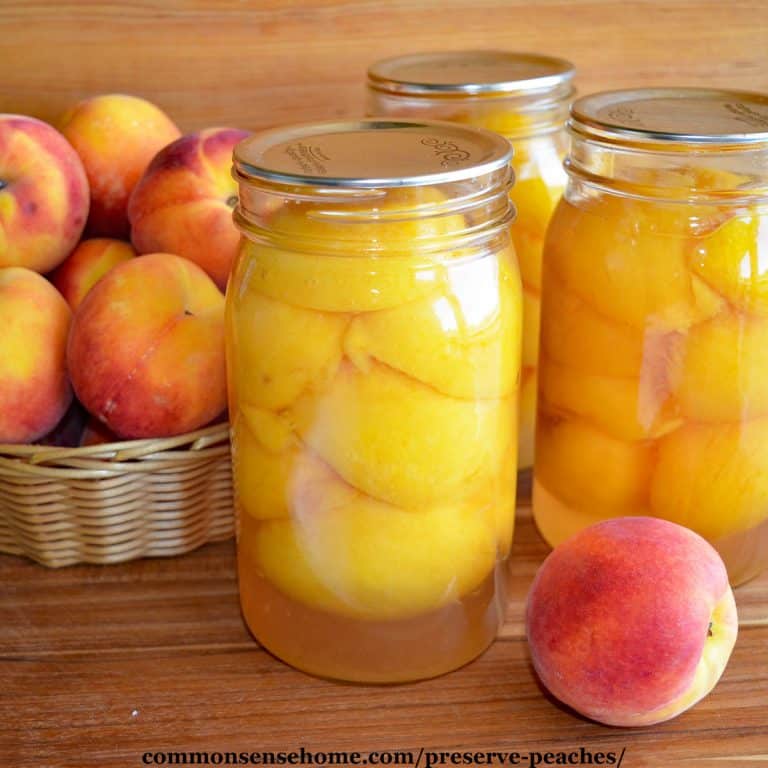
Preserve Peaches 5 Ways, Plus the Easy Way to Peel Peaches
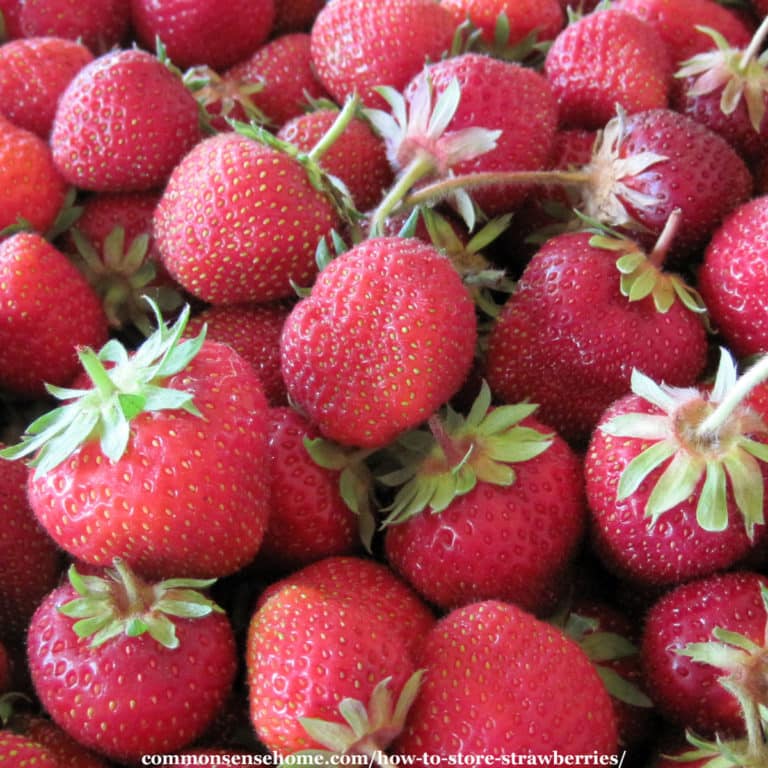
How to Store Strawberries 12 Ways
Browse Topics
Toggle child menu
Expand
Food Storage
Gardening
Preparedness
Home Remedies
Foraging
Recipes
Homesteading
About
Shop
Toggle child menu
Expand
Bread Making Book
Gear
Search
Toggle Menu Close
Search for:
Search