Skip to content
Browse Topics
Expand
Food Storage
Gardening
Preparedness
Home Remedies
Foraging
Recipes
Homesteading
About
Shop
Expand
Bread Making Book
Gear
Search
Subscribe
Toggle Menu
dehydrating
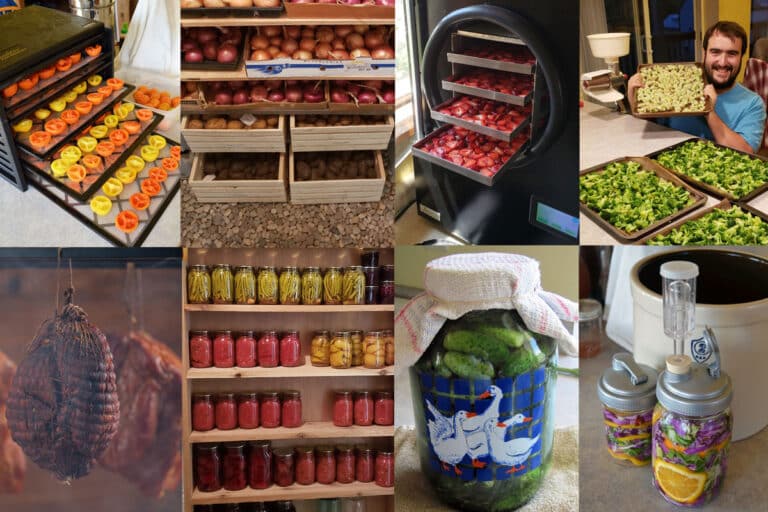
Food Preservation Methods – 11 Ways to Preserve Food at Home
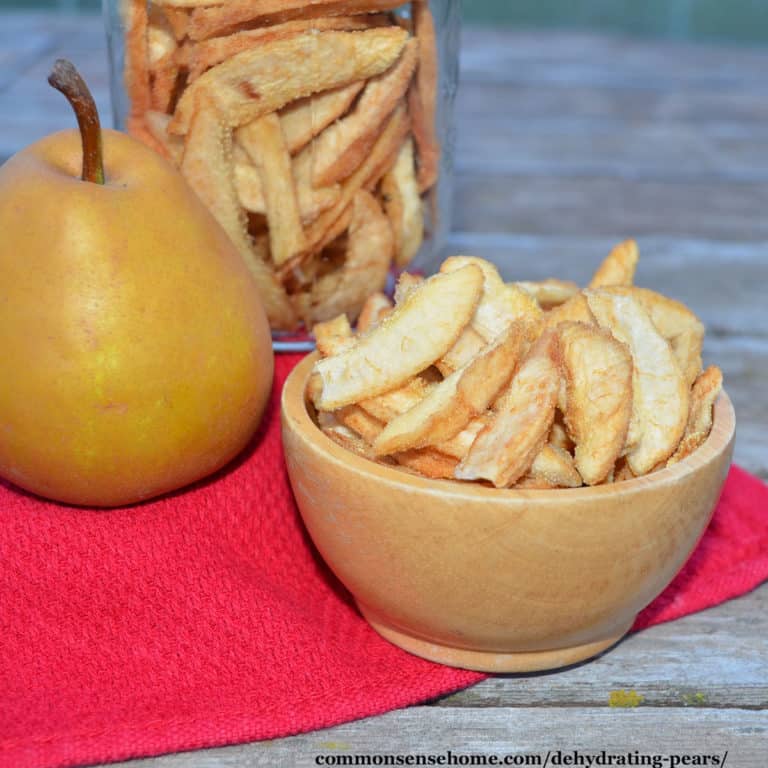
Dehydrating Pears (With Tips for Prep and Storage)
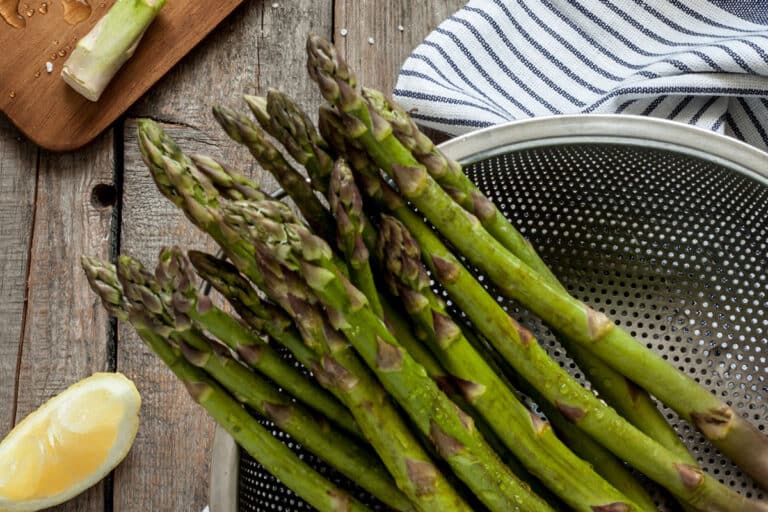
Dehydrating Asparagus – Easy, Space Saving Asparagus Storage
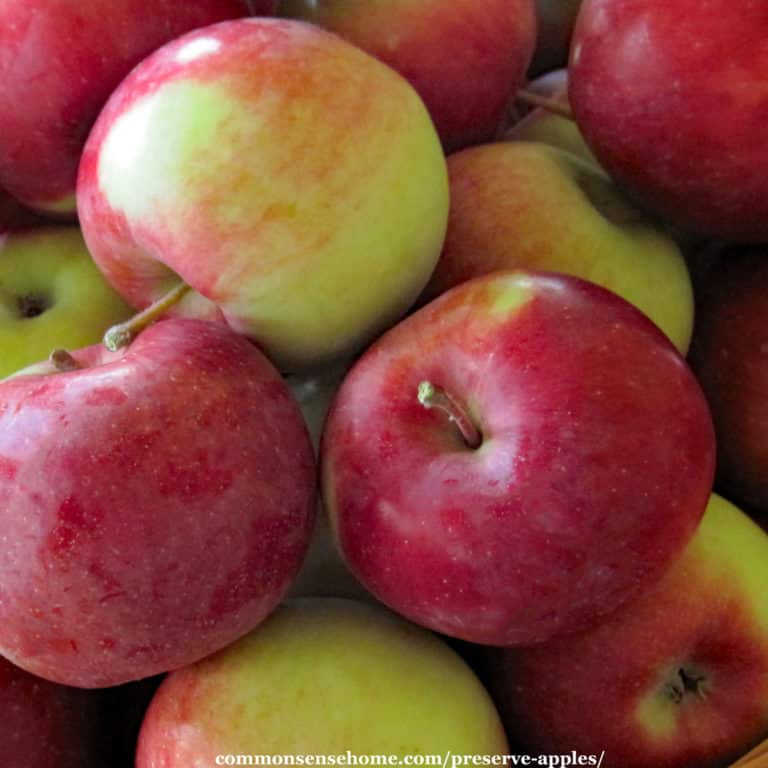
Preserve Apples for Year Round Use 17 Easy and Creative Ways
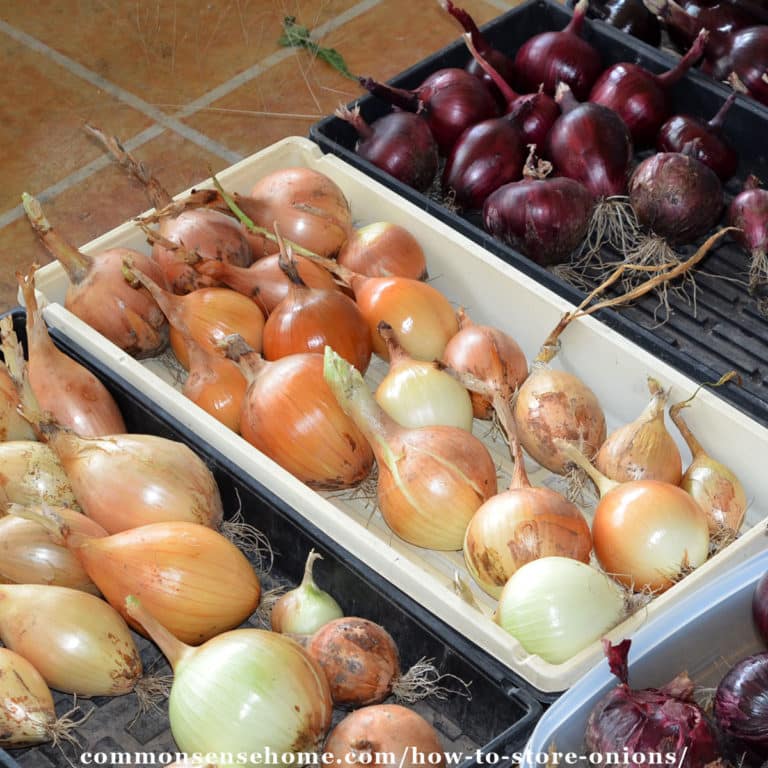
How to Store Onions So They Last
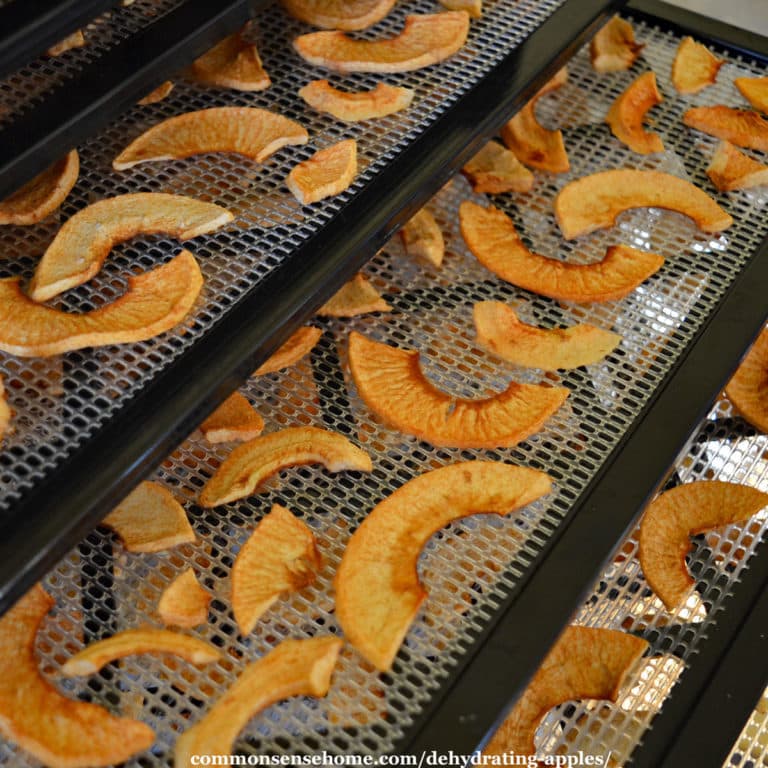
Dehydrating Apples for Easy Homemade Apple Chips
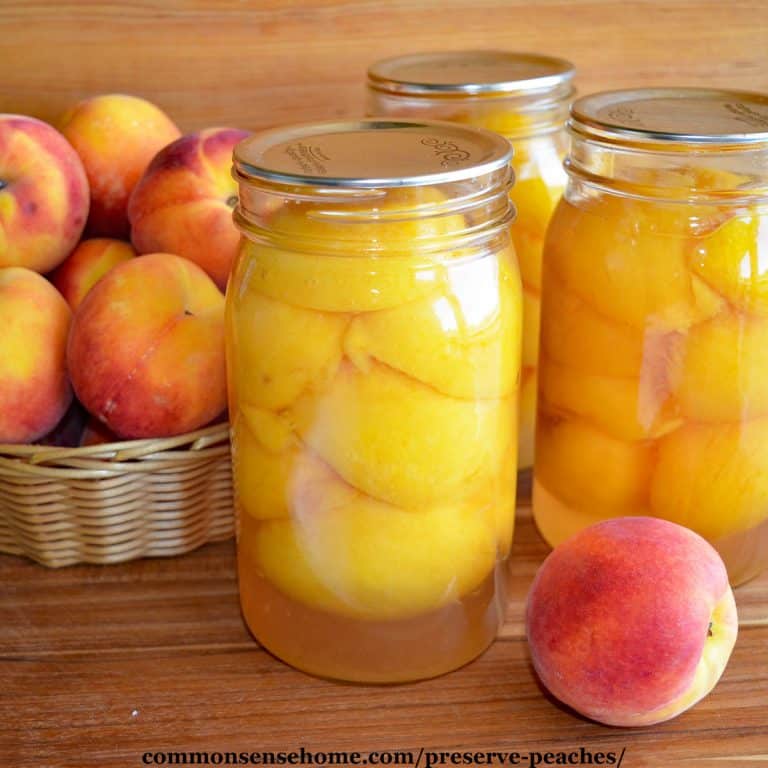
Preserve Peaches 5 Ways, Plus the Easy Way to Peel Peaches
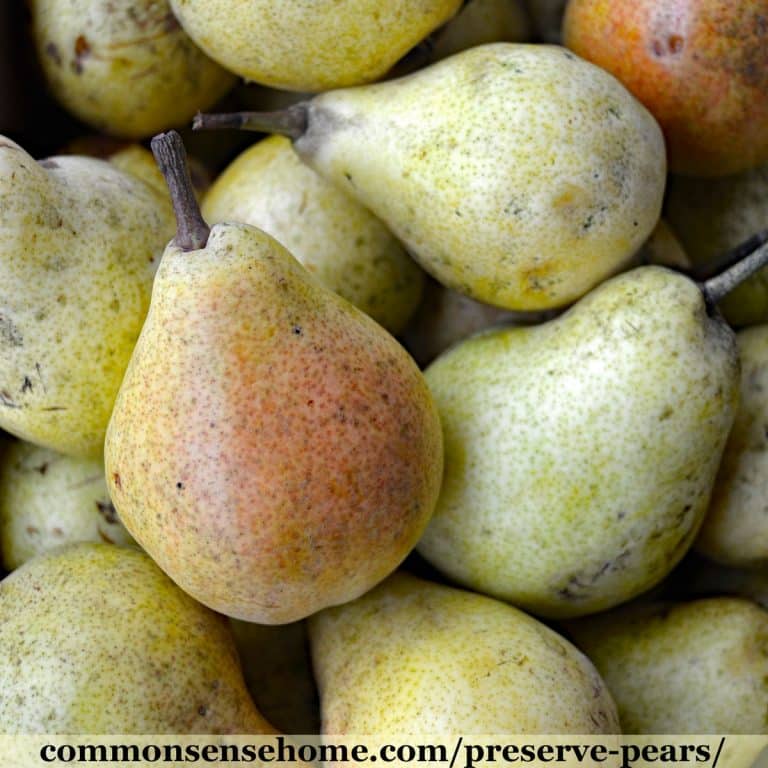
9 Ways to Preserve Pears, Plus Tips to Prevent Browning
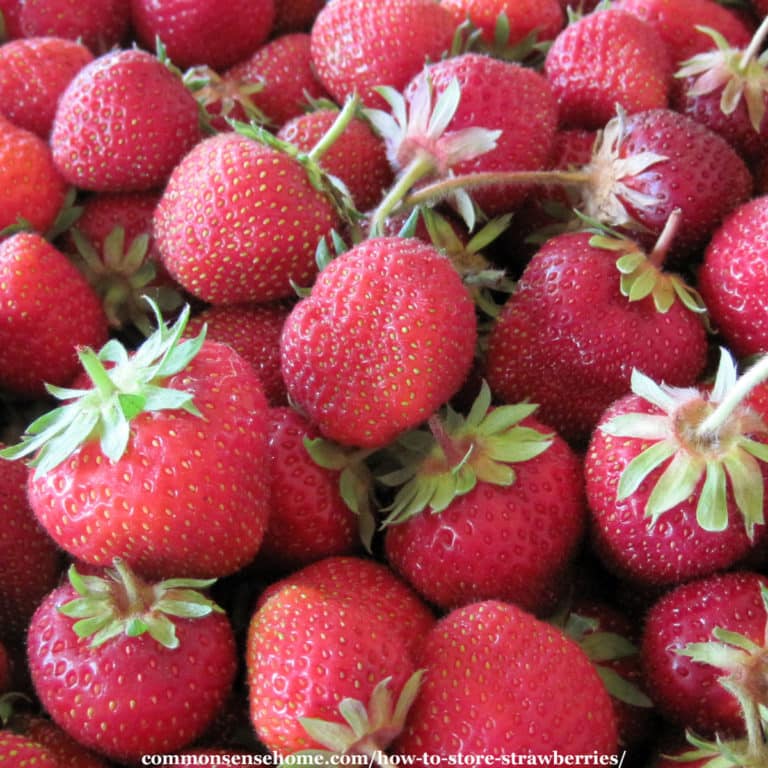
How to Store Strawberries 12 Ways
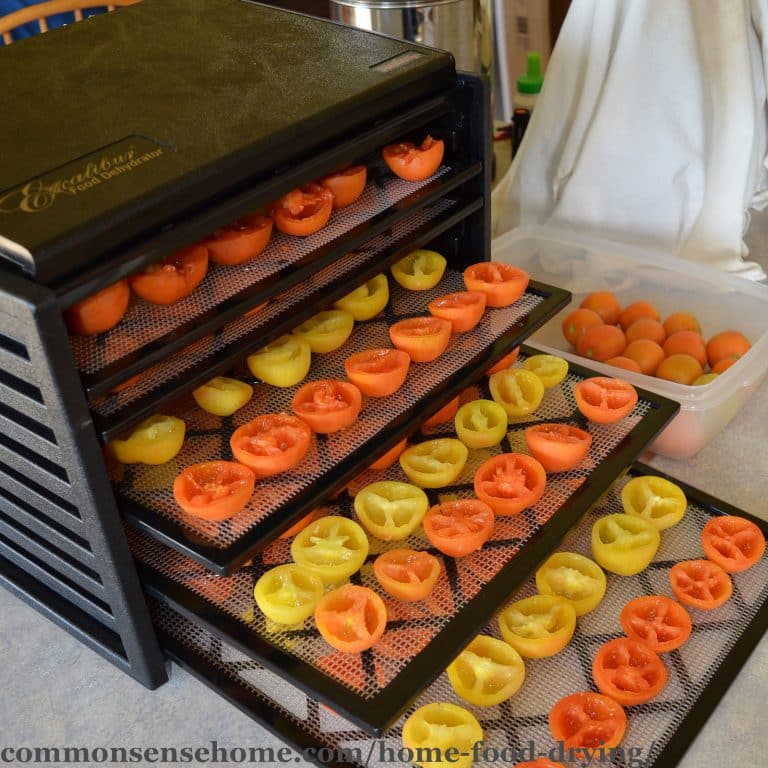
Home Food Drying – 6 Things You Need to Know
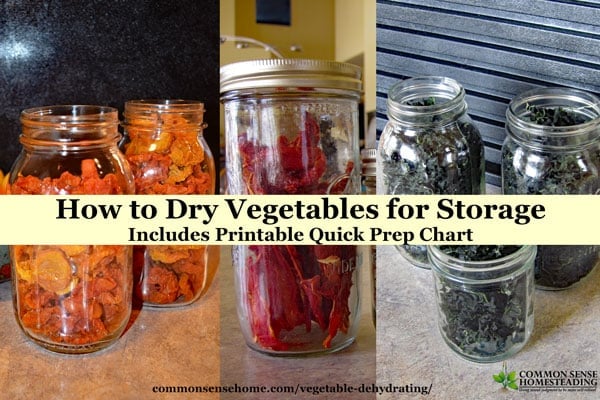
Vegetable Dehydrating – How to Dry Vegetables for Storage
Dehydrator Versus Freeze Dryer – What’s the Difference?
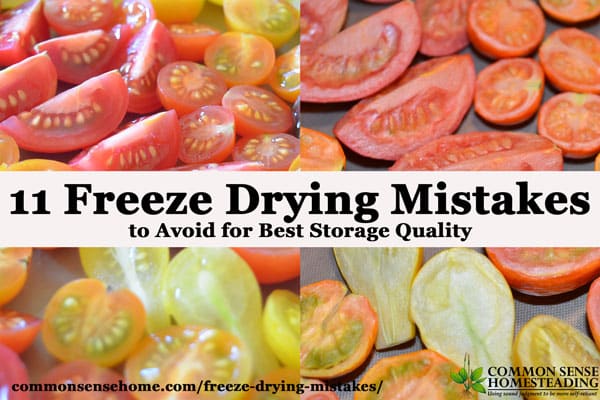
11 Freeze Drying Mistakes to Avoid for Best Storage Quality
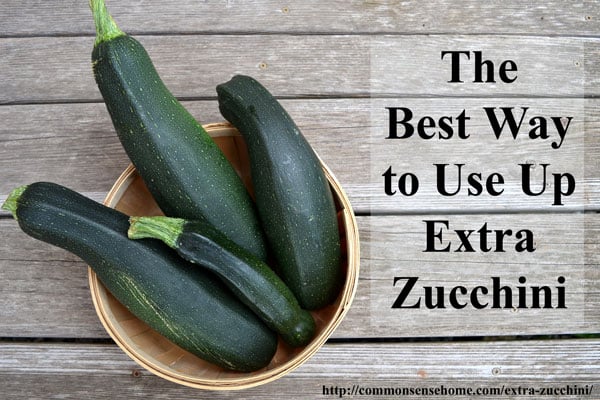
The Best Way to Use Up Extra Zucchini
Browse Topics
Toggle child menu
Expand
Food Storage
Gardening
Preparedness
Home Remedies
Foraging
Recipes
Homesteading
About
Shop
Toggle child menu
Expand
Bread Making Book
Gear
Search
Toggle Menu Close
Search for:
Search