Skip to content
Browse Topics
Expand
Food Storage
Gardening
Preparedness
Home Remedies
Foraging
Recipes
Homesteading
About
Shop
Expand
Bread Making Book
Gear
Search
Subscribe
Toggle Menu
Canning
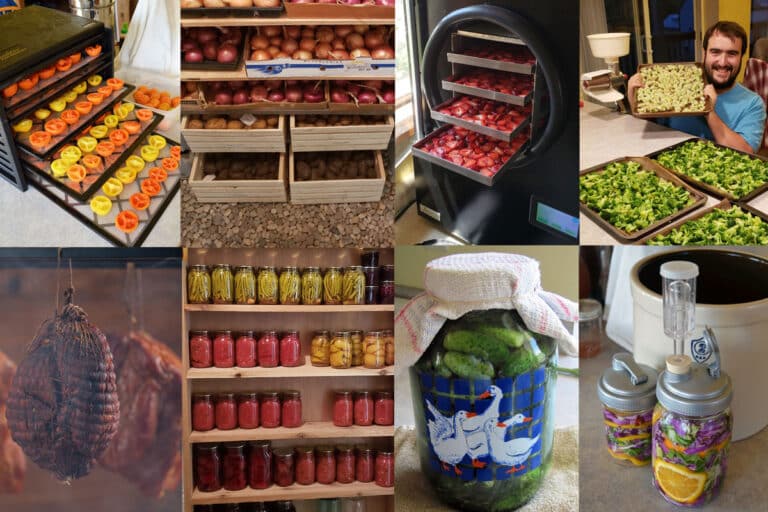
Food Preservation Methods – 11 Ways to Preserve Food at Home
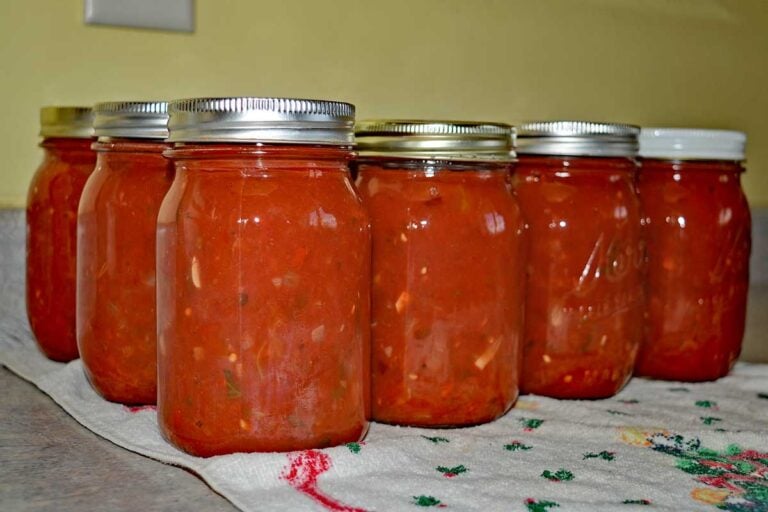
Homemade Salsa Recipe for Canning
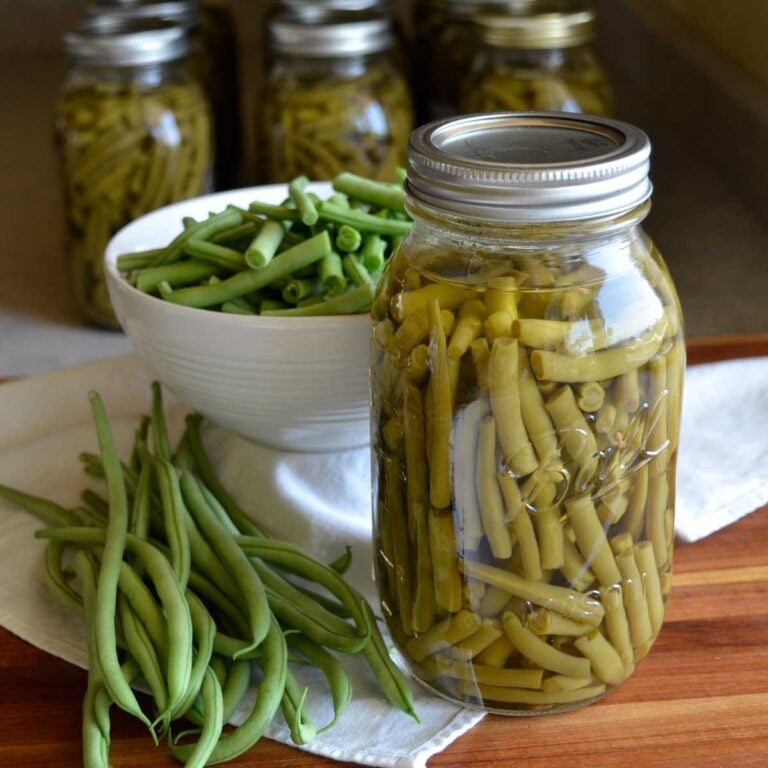
How to Can Green Beans – Step by Step Instructions
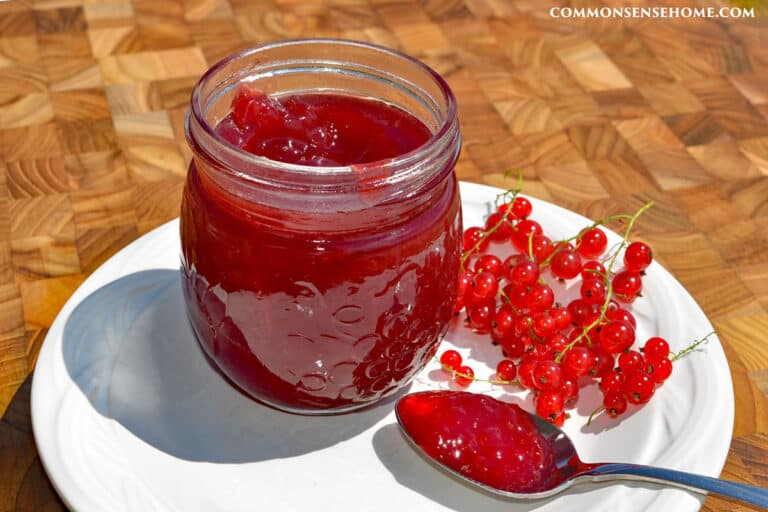
Old Fashioned Currant Jelly Recipe – No Added Pectin
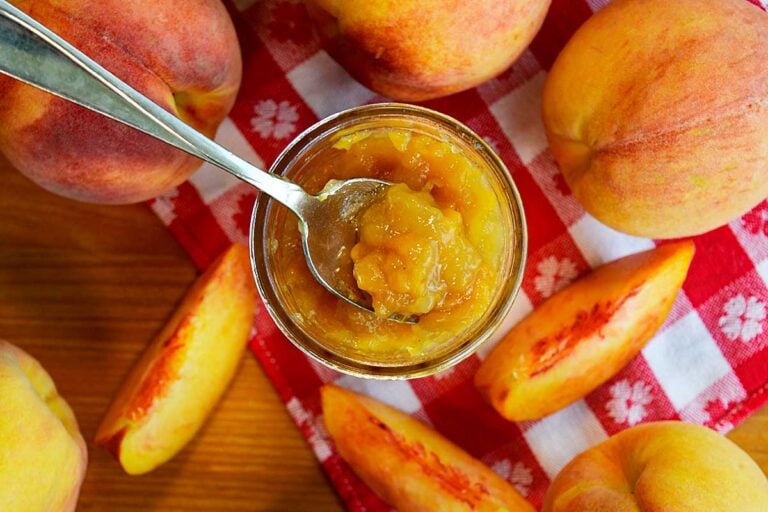
Low Sugar Peach Jam Recipes with a Twist (Safe for Canning)
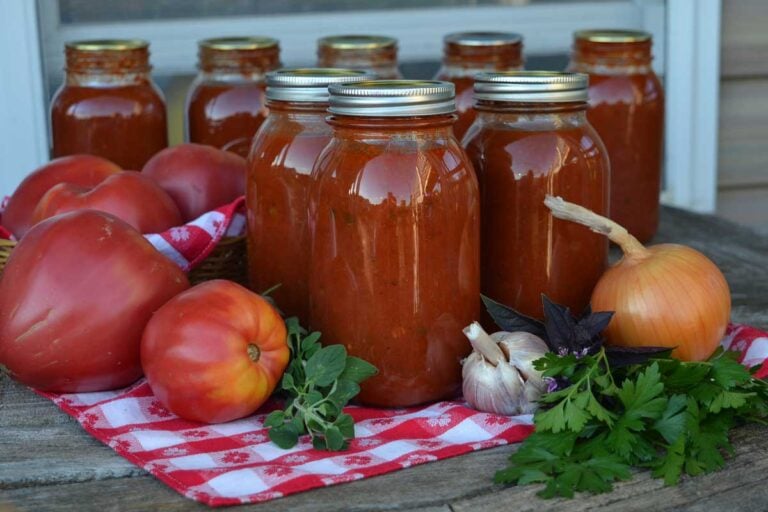
Spaghetti Sauce for Canning (Use Fresh or Frozen Tomatoes)
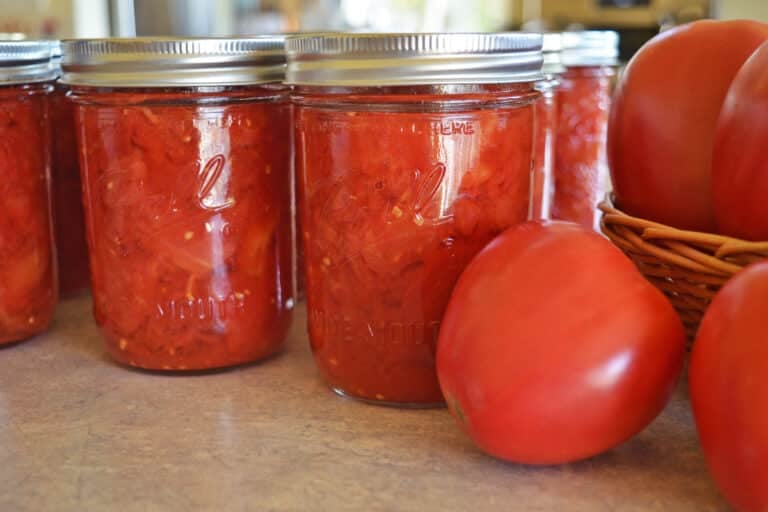
How to Can Tomatoes – Step by Step with Photos & Video
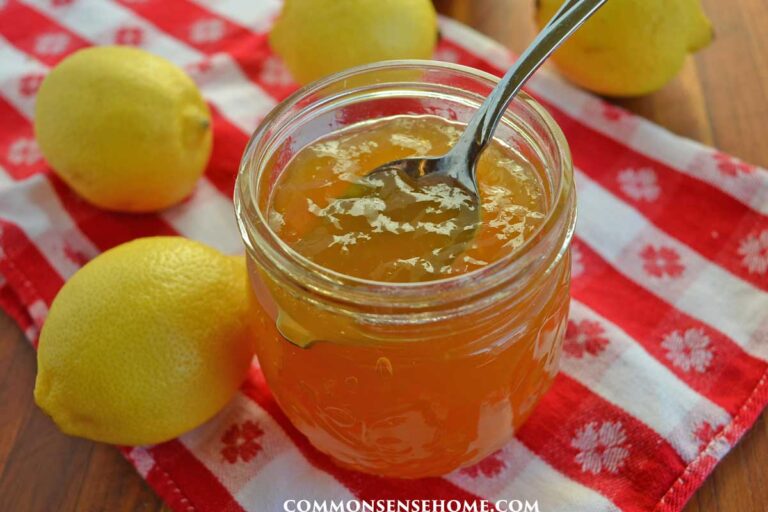
Lemon Ground Cherry Jelly – Classic and Low Sugar Recipes
Easy Apple Jam with Less Sugar
Canning Oranges (Don’t Miss This Tip!)
Easy Apple Jelly Recipe (Just 2 Ingredients)
Maple Apple Jam Recipe – Tastes Like Fall in a Jar
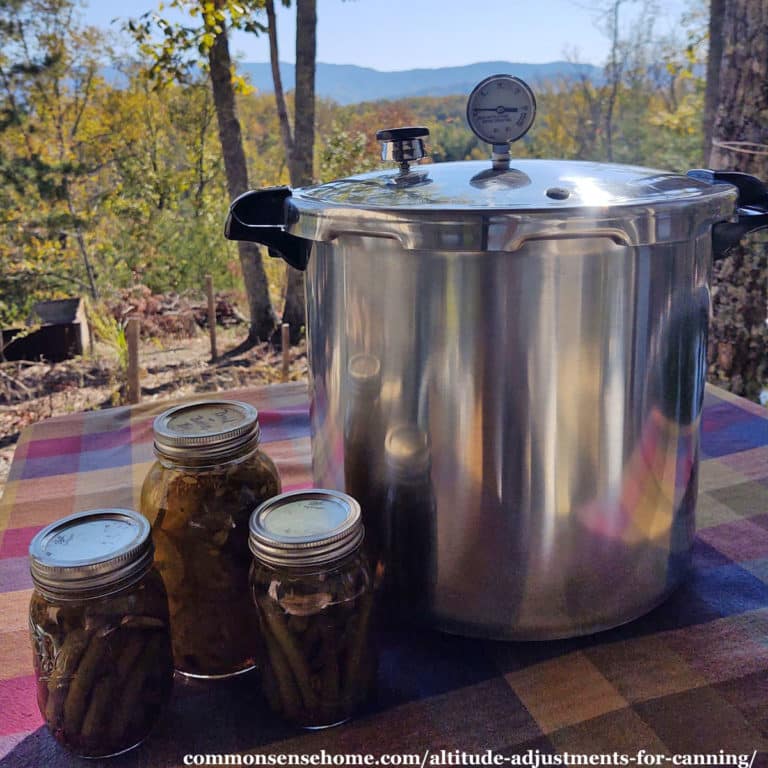
Altitude Adjustments for Canning (Includes Printable Chart)
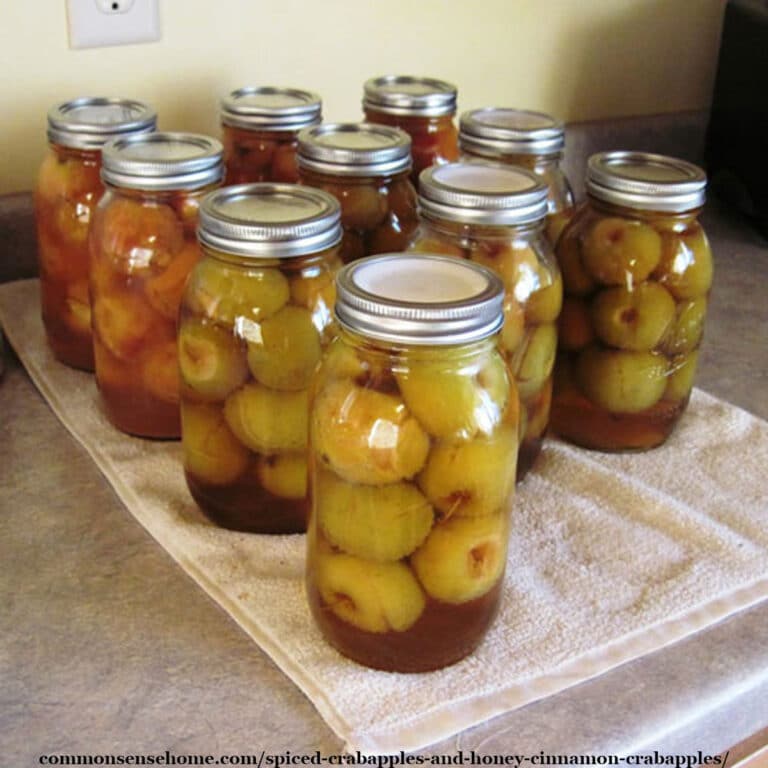
Spiced Crabapples and Honey Cinnamon Crabapples
Canning Cherries in a Water Bath Canner or Steam Canner
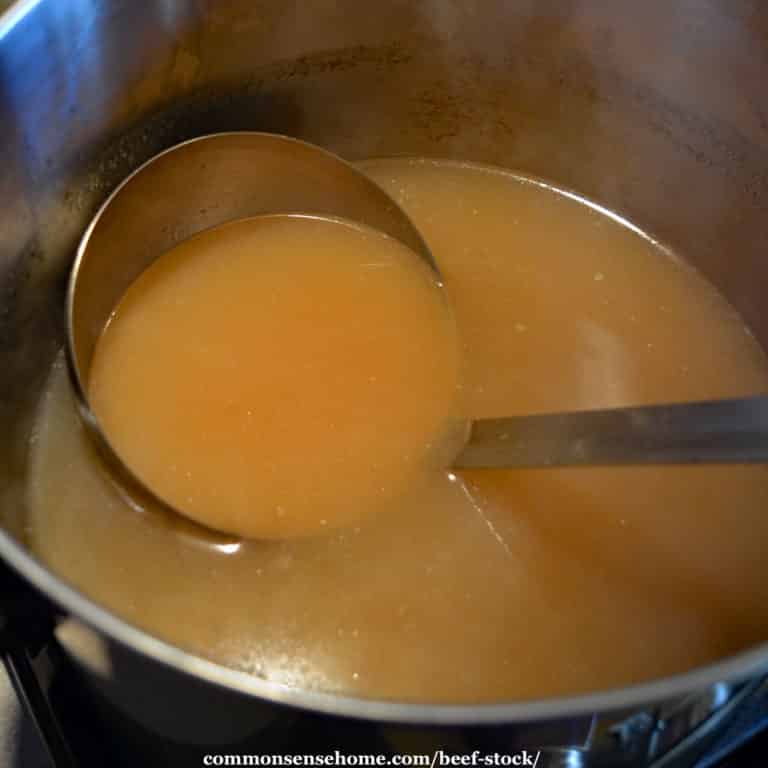
Beef Stock Recipe – How to Make Stock from Scratch
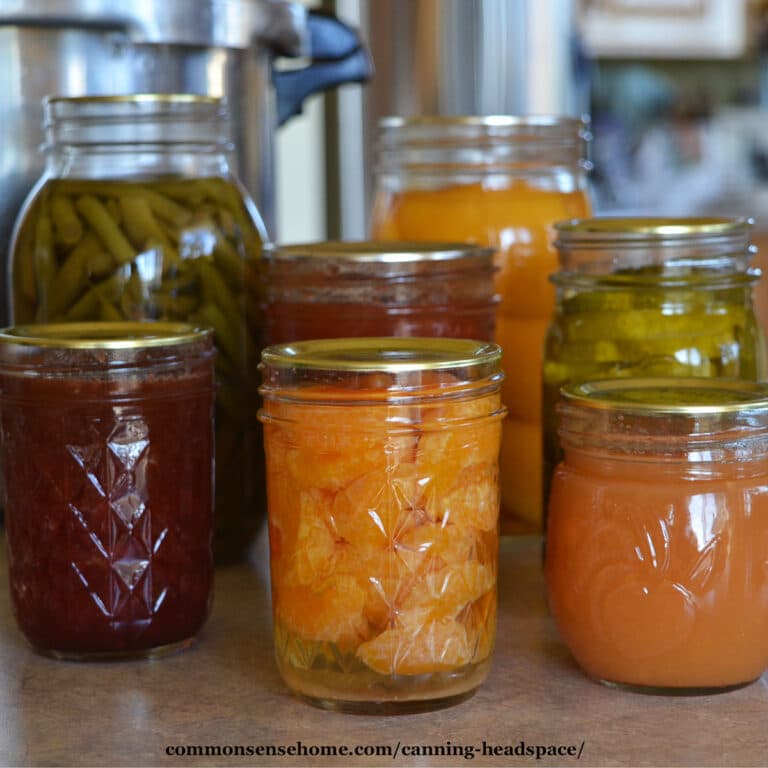
Canning Headspace – Guidelines, Chart & Troubleshooting
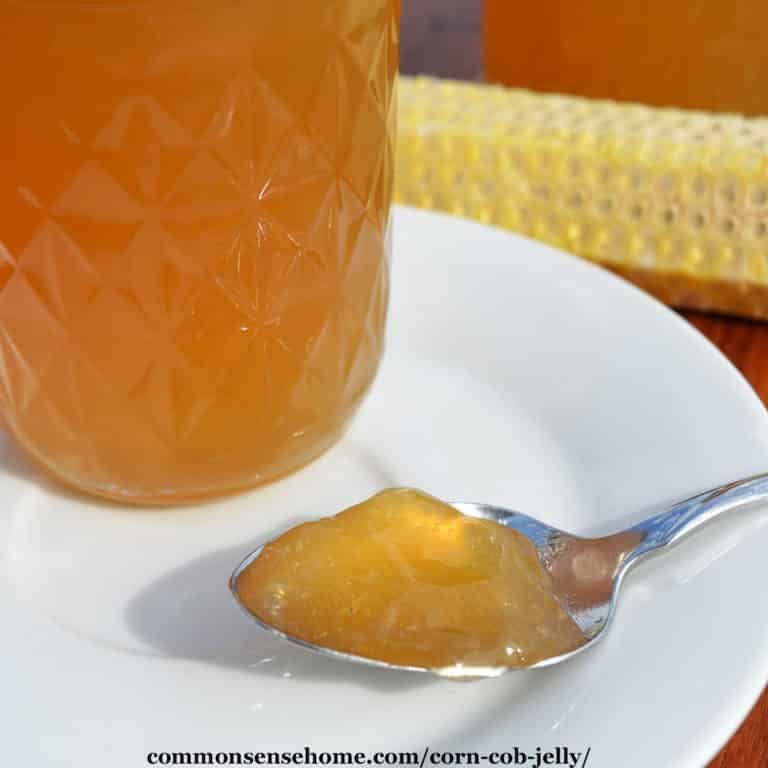
Corn Cob Jelly 2 Ways – Traditional or Less Sugar
Cherry Preserves – Chocolate Cherry and Cherry Vanilla
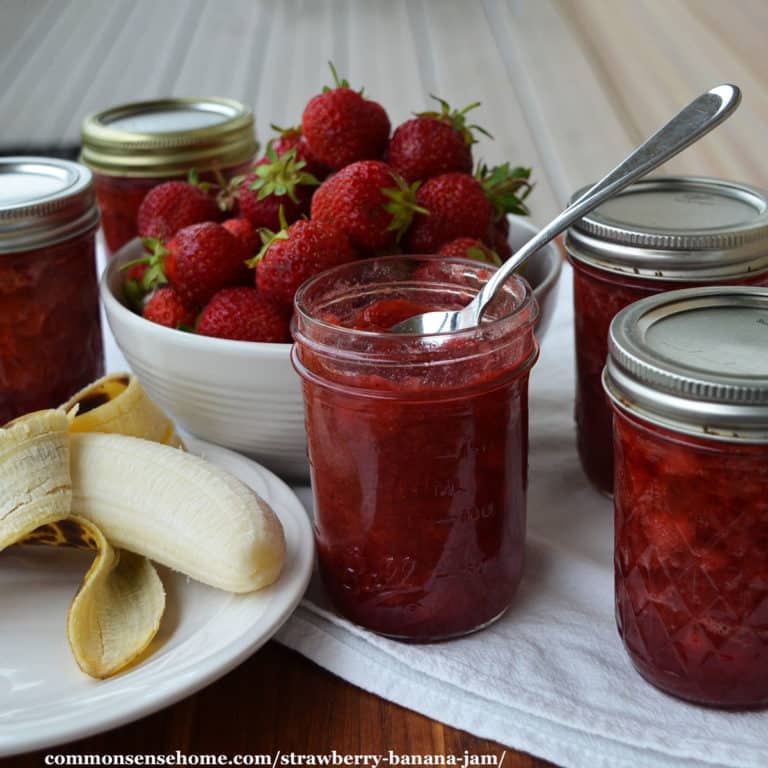
Strawberry Banana Jam – Easy Recipe with Less Sugar
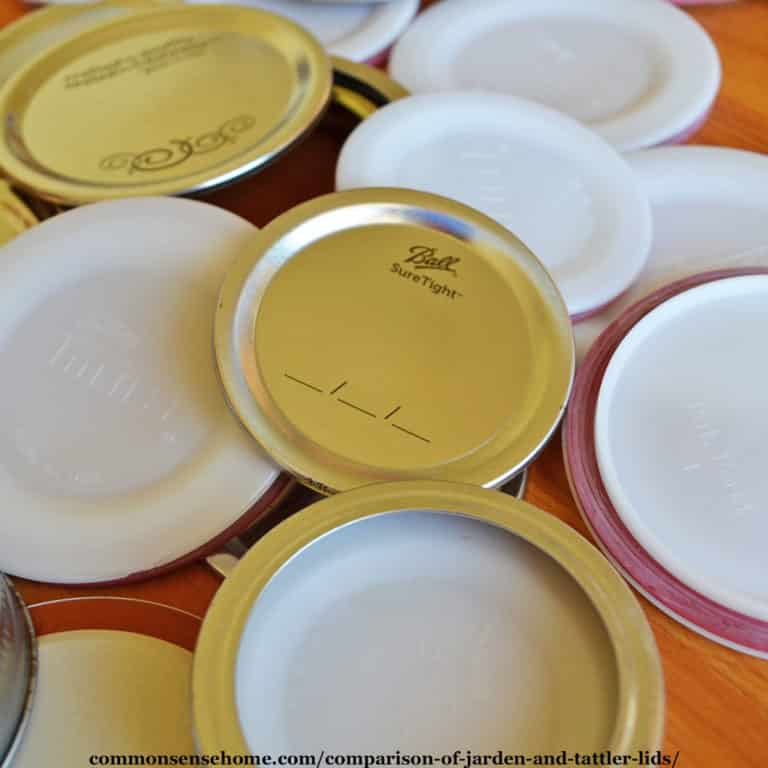
Comparison of Metal Lids and Tattler Lids (Reusable Lids)
Brandied Cinnamon Apple Preserves (Low Sugar Recipe)
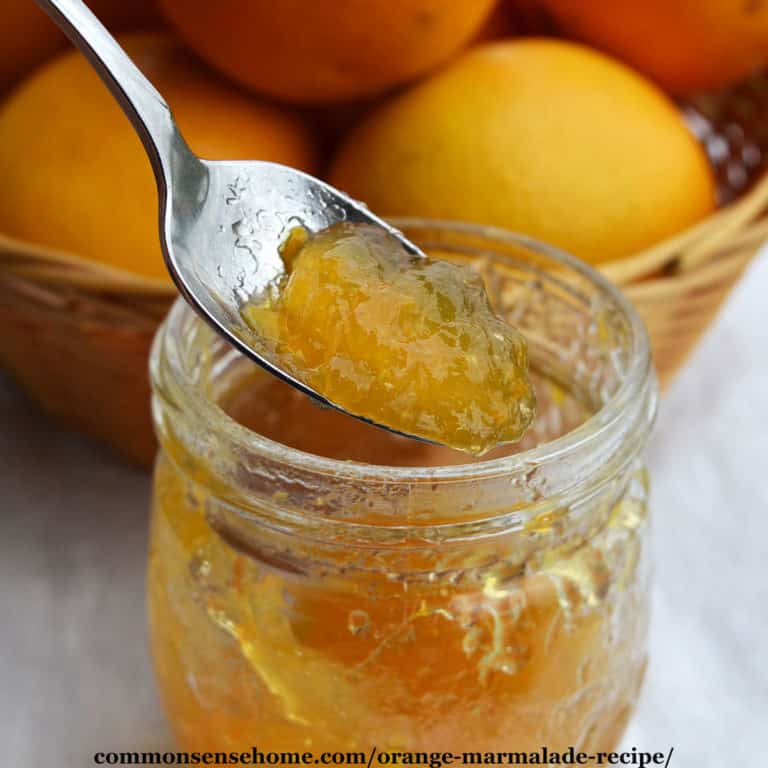
Orange Marmalade Recipe (Quick Cooking, Low Sugar)
Plum Preserves – Honey Sweetened, No Commercial Pectin
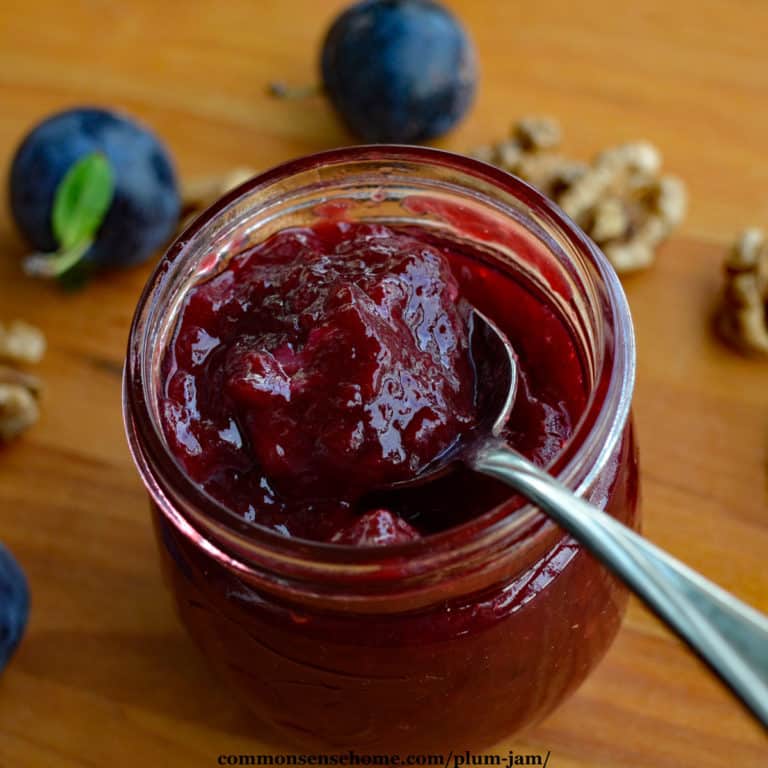
Plum Jam with Walnuts and Rum – Small Batch, Low Sugar
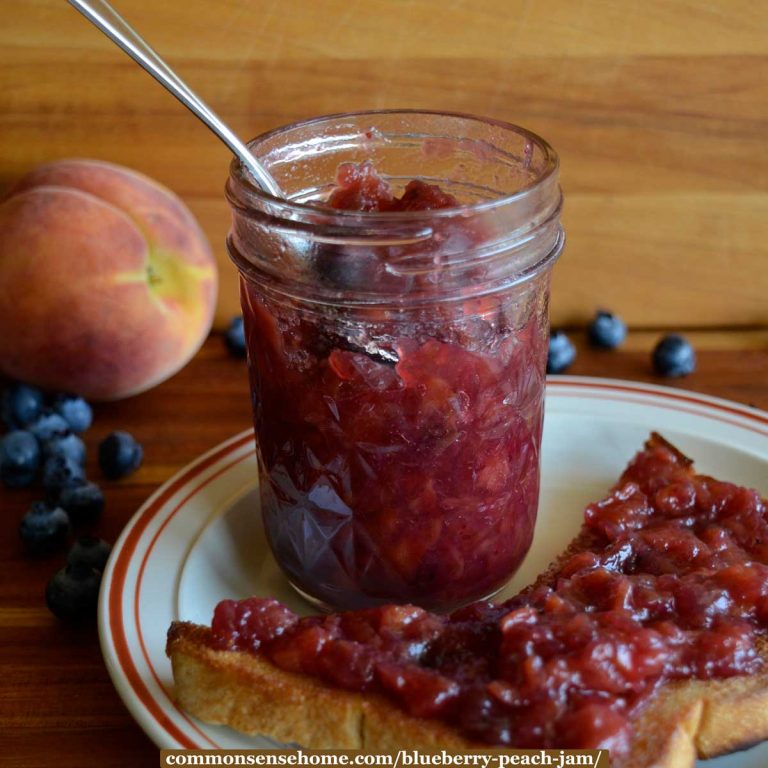
Blueberry Peach Jam – Low Sugar, Small Batch Recipe
Blueberry Jam – Easy, Small Batch, Low Sugar and Very Blueberry
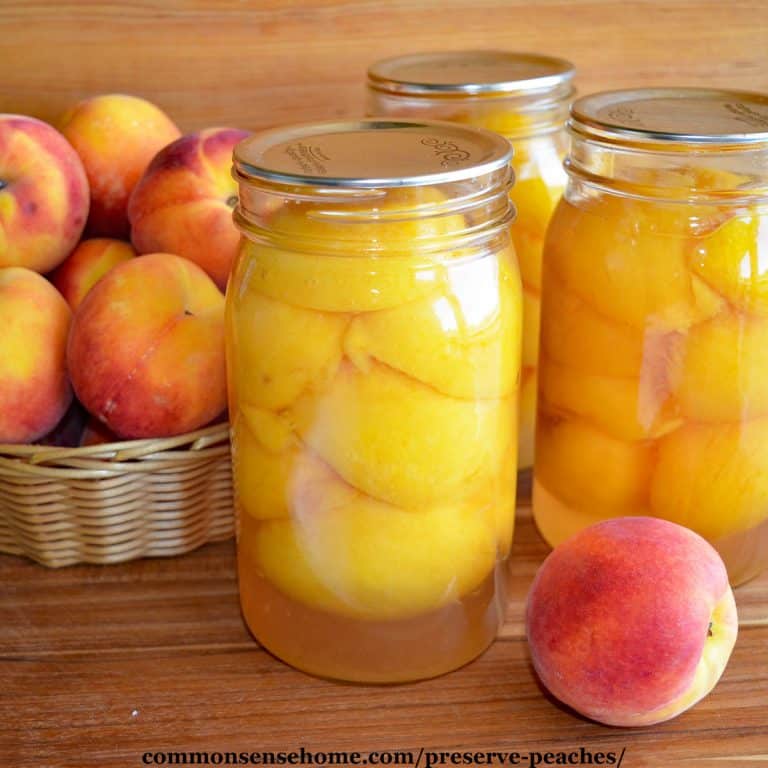
Preserve Peaches 5 Ways, Plus the Easy Way to Peel Peaches
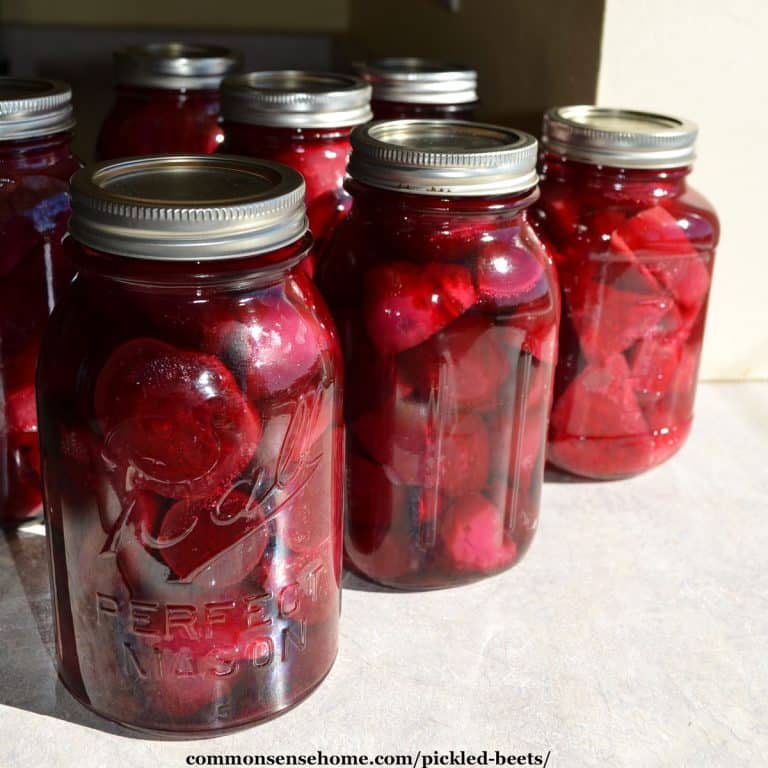
Pickled Beets Recipe – Just Like Grandma Used to Make
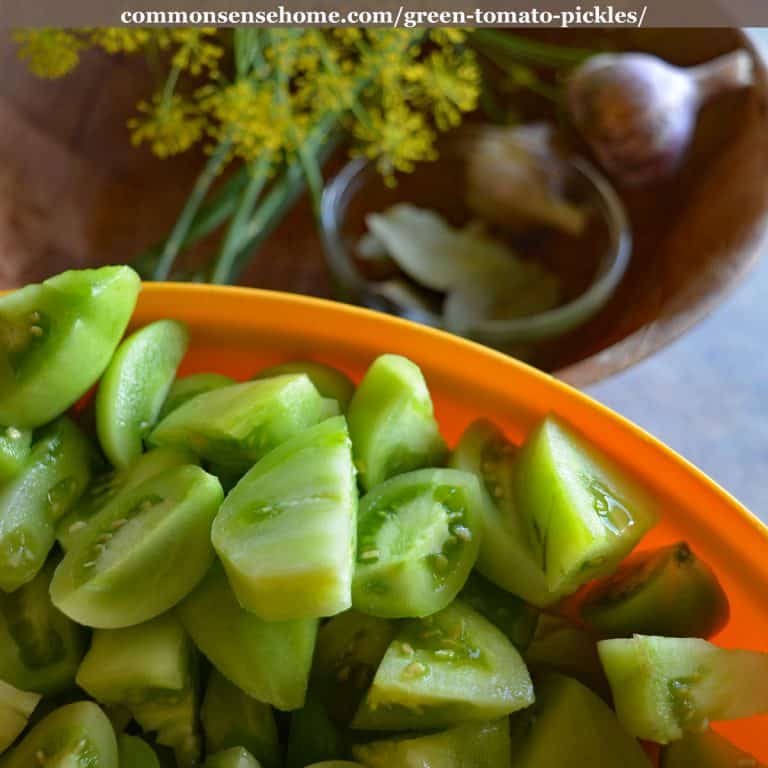
Green Tomato Pickles Recipe for Canning
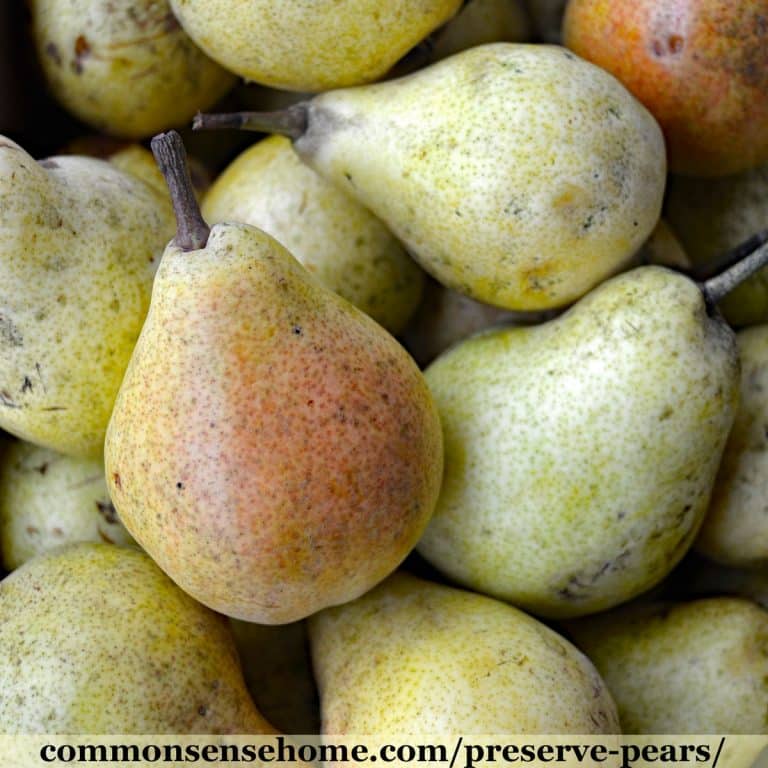
9 Ways to Preserve Pears, Plus Tips to Prevent Browning
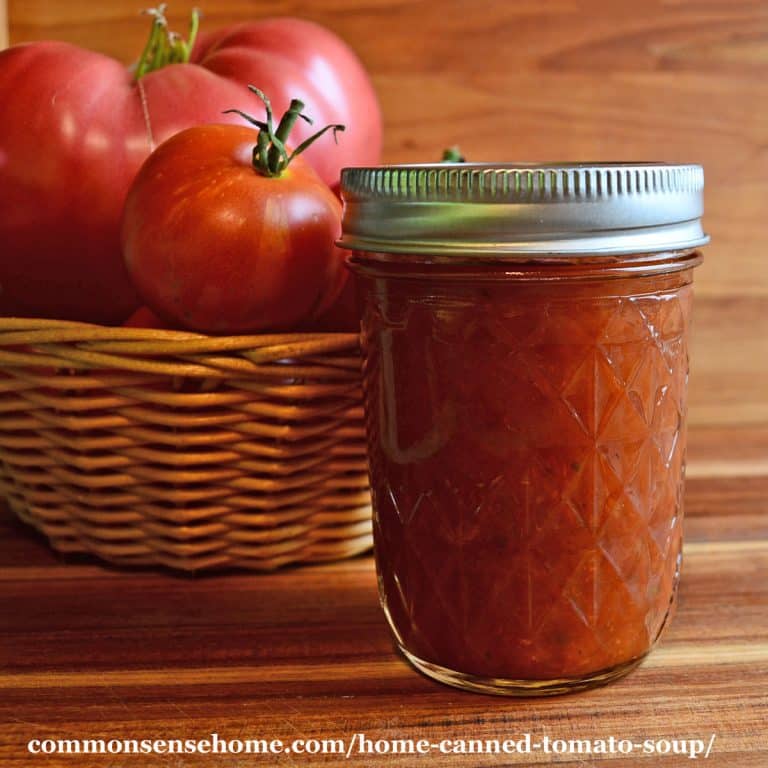
Home Canned Tomato Soup – Easy Recipe for Canning Tomato Soup
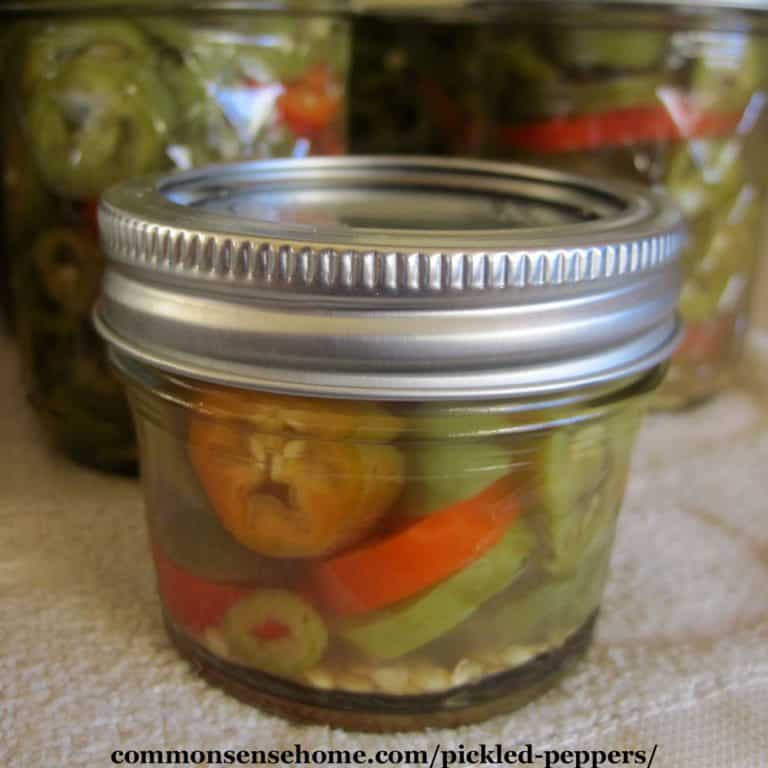
Pickled Peppers Recipe for Canning – Just Four Ingredients
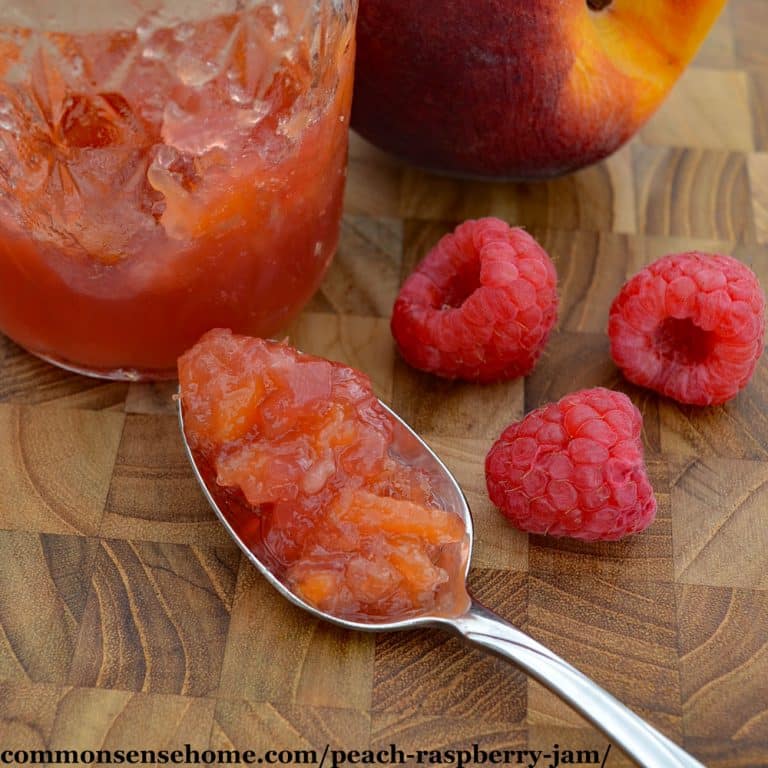
Peach Raspberry Jam – “Blushing” Peach Jam
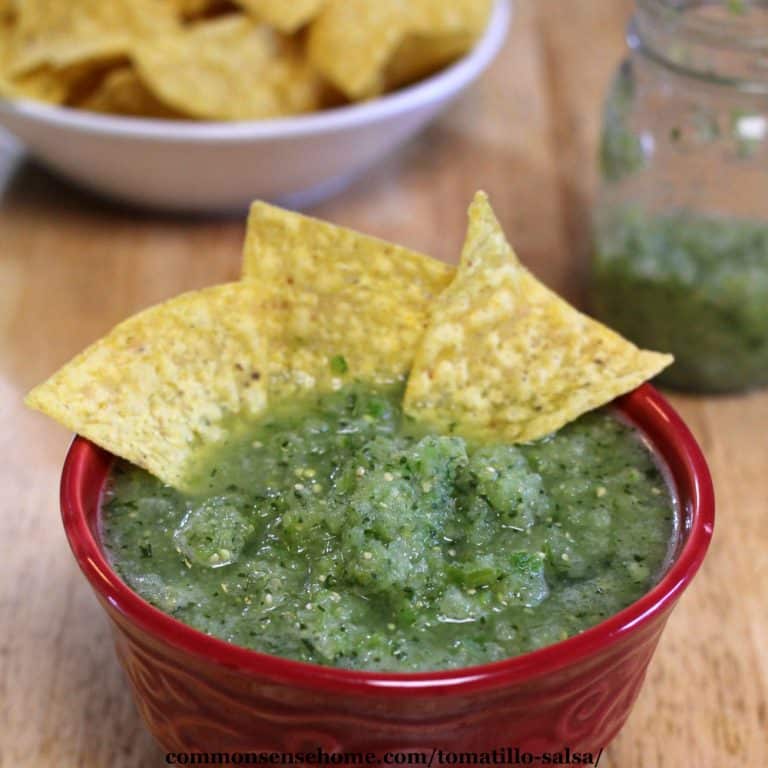
Tomatillo Salsa (Salsa Verde) Canning Recipe
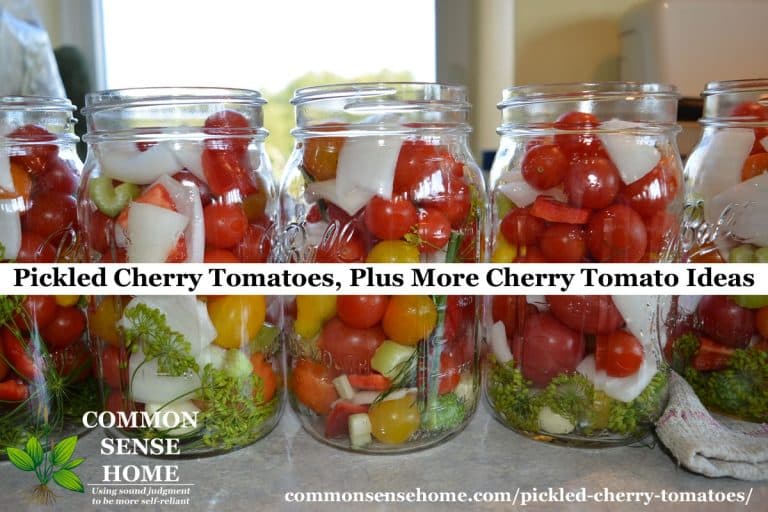
Pickled Cherry Tomatoes, Plus More Cherry Tomato Ideas
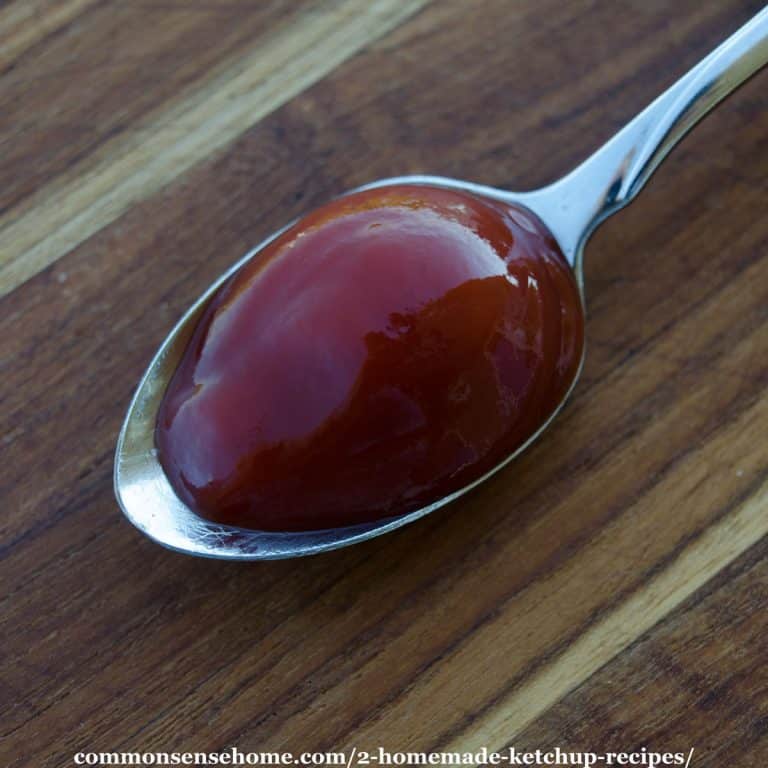
2 Homemade Ketchup Recipes – One for Canning, One Probiotic
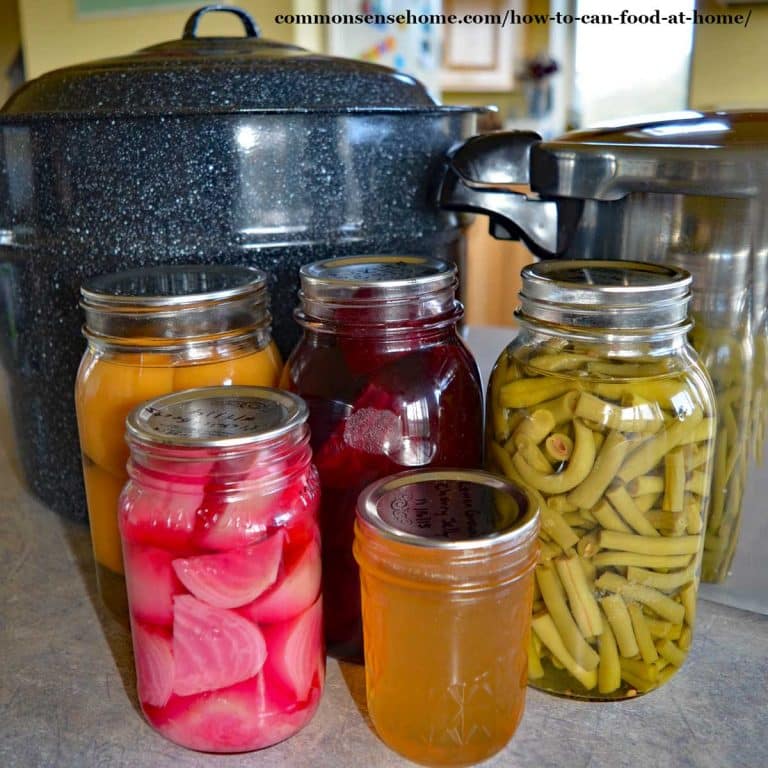
How to Can Food at Home – Quick Guide to Safe Home Canning
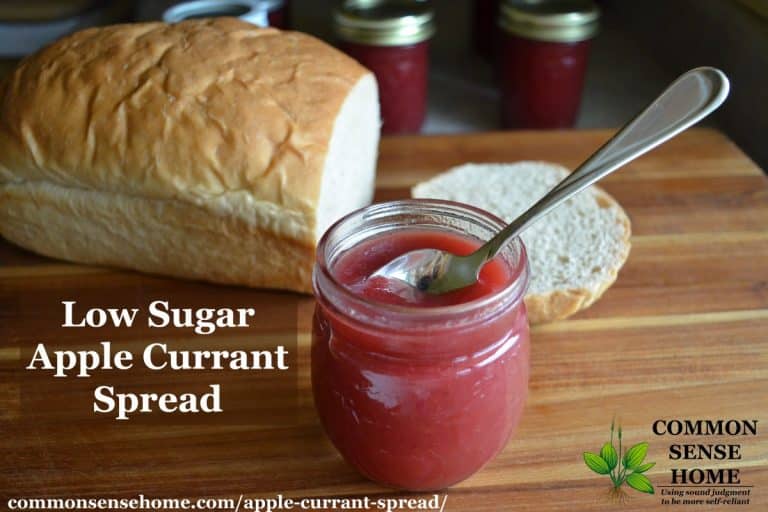
Apple Currant Spread – Low Sugar with a Touch of Cinnamon
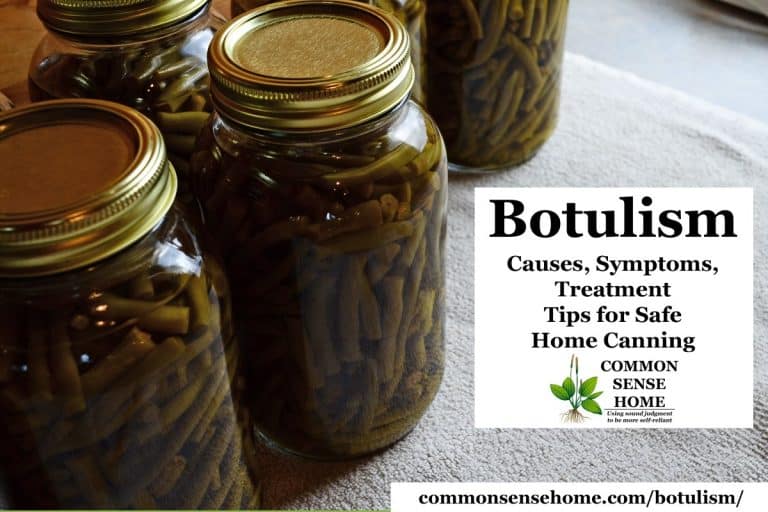
Botulism – Tips for Safe Home Canning
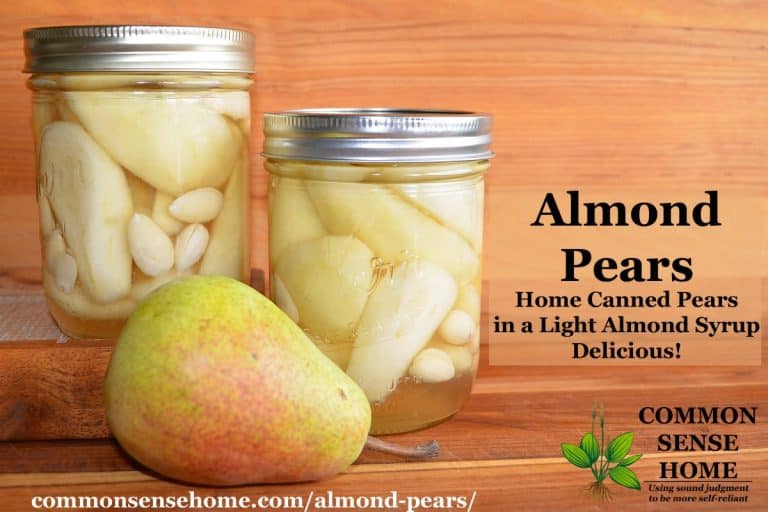
Almond Pears – Home Canned Pears with a Light Almond Syrup
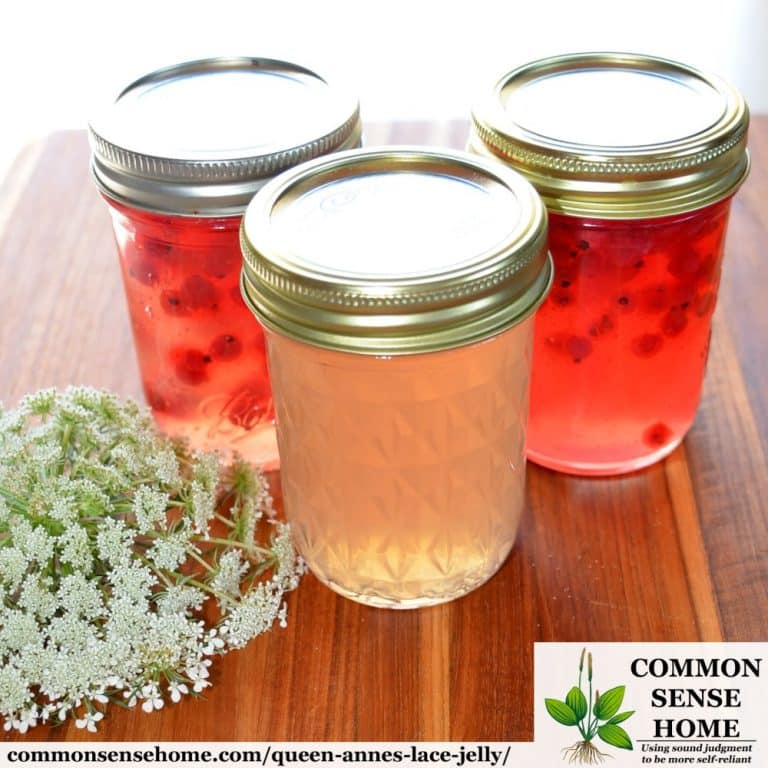
Queen Anne’s Lace Jelly with Currants
Page navigation
1
2
Next Page
Next
Browse Topics
Toggle child menu
Expand
Food Storage
Gardening
Preparedness
Home Remedies
Foraging
Recipes
Homesteading
About
Shop
Toggle child menu
Expand
Bread Making Book
Gear
Search
Toggle Menu Close
Search for:
Search