Skip to content
Browse Topics
Expand
Food Storage
Gardening
Preparedness
Home Remedies
Foraging
Recipes
Homesteading
About
Shop
Expand
Bread Making Book
Gear
Search
Subscribe
Toggle Menu
vegetables
growing guides for vegetables
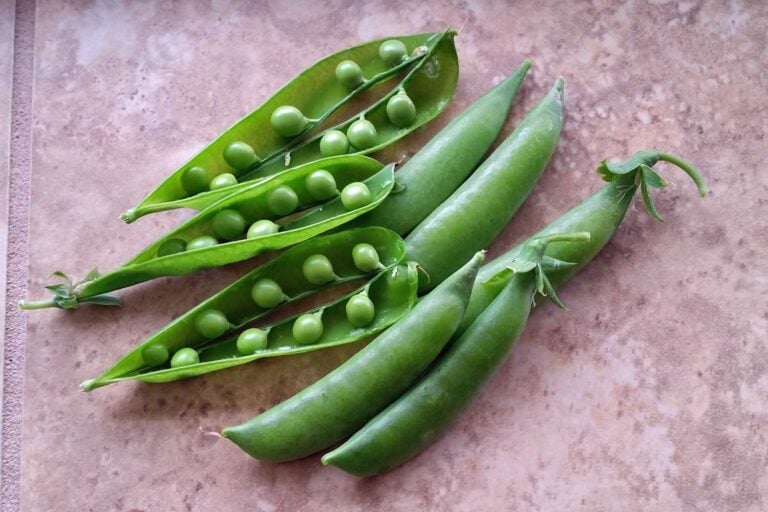
Growing Peas – How to Plant, Grow, and Harvest Peas
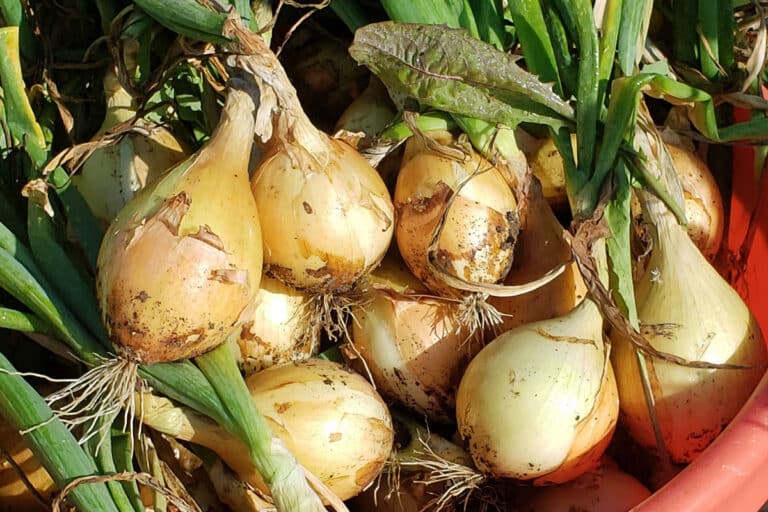
Growing Onions from Seed: A Complete Beginner’s Guide
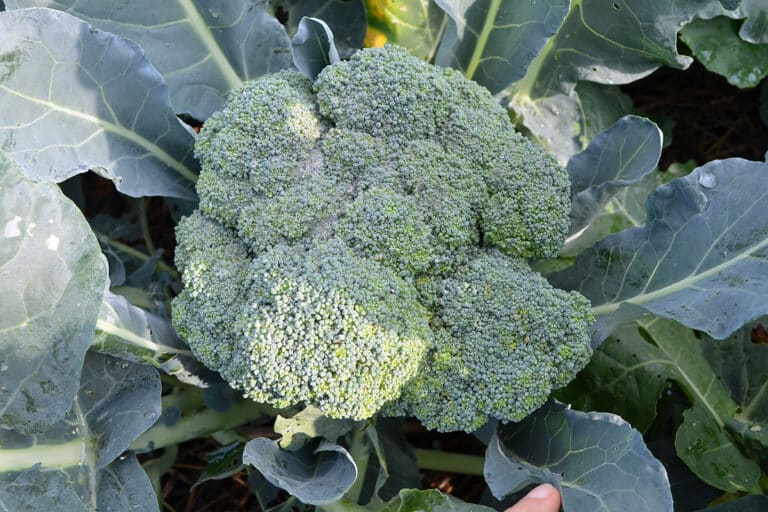
How to Grow Broccoli: A Complete Guide for Bigger Harvests
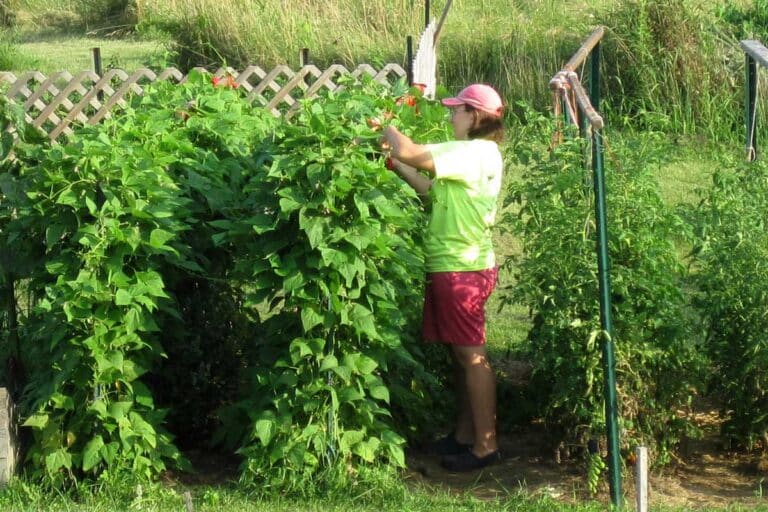
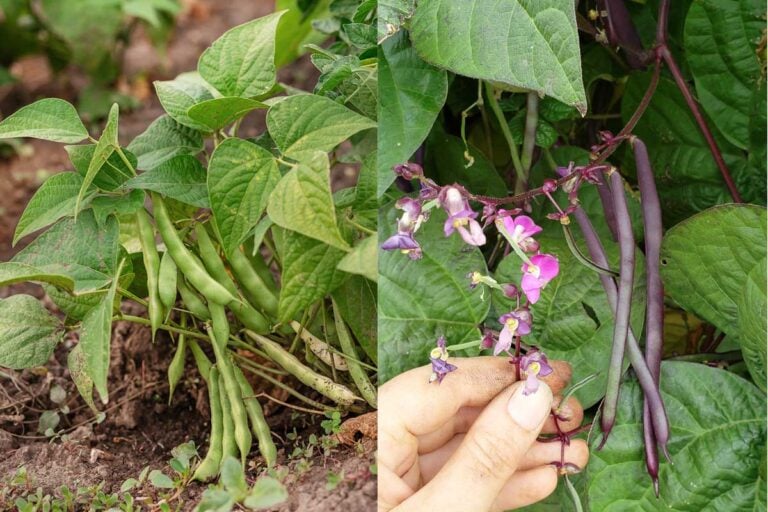
Grow Pole Beans with This Cheap and Easy Trellis
Bush Beans vs Pole Beans – Which Should You Grow?
Vegetables That Grow in Shade & Tips for Success
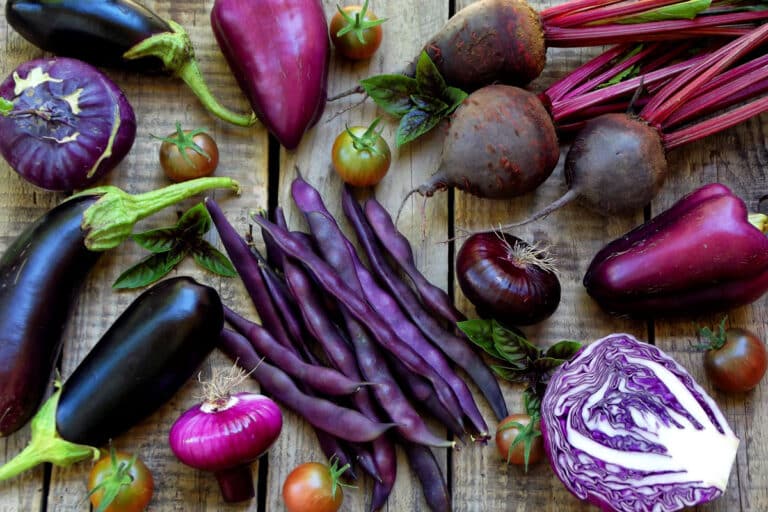
Purple Vegetables – Includes Photos & Cooking Tips
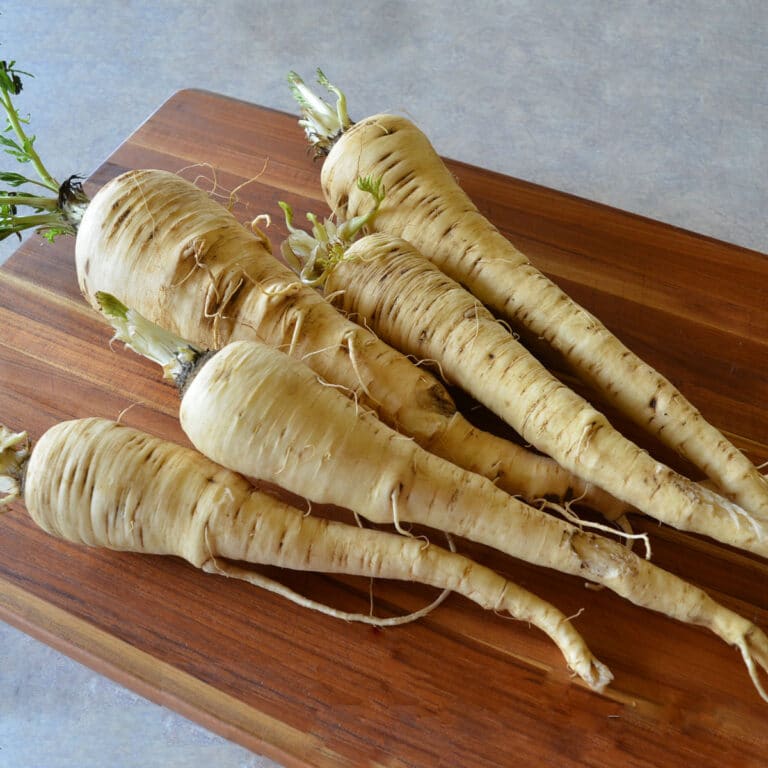
Parsnips – Growing, Harvesting, Use & Cautions
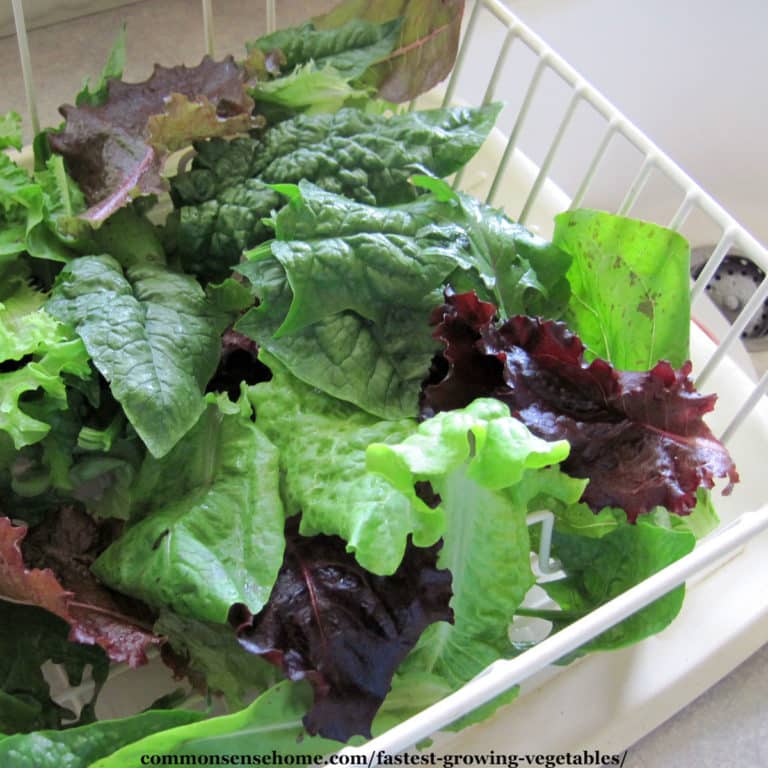
18 Fastest Growing Vegetables (Indoors, Garden, Containers)
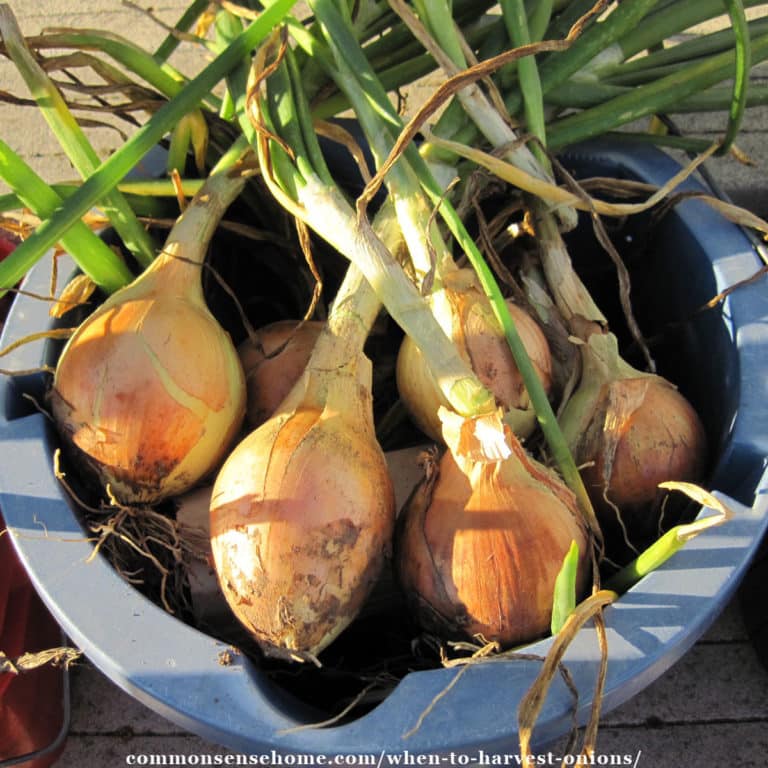
When to Harvest Onions (Plus Harvesting Tips)
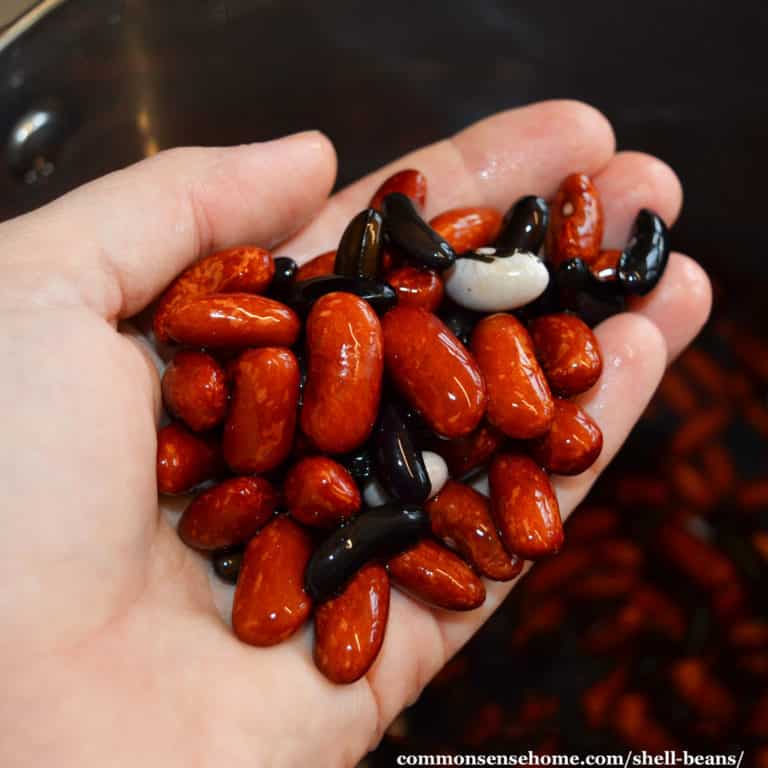
What are Shell Beans? (Growing Tips, Usage, Storage)
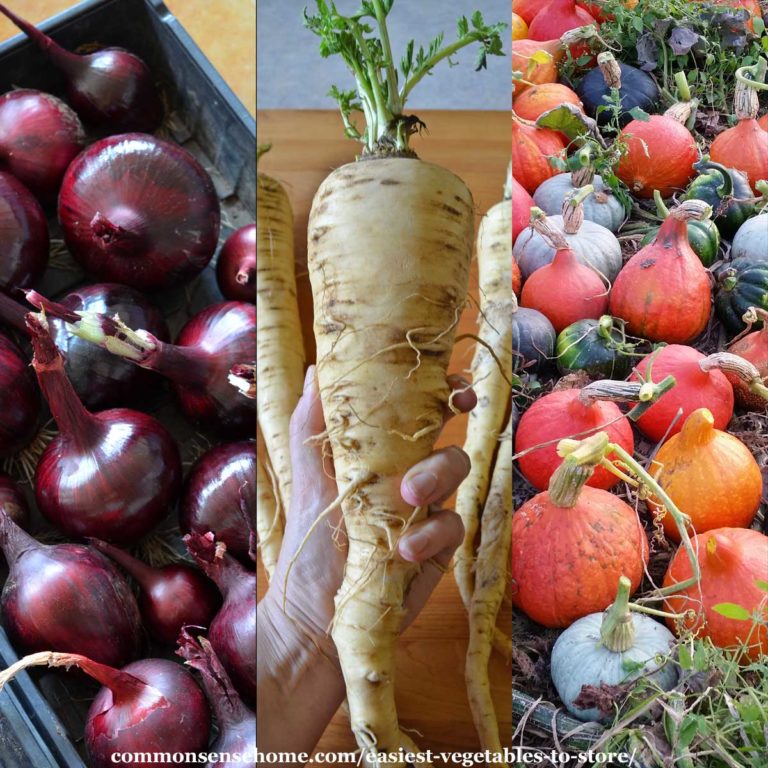
The 5 Easiest Vegetables to Store (Perfect for Home Gardens)
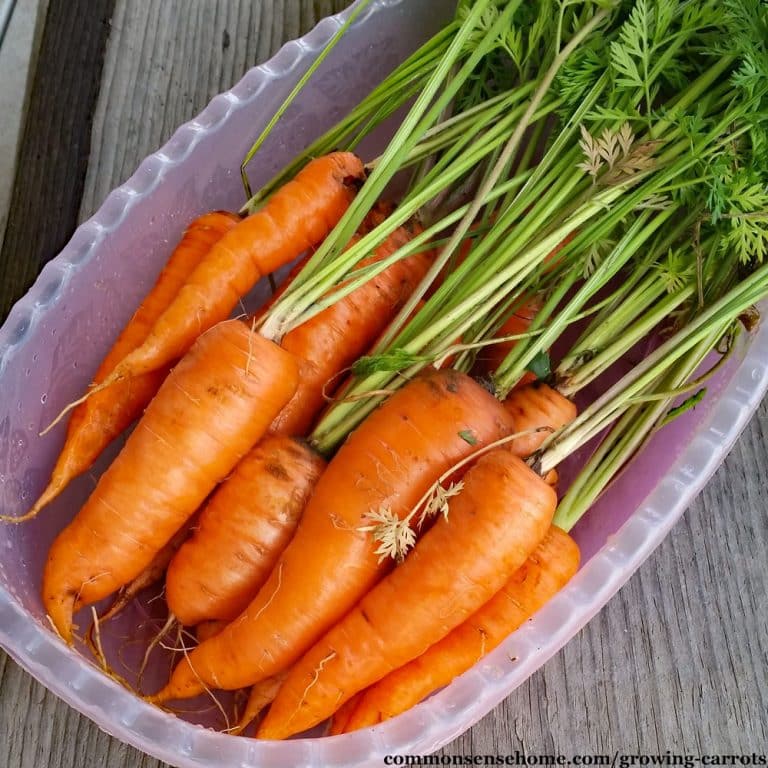
Growing Carrots – From Planting to Harvest
Giant Vegetables – How Big Do the Record Holders Get?
Strawberry Spinach – Easy Care Salad Green with Edible Berries
Browse Topics
Toggle child menu
Expand
Food Storage
Gardening
Preparedness
Home Remedies
Foraging
Recipes
Homesteading
About
Shop
Toggle child menu
Expand
Bread Making Book
Gear
Search
Toggle Menu Close
Search for:
Search