Skip to content
Browse Topics
Expand
Food Storage
Gardening
Preparedness
Home Remedies
Foraging
Recipes
Homesteading
About
Shop
Expand
Bread Making Book
Gear
Search
Subscribe
Toggle Menu
Tomatoes
tips for growing tomatoes and troubleshooting common tomato problems
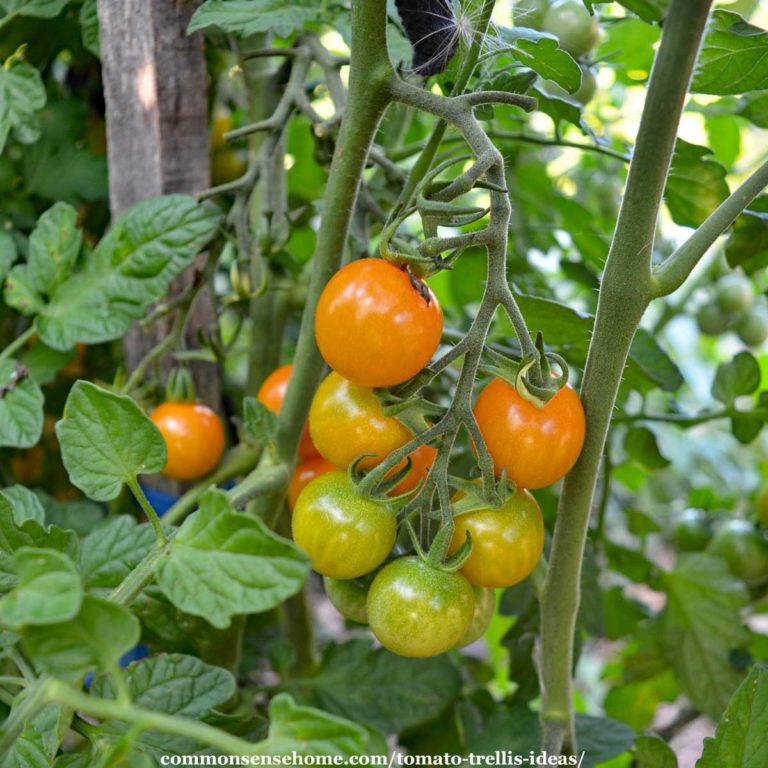
5+ Tomato Trellis Ideas for More Fruit & Easy Harvesting
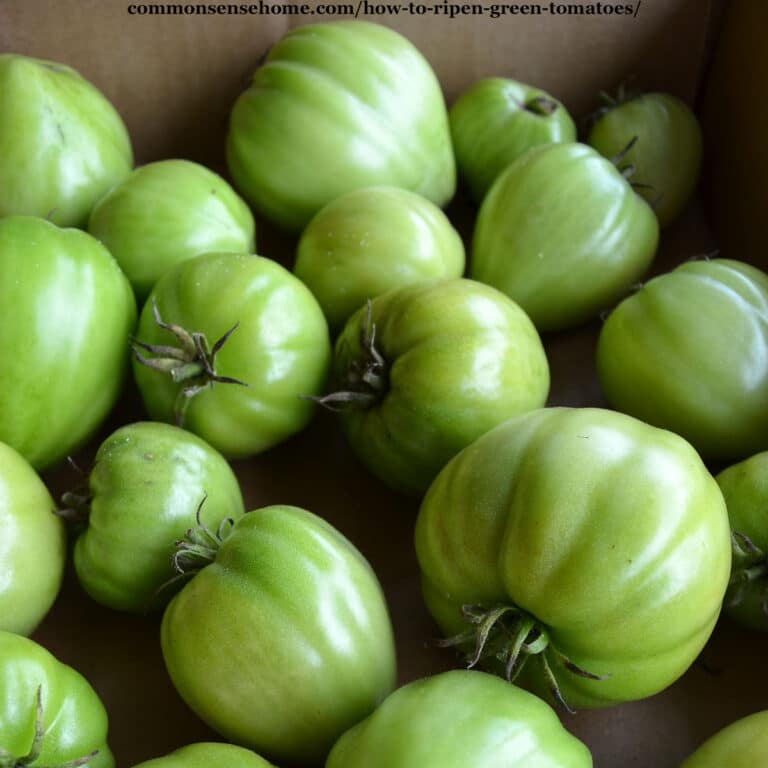
How to Ripen Green Tomatoes the Easy Way
4 Reasons Your Tomatoes Are Not Ripening + How You Can Help
Types of Tomatoes (Best Uses, Flavors, and Plant Sizes)
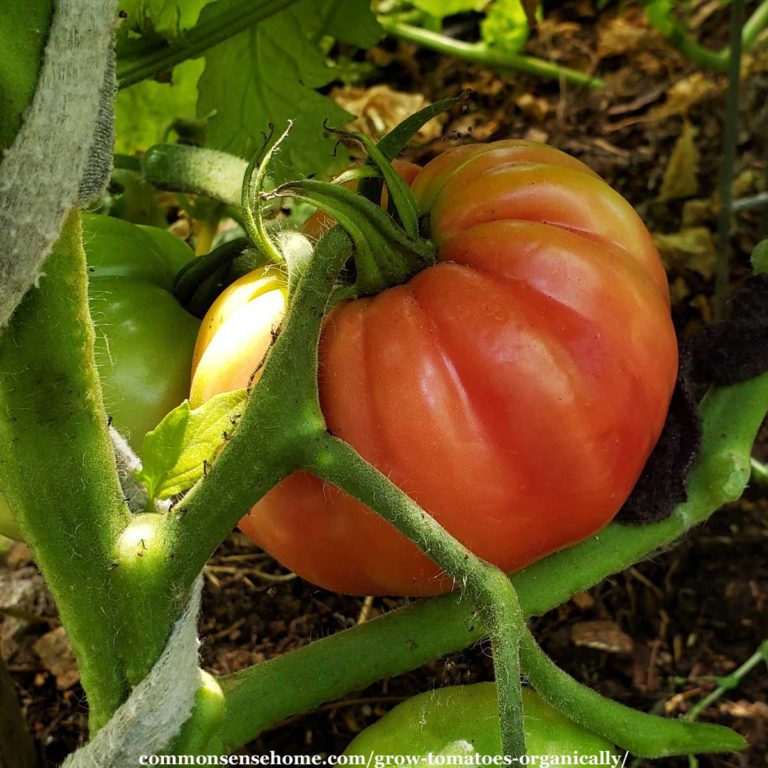
Growing Tomatoes (Organically) – 11 Tips for Success
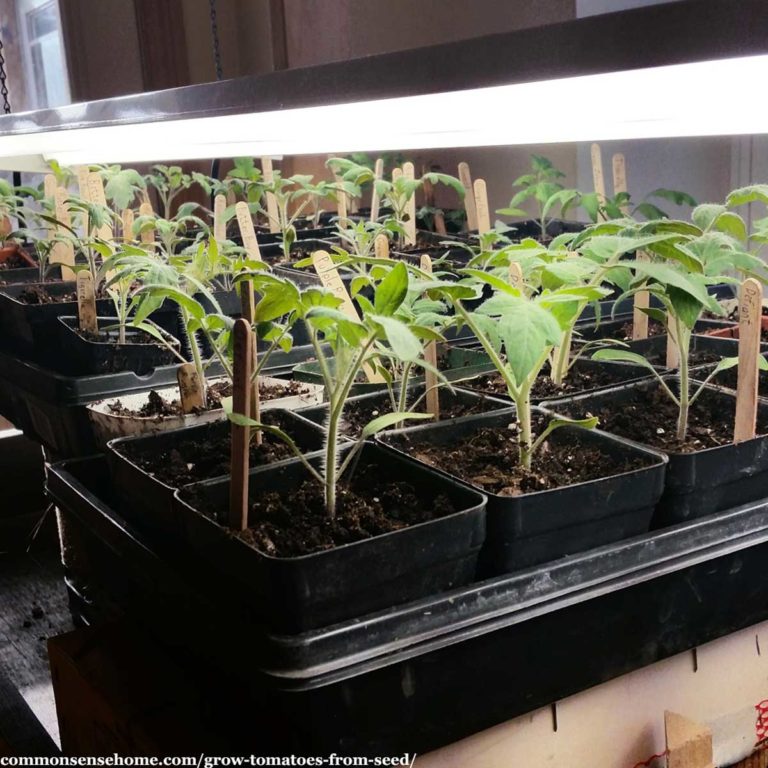
Grow Tomatoes from Seed – Save Money, Get More Varieties
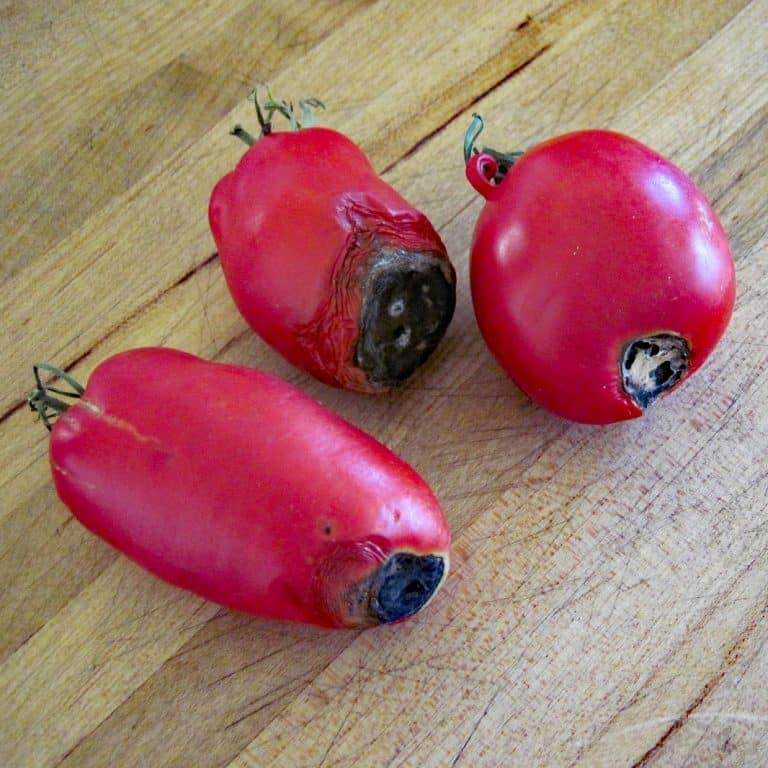
7 Tips to Stop Blossom End Rot and Save the Harvest
Tomato Flowers But No Fruit – 9 Troubleshooting Tips
Browse Topics
Toggle child menu
Expand
Food Storage
Gardening
Preparedness
Home Remedies
Foraging
Recipes
Homesteading
About
Shop
Toggle child menu
Expand
Bread Making Book
Gear
Search
Toggle Menu Close
Search for:
Search