Skip to content
Browse Topics
Expand
Food Storage
Gardening
Preparedness
Home Remedies
Foraging
Recipes
Homesteading
About
Shop
Expand
Bread Making Book
Gear
Search
Subscribe
Toggle Menu
Cooking
Preparedness Basics Cooking Related Articles
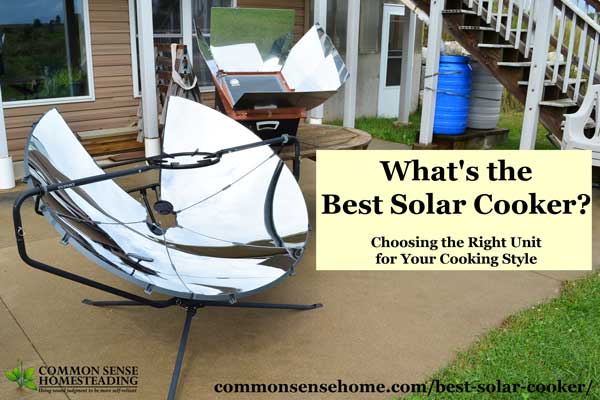
What’s the Best Solar Cooker? Choosing the Right Unit for Your Cooking Style
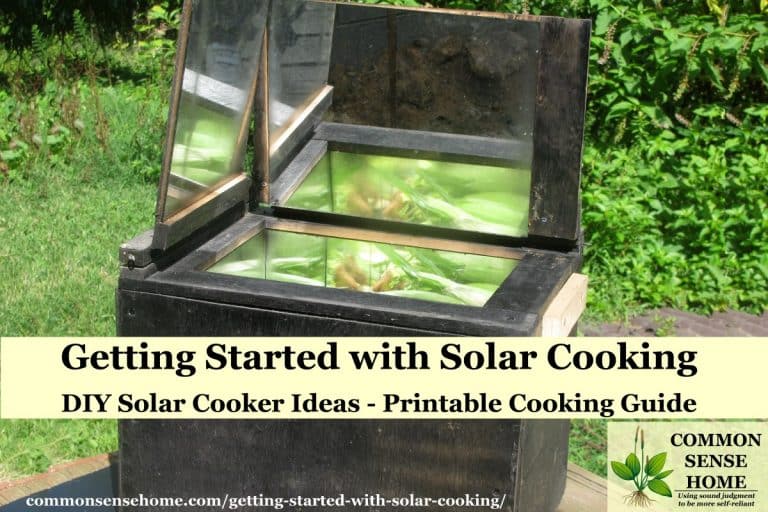
Getting Started with Solar Cooking – DIY Solar Cooker Ideas, Printable Cooking Guide
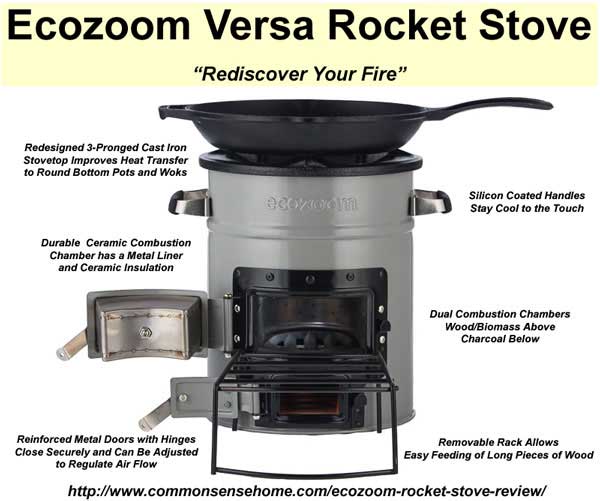
Ecozoom Rocket Stove Review – Portable Cooking with Multiple Fuels
Browse Topics
Toggle child menu
Expand
Food Storage
Gardening
Preparedness
Home Remedies
Foraging
Recipes
Homesteading
About
Shop
Toggle child menu
Expand
Bread Making Book
Gear
Search
Toggle Menu Close
Search for:
Search