Preserve Apples for Year Round Use 17 Easy and Creative Ways
This post may contain affiliate links. Read my full disclosure here.

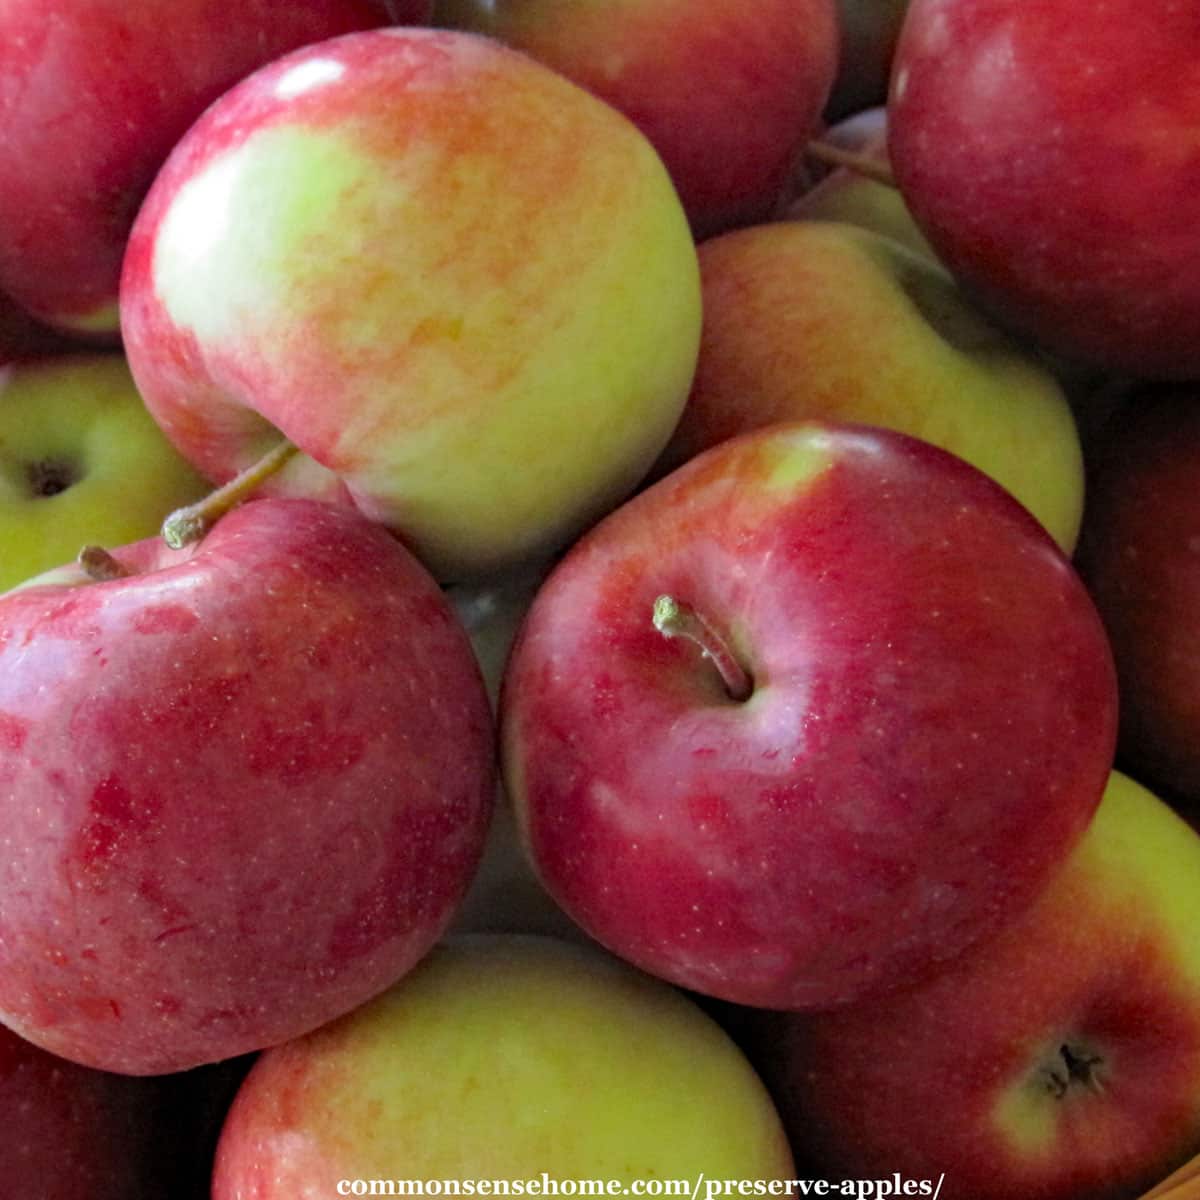
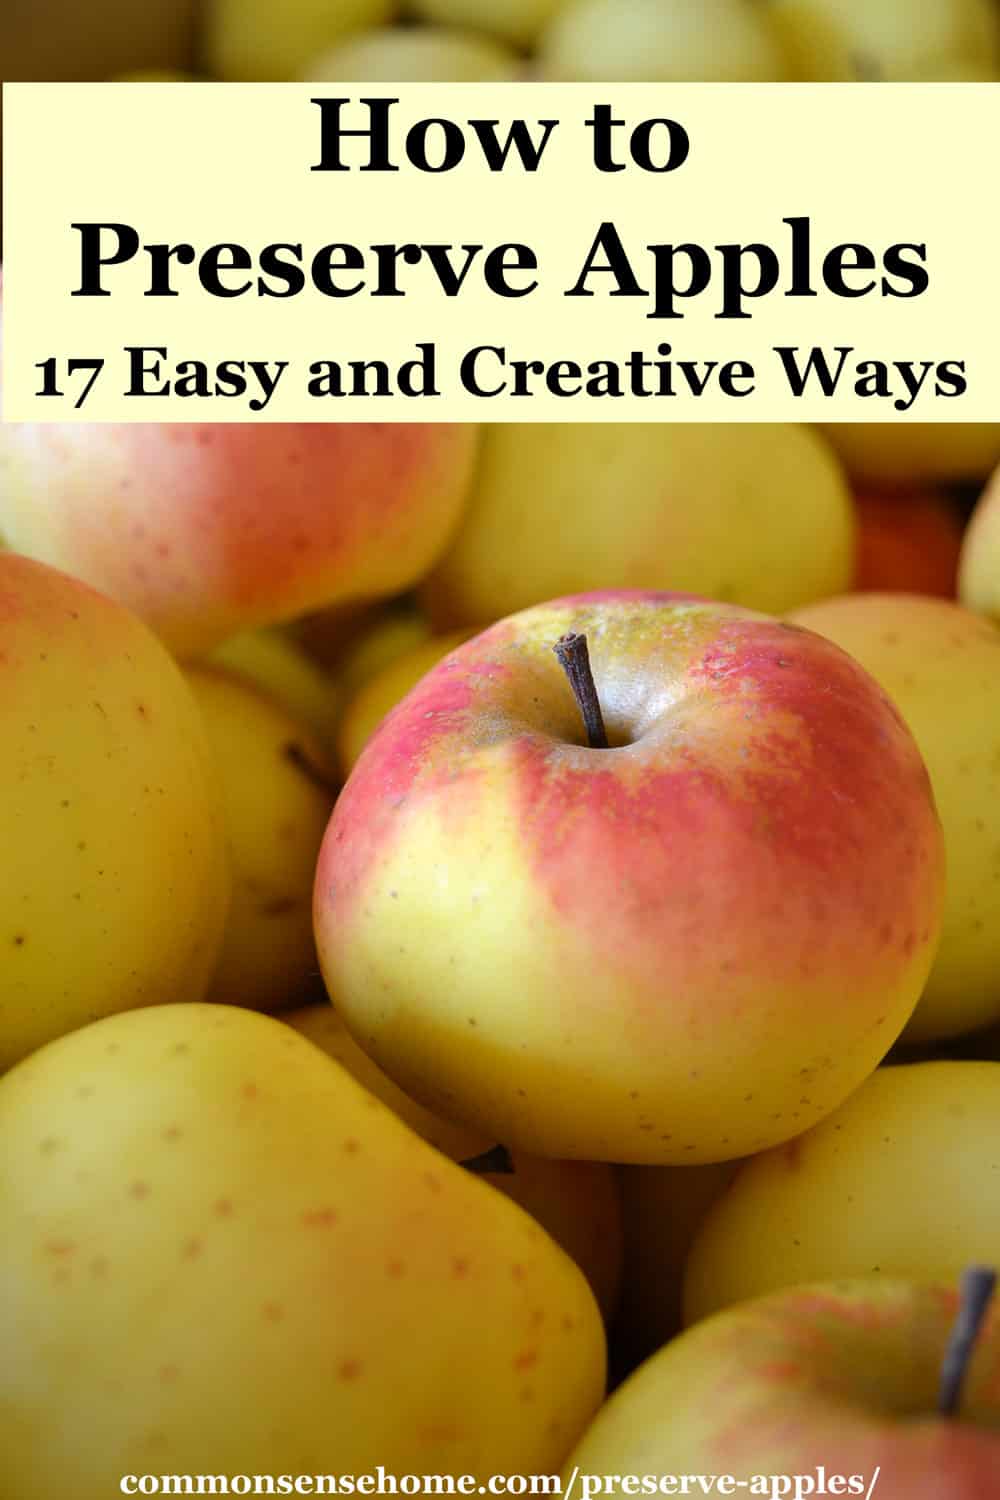
Apple season is one of my favorite times of the year. Whether you have your own trees or enjoy the bounty of local orchards, you can preserve apples to enjoy year round.
I’ll share the easiest way to preserve apples, best storage apples, and lots of creative apple preserving ideas.
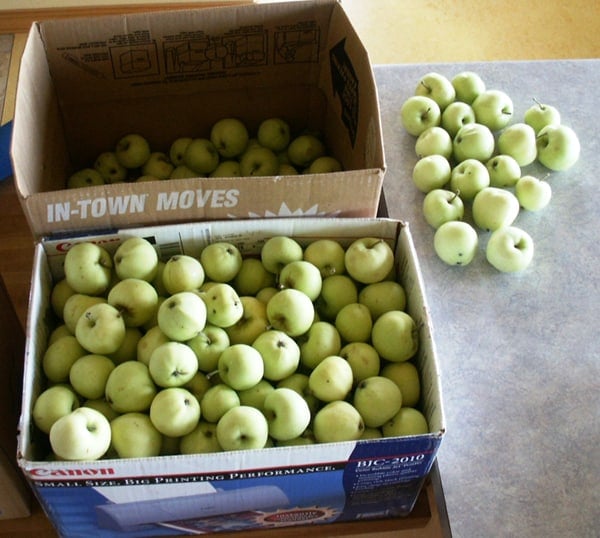
We have about a dozen young apple trees in our permaculture orchard, plus three old volunteer trees on the fence line. Sometimes the neighbors call with extra apples, other times we try out varieties at the local orchards.
What’s the best way to preserve apples?
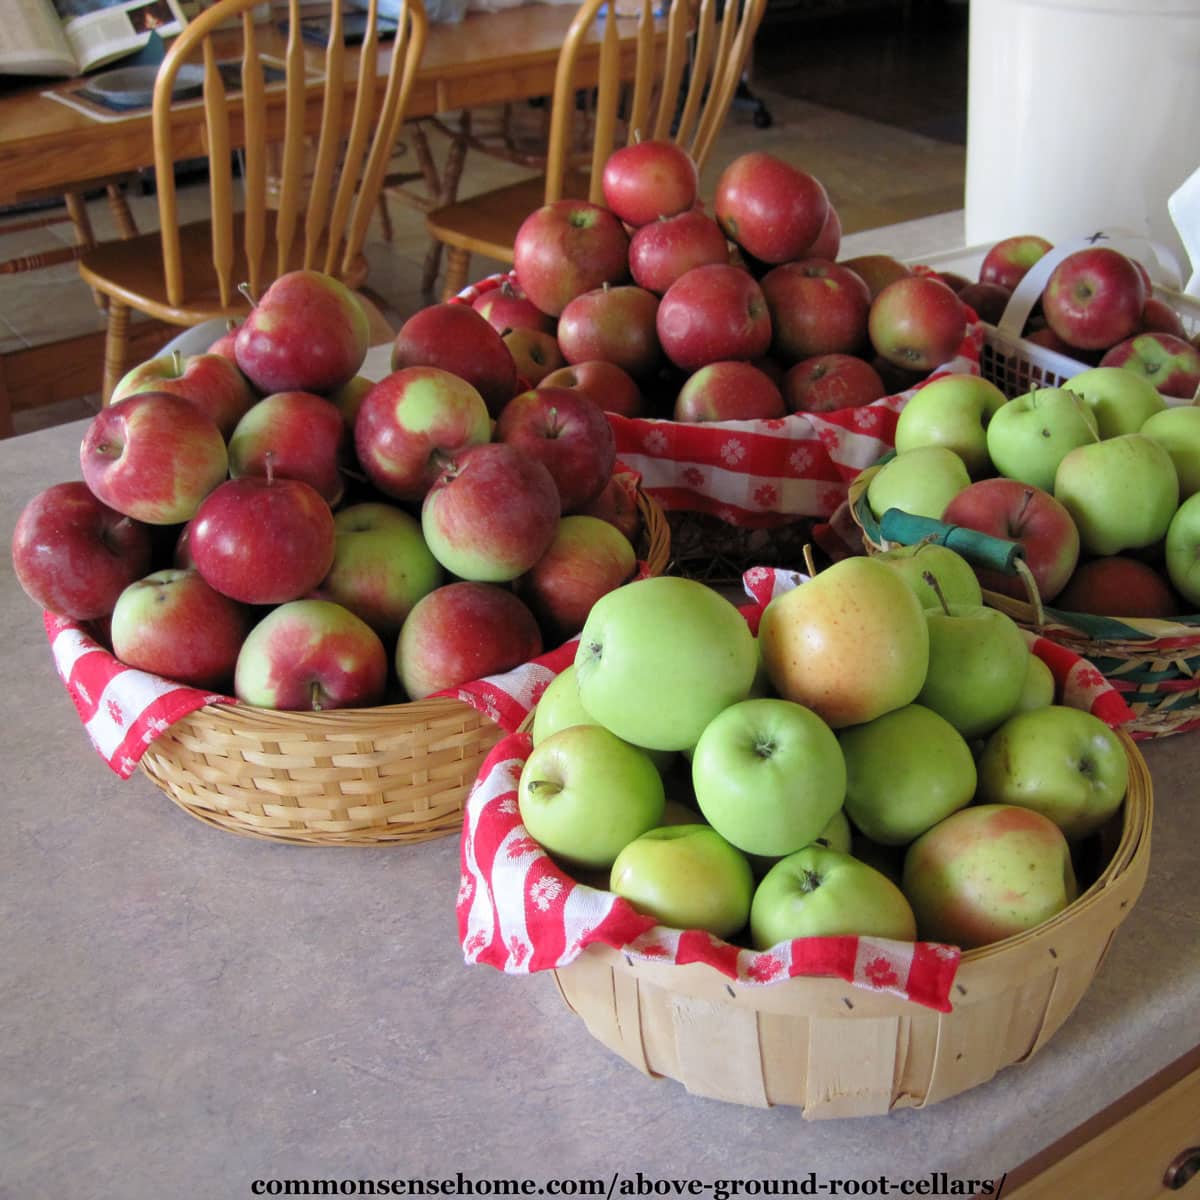
My favorite way (and arguably the easiest way) to preserve apples is to keep them in a cooler in the garage.
Here in northeast Wisconsin, we put fresh apples in a cooler in the garage. We prop the lid open slightly to allow ventilation. These apples keep for several months with no other preparation.
If you have room in your crisper drawer, you can hold apples there for a long time, too.
In the root cellar, make sure to keep apples away from root vegetables. The apples emit ethylene gas that can cause sprouting.
For more on root cellar storage, see “Root Cellars 101“.
For Best Shelf Life
Apples store best at 32 – 40℉ (0 – 4.4℃), with a relative humidity of 90 percent and some air circulation.
As long as conditions are cool and not too dry, with some air flow, the right varieties will keep.
I loosely stack the apples in a bin or cooler, but if you like, you can individually wrap them in newspaper.
Which apples keep the best?
Some of the best apple varieties for storage include:
- Bancroft
- Ben Davis
- Black Oxford
- Brown Betty
- Cameo
- Chieftain
- Cortland
- Davey
- Douglas Wormless
- Egremont Russet
- Empire
- Enterprise
- Fuji
- George Webster
- Glover Goldie
- Golden Delicious
- Granny Smith
- Honeygold
- Idared
- Jonathan
- Kathryn’s Favorite
- Lodi
- McIntosh
- Melrose
- Milwaukee
- MN 1734
- Mutsu
- Northern Spy
- Patterson
- Priscilla
- Prairie-Spy
- Red Delicious
- Red Esther
- Redstone Canyon Gold
- Rome
- Secor
- Spartan
- Stayman
- Sweet McIntosh
- Turley
- White Winter Pearman
- Wilson Juicy
- Winesap
- Wodarz
This list is compiled from St. Lawrence Nursery, Purdue University, and Iowa State University. If your favorite isn’t on the list, go ahead and experiment and see how long it will keep.
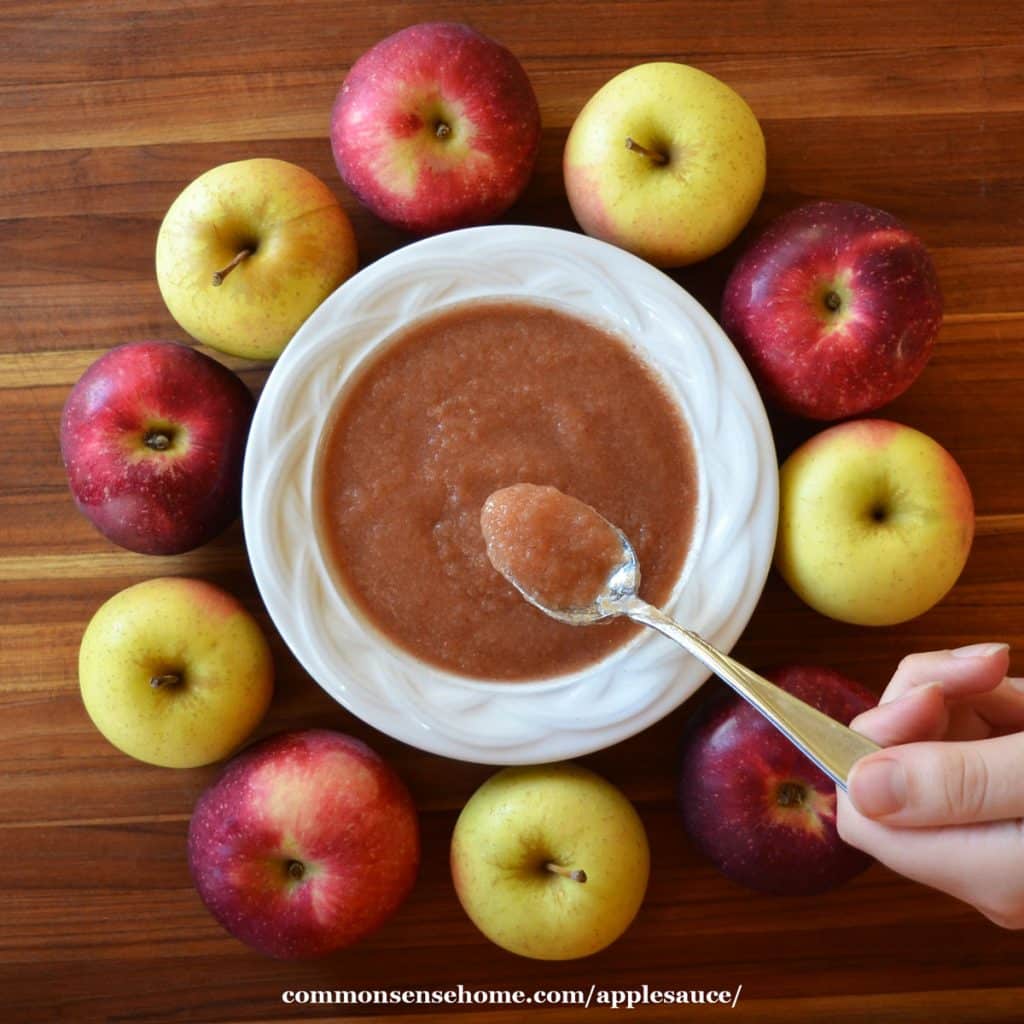
Applesauce and Apple Butter
One of our favorite ways to preserve apples is applesauce. We eat our applesauce fresh, freeze it, turn it into popsicles, can it, and use it to make fruit leather.
When making applesauce, look for fruit with a softer texture. Some of our favorite apples for applesauce are:
- Golden Delicious
- McIntosh
- Yellow Transparent
- The wild apple tree on the fenceline
I love using my old Back to Basics Food strainer for making sauce. It’s been discontinued, but the Norpro Sauce Master is similar. If you have a KitchenAid mixer, they have a food strainer attachment.
For all the details on applesauce, see “Easy Homemade Applesauce – How to Make It, How to Use It“. (Canning instructions included.)
For a thicker, richer flavor, try making spiced apple butter. This apple butter recipe is our favorite.
Dehydrating Apples
The great thing about using dehydrating to preserve apples is that they takes up less space. Apples are up to 86% water, so when you dry them, they really shrink up!
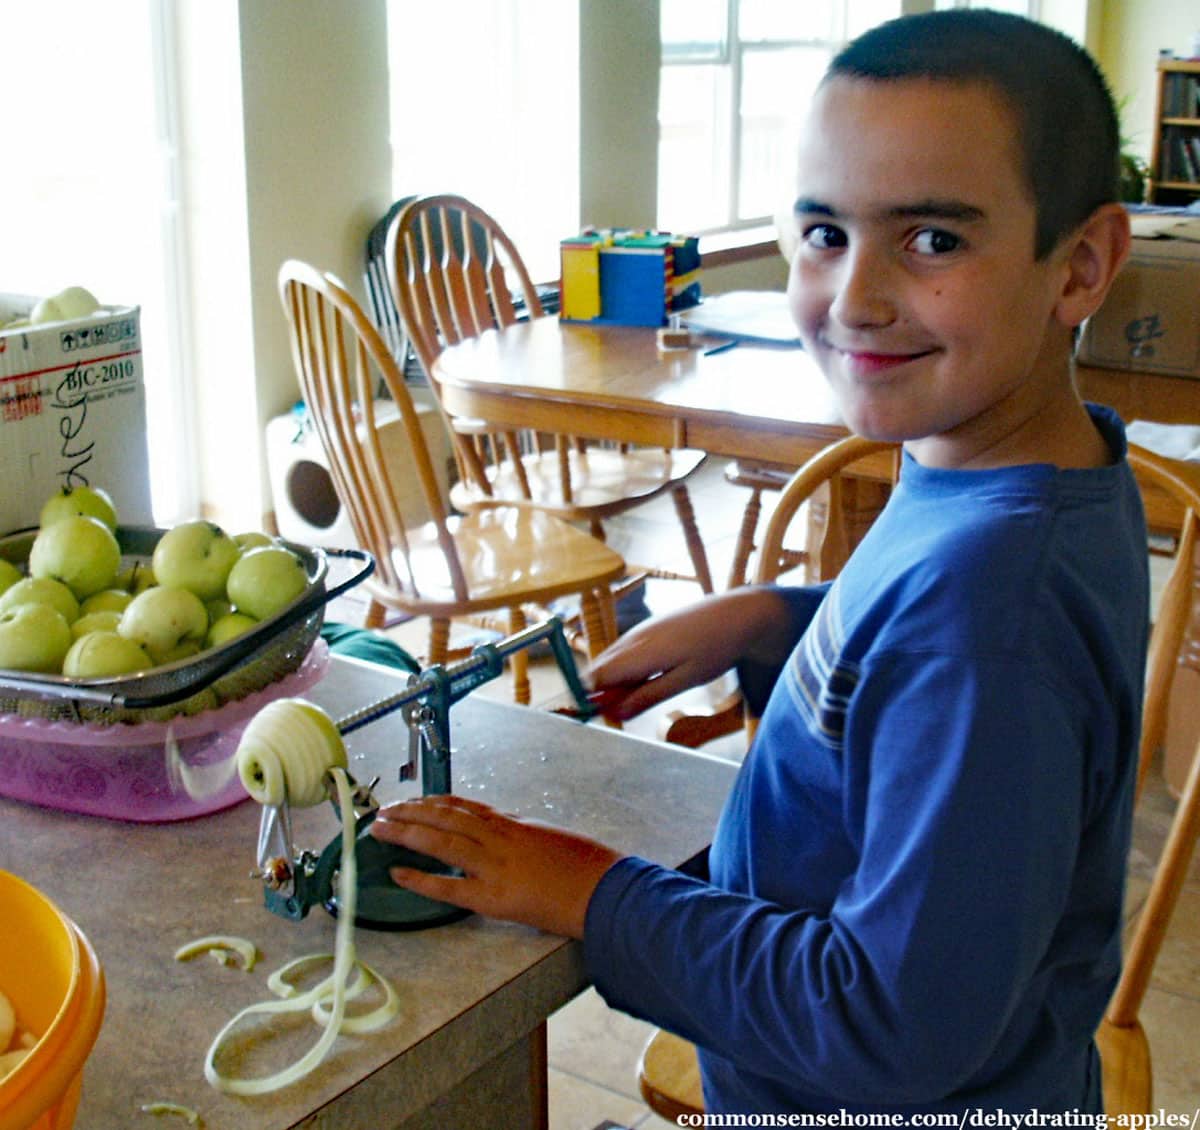
To make dried apple chips, we peel, core and thinly slice the apples. (This combo slicer and peeler makes this go MUCH faster.)
In the article “Dehydrating Apples“, we cover tips to prevent browning, fun flavor ideas, and safe storage instructions.
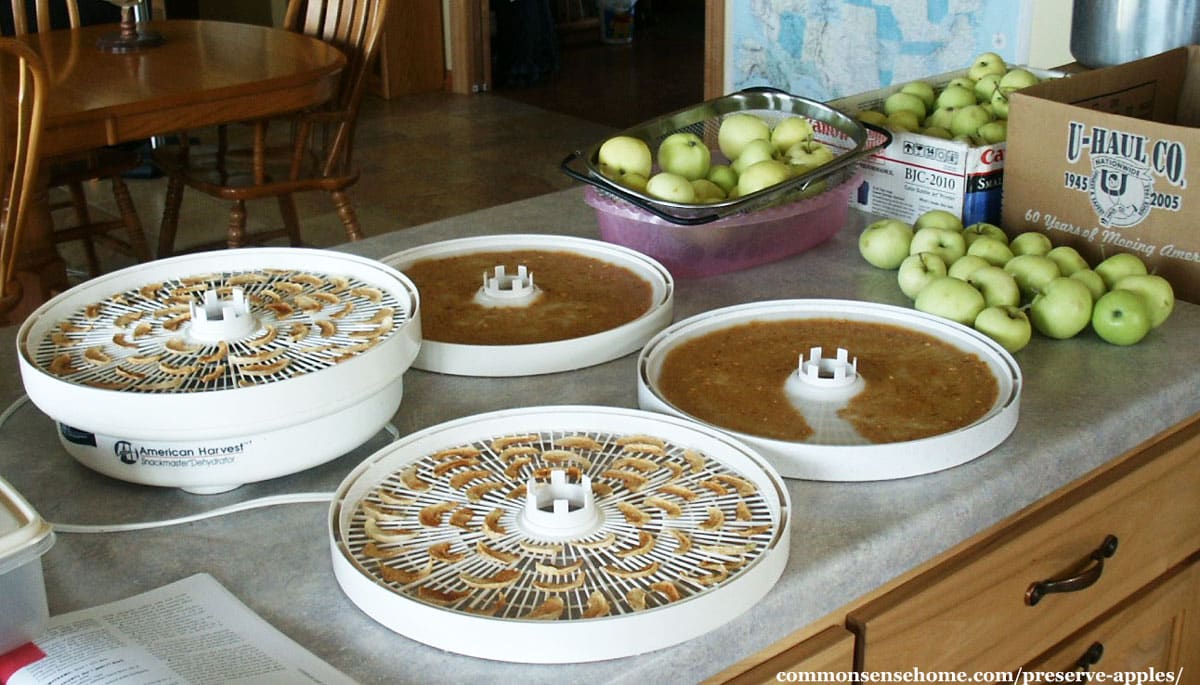
I use my Excalibur dehydrator for big batches, and my Snackmaster for smaller batches.
I find home-dried slices to be much tastier than most store varieties. They have a much stronger “apple” taste, and the texture is light and crisp rather than resembling foam rubber.
They are also sulfite free, since we use lemon juice and other natural treatments to prevent browning.
It’s fine to dry trays of apple slices and trays of applesauce at the same time. Dried homemade applesauce makes the best fruit leather!
You can also mix applesauce with other fruit purees to make different flavors of homemade fruit leather.
Check out “How to Make Homemade Fruit Leather” and “Pumpkin Fruit Leather” for applesauce based recipes.
Freeze Drying
For those with a home freeze dryer, freeze drying apples also works well. Simply slice and prep apples as you would for dehydrating, and lay them in an even layer on your freeze dryer trays.
Would you like to save this?
Apples are less sweet than some other fruits, so they generally dry quite quickly. The texture of freeze dried apples varies. Some varieties come out light and crisp, other stay softer. We really liked the finished texture of River Belle apples. Some other varieties to try include Gala, Pink Lady, and Fuji.
Be sure to store your finished freeze dried apples in an airtight container, such as a mason jar or Mylar bag.
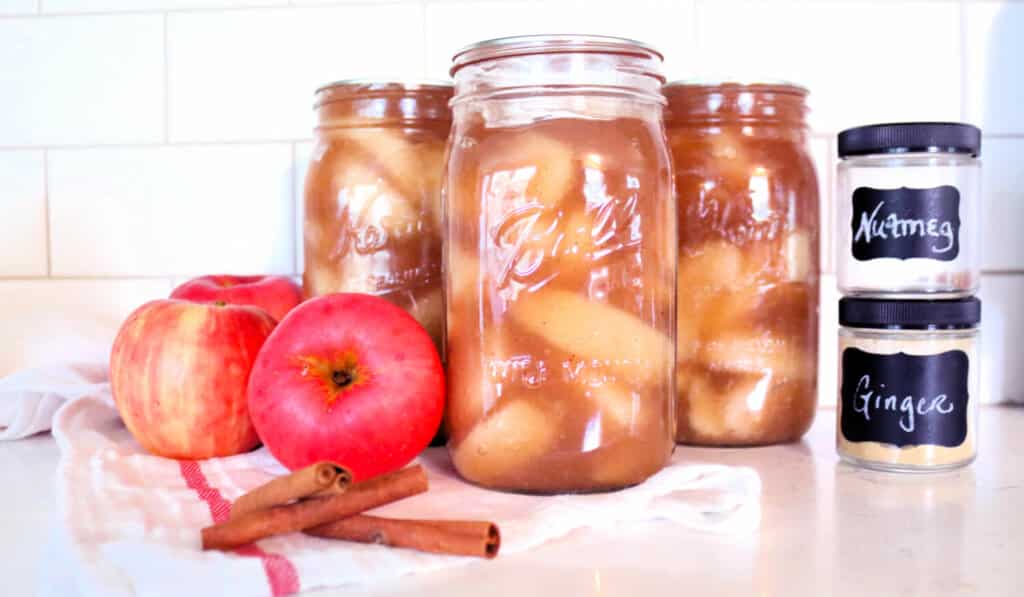
Canning Apples and Apple Pie Filling
Because they are high in acid, you can use a water bath canner or steam canner to preserve apples. My friend, Melissa, shares her apple pie filling recipe here, and my friend, Jill, shares how to can apple slices here.
You can also can apple juice by processing with 1/4 inch head space for 10 minutes for pints and quarts.
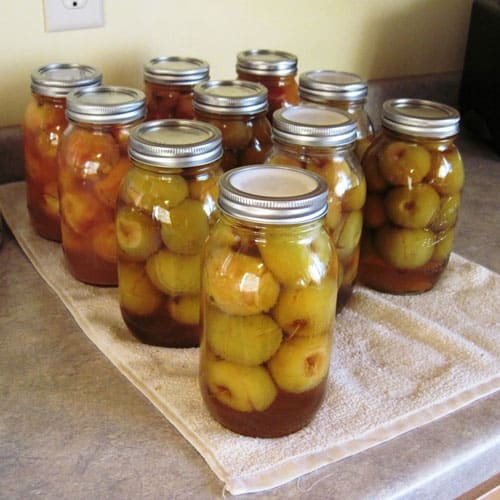
If you have small apples, you may can them whole. Check out these recipes for Spiced Crabapples and Honey Cinnamon Crabapples.
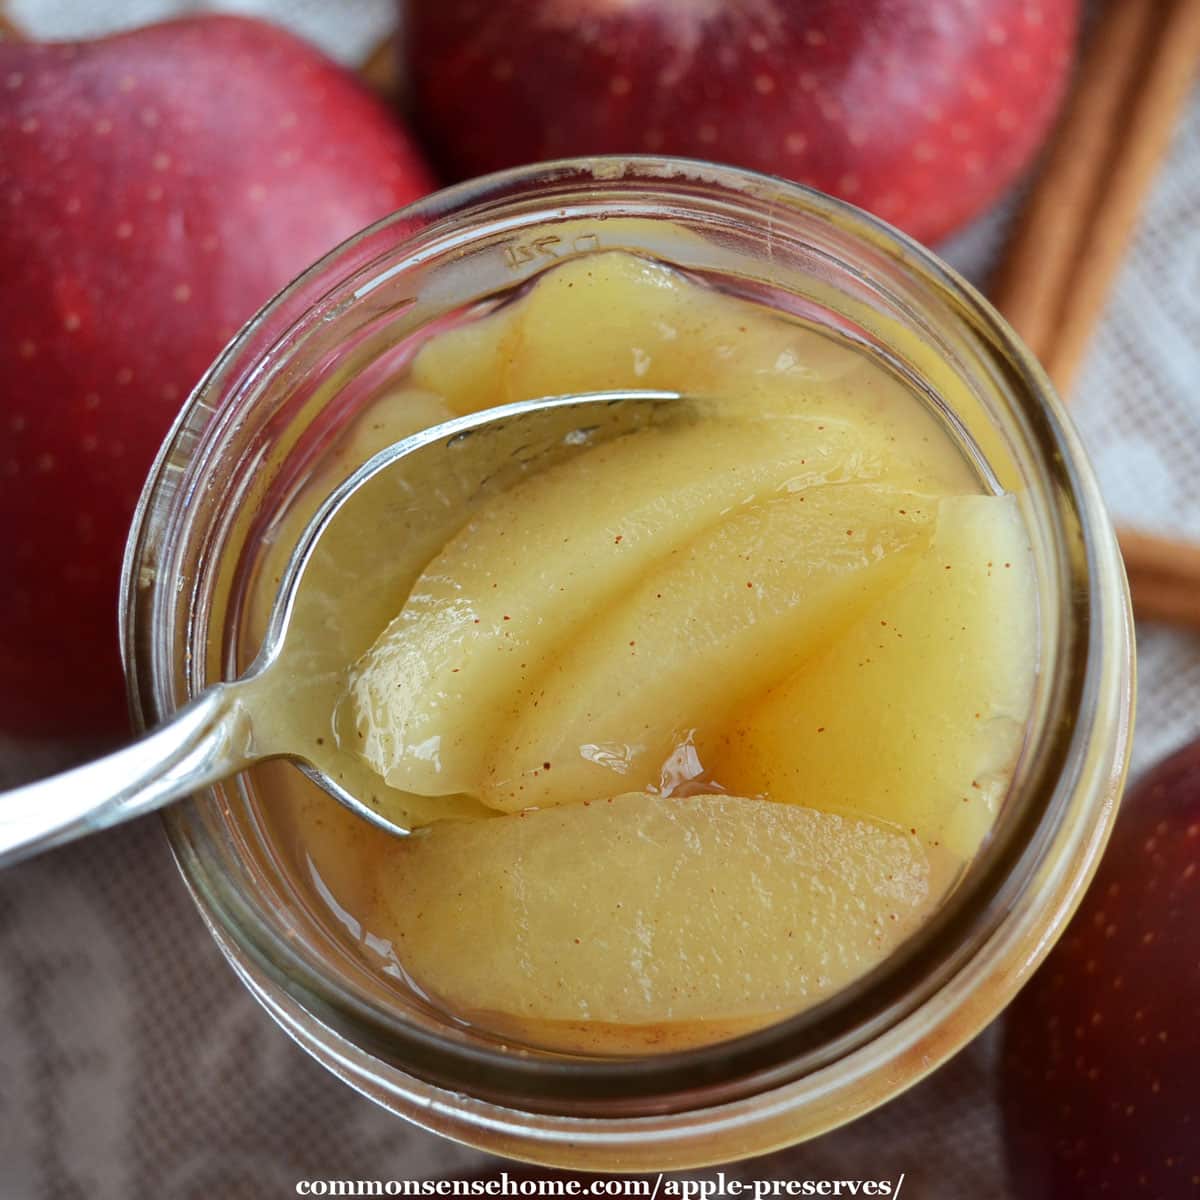
Preserve Apples in Jams, Jellies and Apple Preserves
Apple jelly is one of the simplest jellies to make. All you need is apple juice and sugar. If you prefer, you can use honey. The natural pectin in the apple provides the jelling.
See “How to Make Apple Jelly” for the recipe and canning instructions. Apple currant spread combines apples and currants, and autumnberry apple cider jam is fun for foragers.
Bonus recipe – if you have crabapple trees that don’t produce tasty fruit, try apple blossom jelly.
To mix things up, you can try maple apple jam or brandied cinnamon apple preserves. Both of these recipes use less sugar for more apple flavor.
Freezing Apples
What’s the best way to freeze apples? Peel the apples and cut them into slices. Dip the slices in lemon water for a few minutes. (Use about 1/2 cup lemon juice and 1 quart water.)
Drain the slices in a strainer, then arrange them in a single layer on a baking sheet. (I like to line the sheet with reusable parchment paper for easy cleaning.)
Freeze the apples for at least four hours, or overnight. Pack the frozen apples into a labeled and dated freezer bag. Use within one year.
To avoid ice crystal buildup, seal the frozen slices in a vacuum seal bag. If you want, you can prep apple pie filling and freeze it in gallon freeze bags.
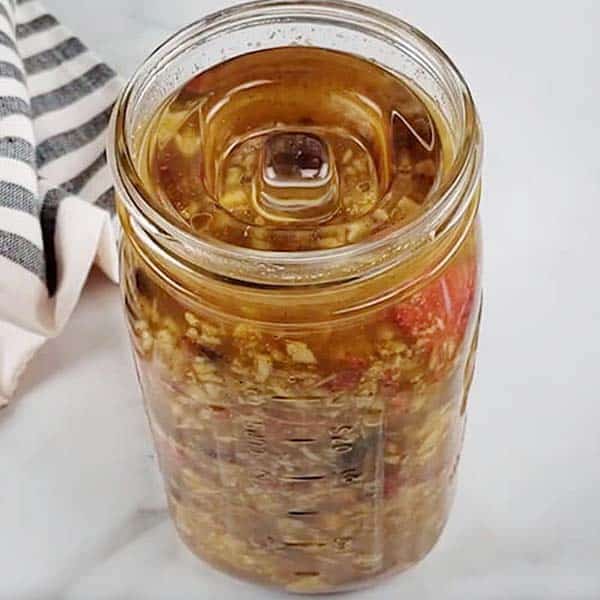
Fermented Apples and Apple Salsa
You can also use fermentation to preserve apples, and take them from sweet to savory with salsa.
This 5 spice apple chutney makes a great topping for kefir, pancakes or waffles. Apple salsa combines the heat of jalapenos with sweat-tart apples. (Plus it’s safe for canning!)
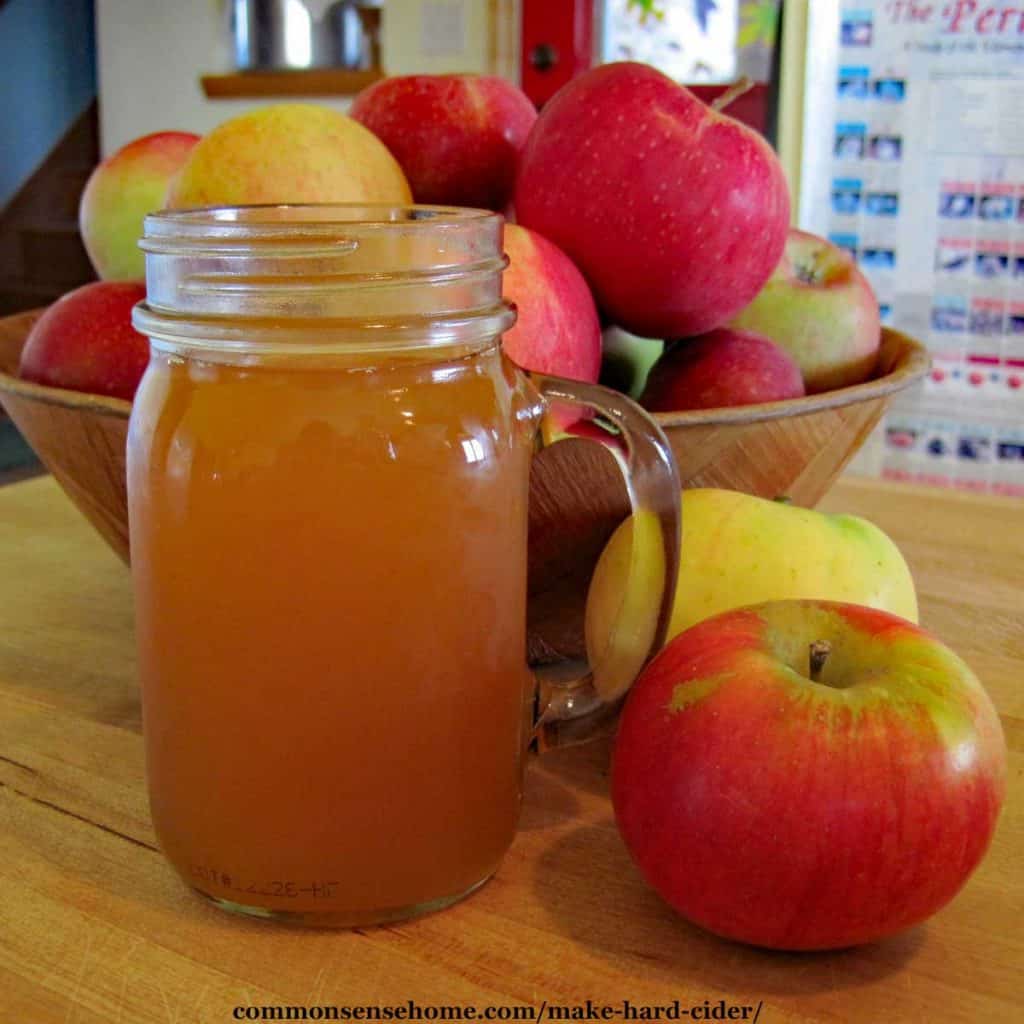
Hard Apple Cider
If you have a cider press, you can preserve apple cider longer by turning it into hard cider.
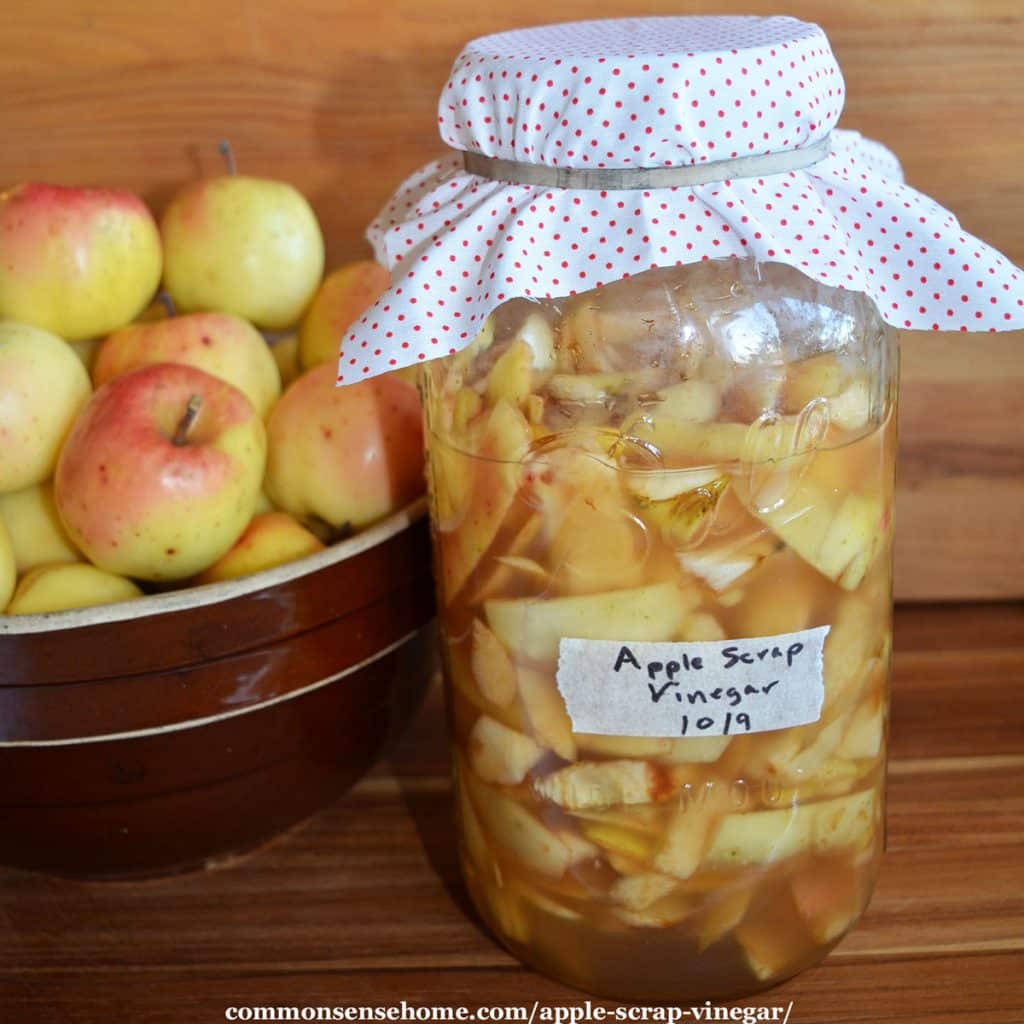
Apple Cider Vinegar
When you’re processing apples, don’t toss all the cores and peels. You can use them to make homemade apple cider vinegar.
What else can I do with an over abundance of apples?
While you’re working to preserve apples for long term storage, you can also enjoy these easy apple recipes.
Fried Apples with Maple Cinnamon Glaze (No Refined Sugar)
Easy Apple Cake with Caramel Topping
5 Amazing Spiced Apple Cider Drink Recipes
I hope you find this post helpful when apple season brings a wonderful bounty of fruit. If you have a question or a favorite apple preservation recipe or tip you’d like to share, leave a comment below.

This article is written by Laurie Neverman. Laurie grew up in the kitchen, learning baking and home cooking from her momma. At age 15, she and her mom and two sisters created Irene’s Custom Cakes & Catering, which was her summer job through most of high school and college.
Originally published in 2009, last updated in 2024.
One thing I don’t think I seen to do with Apples is make and freeze Apple Dumplings. I make them and then in the middle of winter I take out 1 or 2 and bake them in syrup and oh is it so good. I also make pies and cobblers to freeze. Nothing easier when you have a last minute place to go and you want to take something.
Take one out of freezer and cook.
A couple comments… First, WHY do you peel your apples: leave the skin on, particularly when dehydrating / freeze drying / making an apple pie? By the say, if anyone wants to impress those who eat an apple pie you make, there is nothing more impressive than a friend noticing all the pieces in the pie are uniformly cut; plus, there is a better likelihood all the apple chunks will cook evenly and “crunch” just like all the other pieces in the pie. Using the apple corer is fantastic; or to “quote” Laurie: MUCH faster [and better]. Disengage the “peel” removing blade and just core and slice the apple. When done, set the cored apple on its “butt” and slice down thru the middle to create two half-circle, evenly sliced apple pieces and, my preference, rotate another 90° and slice again to create a whole bunch of quarter-circle slices, again, evenly sliced. Leaving the peel on is a nice, barely noticeable enhancement to pies — as well as being a healthy addition.
One preservation option / alternative missing in this blog’s(?) link is freeze drying. This raised my attention because a few emails ago, I thought Laurie mentioned she bought a freeze drying machine. From my perspective, freeze drying is the ONLY way to go — or certainly the easiest and most preferred. Also, get rid of those stupid, non-recyclable Mylar bags used to store freeze-dried stuff: they are expensive and wasteful and “require” an oxygen removal pack in each bag.
The better solution is to purchase a chamber vacuum machine. These are expensive, but pay for themselves many times over after a year or so. If anyone watches the “Retired at 39” YouTube guy’s videos on freeze drying, he, in effect, uses his freeze drying machines as a vacuum chamber: it is rather inefficient, but works. With a dedicated chamber vacuum, all the air is sucked out of a canning jar containing a freeze dried product (or anything else using a canning jar): no oxygen absorbents needed. Additionally, after opening the jar for snacking on whatever one freeze dried, it can easily be re-sealed in a minute. The chamber vacuum I have (and what is most widely used by most everyone) is a VacMaster. If you are reading this, you likely do alot of canning and have canning jars. In a nutshell, a chamber vacuum is a sealed space (after the lid is closed) and all the air in the chamber is sucked out and the bag (or jar) sealed before the lid is opened and lets all the air back into the chamber. Thus EVERYTHING is sealed, including liquids.
For example, one can put some liquid in a “regular” vacuum bag, close the lid to suck all the air out of the chamber, including ALL air in sealant bag; the bag is sealed and what is left is sealed bag of liquid with NO air. This really makes freezing liquid stuff as compact as possible: saving freezer space. Relative to freeze drying, freeze dried produce is put in the jar, the lid placed on and cover screwed on barely “sealing” the rubber lid onto the jar. As the air is sucked out of the jar and the cycle completes, air is let back into the chamber; the vacuum in the jar “pulls” the lid onto the jar and seals the jar. If the seal is broken / opened to use whatever is in the jar, repeat and reseal the jar. I once tried to seal a plastic food container with a rubberized lid and hoped / expected the lid would be sucked back onto the plastic container when the vacuum cycle completed. The vacuum was so complete, the plastic container, with its sealing lid, imploded in side the chamber into 1684 pieces, plus plastic crumbs: the vacuum is THAT strong.
Any more now, I rarely use my “regular” vacuum machine, particularly with meat: during vacuuming, the juice, aka, blood, is sucked out with the air. This prevents the bag from sealing (a wet bag) and makes a mess in the vacuum’s “waste” trough. With a chamber vacuum, that is impossible to happen: the plastic bag is as dry and sealable as it was when I placed it inside the chamber. This is one of the these things that until it is seen in action, it is hard to wrap one’s head around how it works because we are so conditioned to thinking stuff is sucked out of a bag, including blood or any liquid. Only the air is sucked out of the chamber. Once the air is gone, the plastic bag (if used) or the canning jar is sealed, then the lid opens and lets in air. Because there is no air in the bag after the vacuum cycle and then sealed, there is nothing, i.e., air, to suck out of the bag or jar. When air is let back into the chamber, the bag or jar is sealed so there is no possibility for air to enter back into the sealed bag or jar until it is opened.
Chamber vacuums are commonly used for sous vide cooking. And OMG… If you have never tried that cooking method for steaks, et. al., you do not know what you are missing. It is IMPOSSIBLE to overcook anything. If you want a nice, thick filet mignons rare, set the water bath to 133°; if you want medium, set the water bath to 142°, etc. It is IMPOSSIBLE for the internal temperature of the meat to exceed the temperature of the water bath. After 30-60 minutes (or more depending on how thick the meat, poultry breast, fish, etc.) is longer it will take. Meat “doneness” is based on the internal temperature of whatever it is being cooked. To finish, put the steak (or whatever) on a hot pan for a minute on each side to make the steak appear cooked: caramelize the outer surface of meat. Because sous vide (like smoke cooking) is very slow cooking method, the protein fibers of the meat are exceptionally tender: they are not contorted by high heat. Virtually all 5-star restaurants cook their steaks that way. They commonly “cook” a bunch of steaks and leave them in the water bath for up to 9 hours and pull them out when a customer orders a steak. The steak is already sous vide cooked; all that has to be done is cut the plastic bag, pull the steak out and “burn” some grill marks. The steak is as pink on the inside as it is near the surface: even cooking in ALL parts of the steak.
OK, this is long. I hope it was entertaining…
If you don’t have organic apples, the peel also tends to be where the most pesticides/herbicides are concentrated.
If you want to seal mason jars, you can get an attachment set for a regular vacuum sealer for under $50 that vacuum seals regular and wide mouth jars.
For years, I have not eaten any fruit unless I can wash ’em (using _soap_, yes there is organic soap for food) or run them thru a ozone (O3) bath or peel them. Either way, the soap will remove and the ozone will deactivate nearly all organic contaminates. I (and my neighbors) do not use pesticides, but we still gotta wash stuff to get rid of bird and bug poop, etc., and with potatoes, carrots, turnips, etc., washing is the only practical way to bush off dirt. And rinsing stuff (running cold water over them) is NOT washing: who washes their dishes that way? The vacuum sealer you noted could work, but I have hit and miss success with them; also the “regular” consumer vacuums do not suck out air very efficiently.
My question is about how you store the dried apple slices once they’re finished in the dehydrator? I’m always afraid my food isn’t “dry” enough and it will mold. Do you keep them packaged in the refrigerator?
After dehydrating foods for many years, I have a feel for what’s dry and what’s not. For short term storage, I typically place the finished product in a mason jar, zipper bag or other container and keep it in the pantry. For longer storage, I use a mason jar and vacuum seal it, then keep it in the pantry.
There are a number of ways to check dryness of dehydrated fruits. The most basic is to visually inspect the product, pick out larger pieces, snap them in half and taste them to see if you can find any damp spots. With experience, this is pretty reliable.
Another option is to place the dried product in a mason jar and tightly seal the lid. Open the jar and check for signs of condensation on the lid at 12, 24 and 48 hours (give or take). If there’s moisture on the lid, your produce is not dry enough.
A third option is a product called the Hylid, which is a screw on lid for wide mouth mason jars that has a built in hygrometer to measure moisture content. They sell them on Amazon.com.
I print everything that I might want to keep for future use. Could you set up a printable copy of your recipes without pictures? I really would appreciate it.
I would rather you not publish my last name.
Thanks
You don’t need to enter your last name to leave a comment. (I deleted it for you.)
I’m in the process of updating older posts to make instructions easier to print, but haven’t yet gotten through them all. If you’d like to print without photos, you can use the green Print This button at the bottom left of the post and delete the parts you don’t want to print.
I don’t see where is says the temperature I need my dehydrator at? Can you let me know the temp please??
Sorry about that! Both my dehdyrators have a “fruit” setting, so I didn’t even think twice about it, but the temperature range is 125-135 F.
Just a thought… when you are cinnamon sugaring the apples for the dehydrator- Line a cookie sheet with parchment paper or wax paper or something( or nothing). You probably aren’t wasting too much down the sink but you could reuse what doesn’t stick. Also despite cleaning, must sinks are not actually clean enough to come in contact with food that won’t be cooked. Placing the trays in the sink does pose a risk of transfering bacteria, etc.
With the apples still dripping from being dipped in the lemon water, most of any cinnamon mix that misses the apples tends to get sticky really fast. I’ve been known to eat food off the floor and straight from the dirt in the garden, and I regularly wash salad vegetables in the sink, but if someone were concerned about contamination they are certainly welcome to prep elsewhere.
I have the same post in the works….if I can get it done. We inherited about 100 pounds off a neighbors’ tree. Still working on them :). Shared on FB 🙂
Sounds like you’ve be busy for quite a while. 🙂 Thanks for sharing.
Laura – sounds like you have quite the system.
I tried the food mill and just didn't care for it. For me, the strainer was just so much faster.
We got drops from the orchard and processed up a storm. We have three-in-one system that creates almost no waste:
We use the peeler/corer/slicer to prepare them for dehydrating. The parts good enough to dry go into the dehydrator.
The cores go into a pan. The skins can, too, if you don't want to do step three, below. Once we have all the cores, we top off the pan with quartered apples. We cook them, and put them through a vintage Foley Food Mill http://www.etsy.com/listing/82835105/vintage-kitchen-food-mill-foley. I think the Foley food mill is easier to clean than a strainer, and is very easy to use.
The third thing we make is vinegar. We throw the skins and the bruised spots into a 5-gallon bucket, and top off with water. After a few months, you strain it and you have vinegar.
Fruit leathers at home are so easy, and the kids love them. I hope you give them a try.
I haven't made the fruit leathers yet so I was glad to see a photo of what you have done. We didn't get any apples this year so far but the leathers are next on my list. My dried oranges are very pretty!
Oh yes, you should! I use mine year round for jerky and whatnot, but during harvest time it gets a real workout. I'd love to have one of the fancier models like an Excalibur, but my basic American Harvest unit has been going strong for over ten years.
Great post, I keep seeing wonderful posts about dehydrators, I think the blogosphere is trying to tell me its time to pick one up, I have been wanting one for years, I love dried apples, and I bet my kids would too- thanks for sharing this post!!
The boys were munching on the pops after lunch yesterday and we had applesauce with pancakes on Saturday – two thumbs up! A friend said the Honey Crisp apples have started showing up at the market, so I'm looking forward to those for fresh eating.
Love this apple post! I promised my girls lots of applesauce this year and applebutter. Love the apple pops, my girls would love that too!
lisa
Brigid – you always hit the nail on the head. Even though the boys grump, harvest time is family time. The sites, the smells, the sounds, the taste – it's a whole sensory experience that lasts in your memory for a long, long time. Just a whiff of cinnamon and I'm thinking apple pie, dried apples….mmmmm….
Even if the kids don’t LOVE helping at the time, they cherish the memories.
My kids get more excited each year for canning, cooking and preserving because it brings back years past.
My guys still grump a little, but they love the taste of homemade/ home preserved food, so they don’t grumble too much.
Thanks for reminding me of something special. We had apple trees out back of my childhood home, the green ones that make great applesauce. We kids would pick, with Dad getting the higher up ones, and then I would work with Mom to make them all into applesauce or canned for pies and desserts later. Just the smell of them, working in the kitchen with her brings back many good times.