
Helping You Create Resilience & Abundance.
No matter what craziness is going on in the world, we’ll empower you with the tools you need to thrive. Join us on our journey as we connect with like-minded individuals passionate about embracing simple, common-sense solutions.
Search the Site
CSH Gear
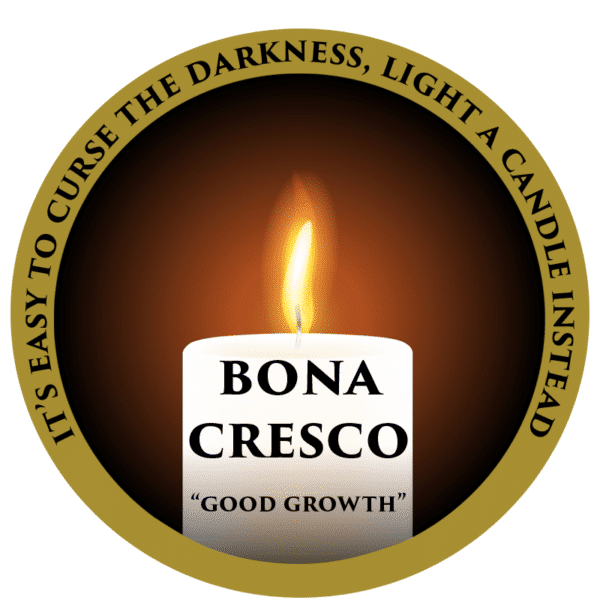
Bona Cresco
Our Books

Articles
Gardening
Food Storage
Using Wild Plants for Food and Medicine

Preparedness

Homesteading
Home Remedies